3D-Visualisierung eines Parkplatzschildes

3D-Visualisierung eines Parkplatzschildes
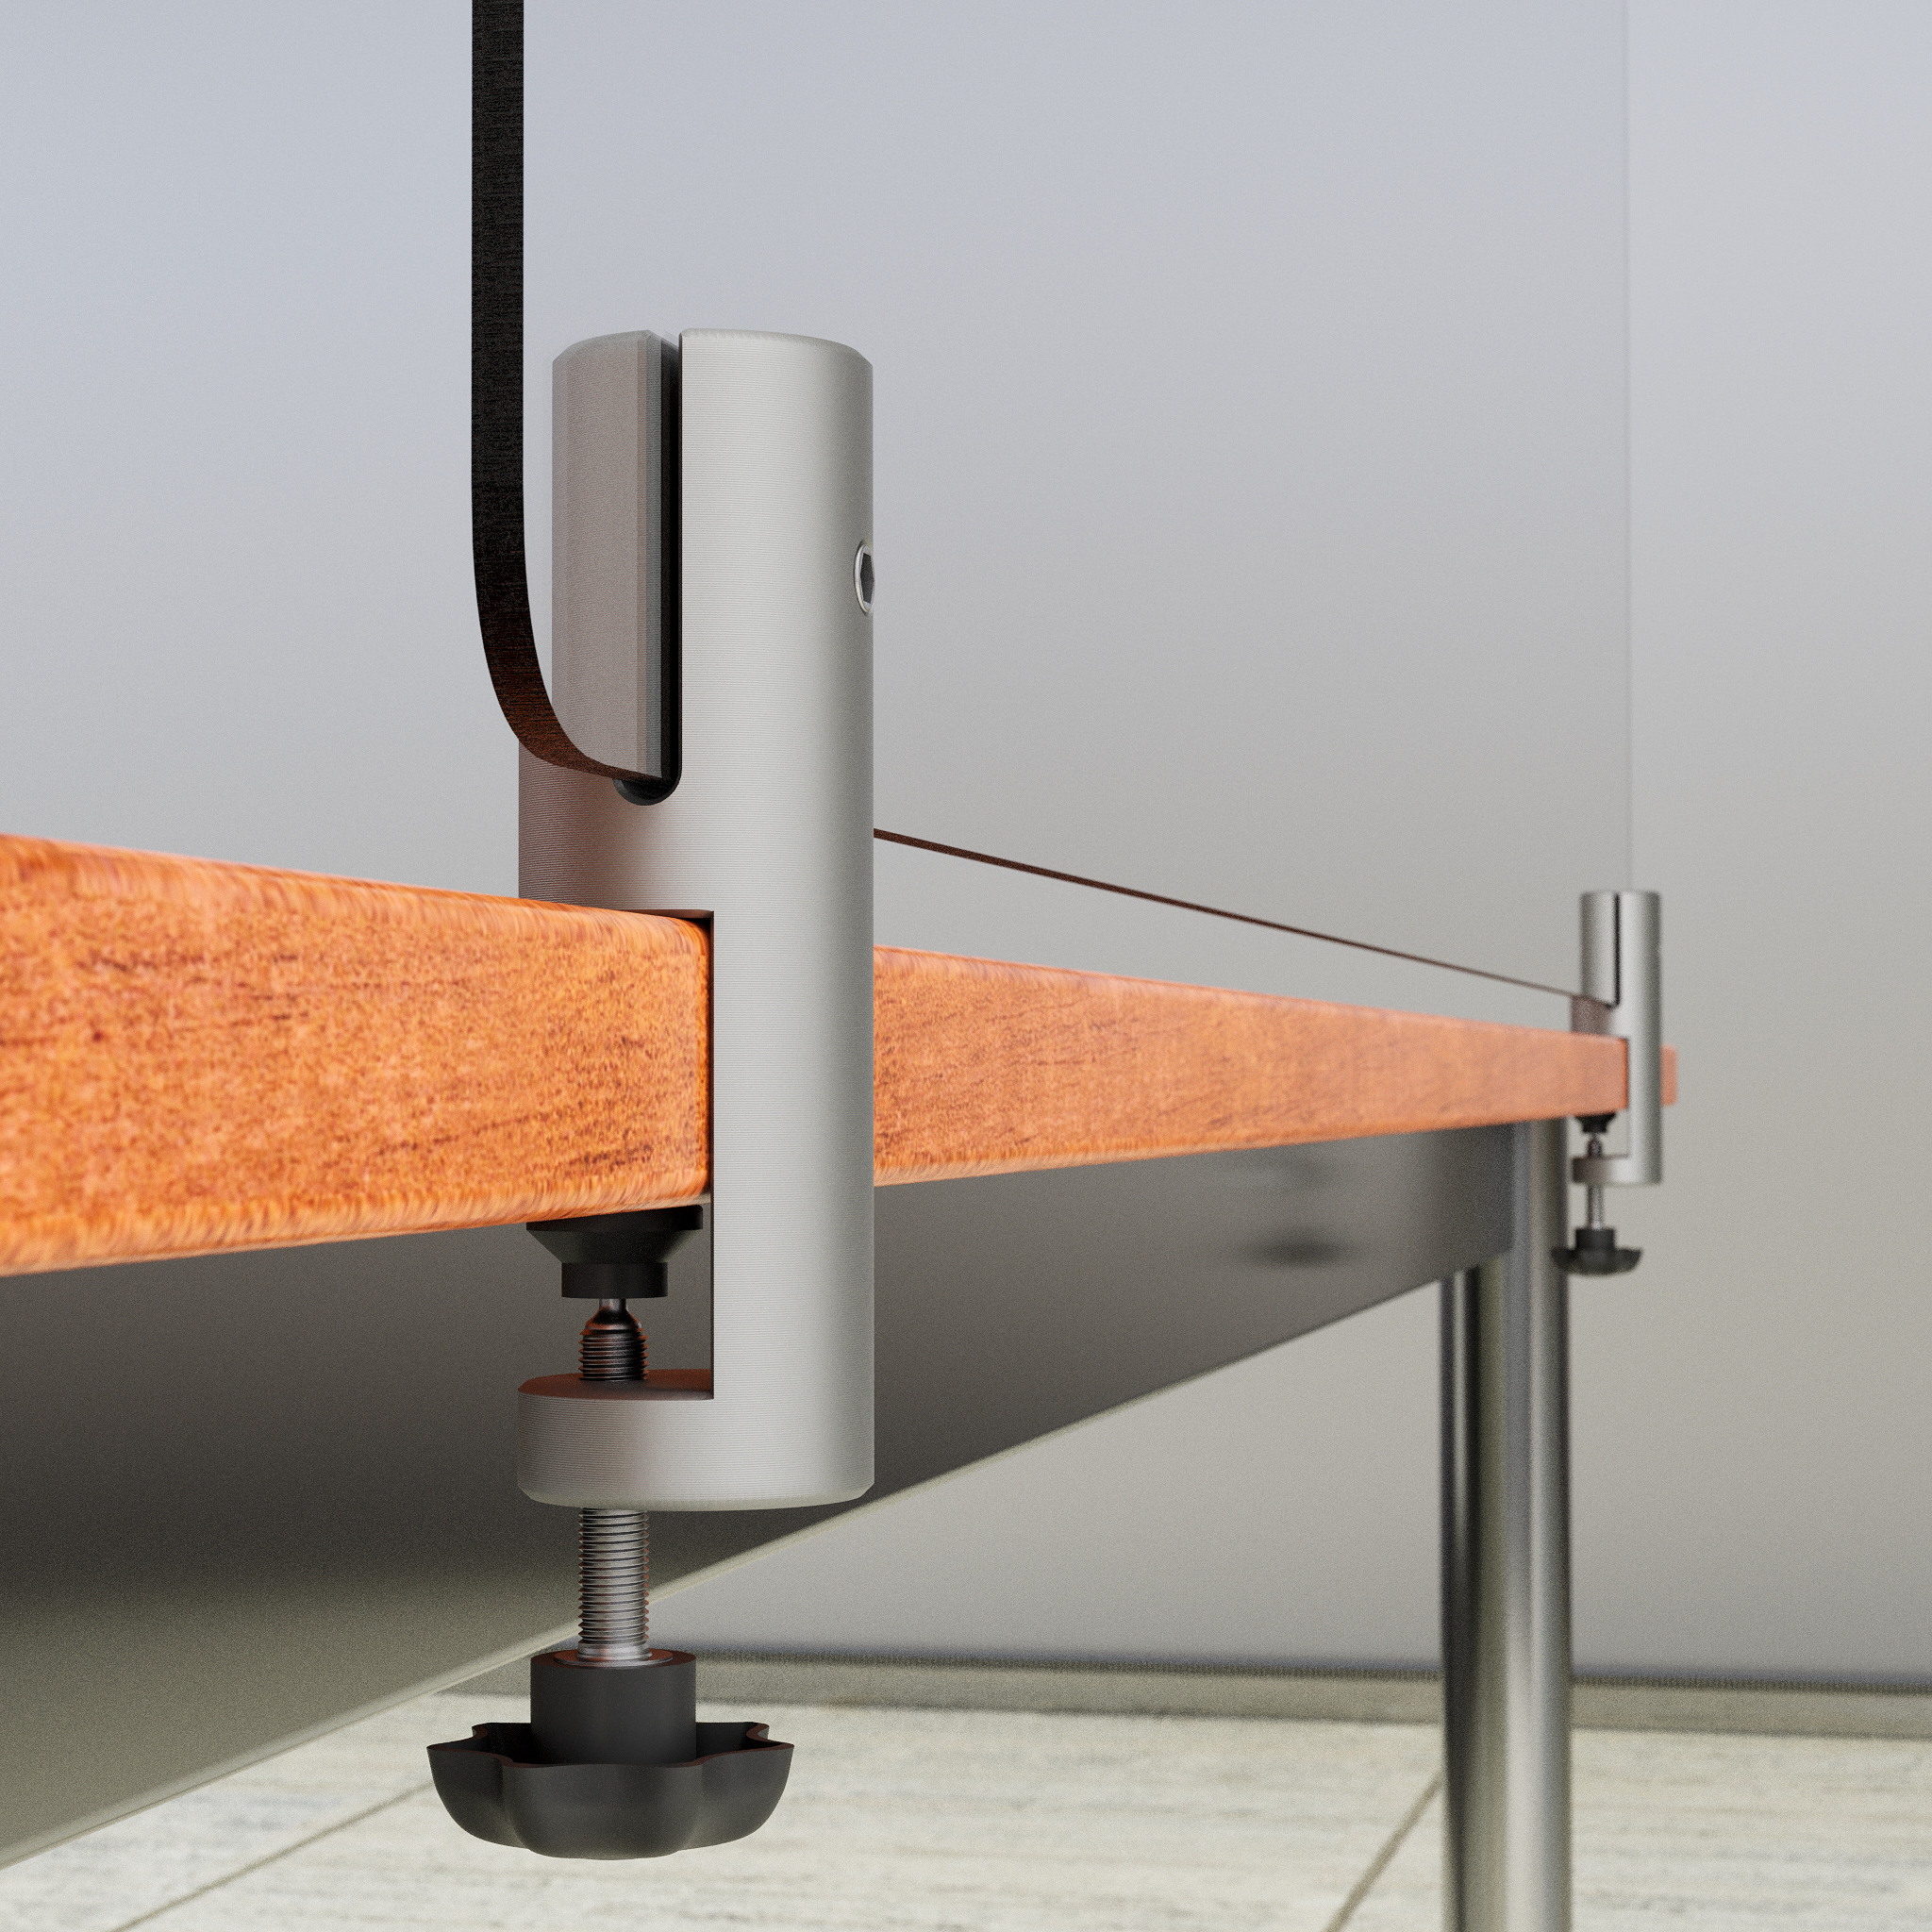
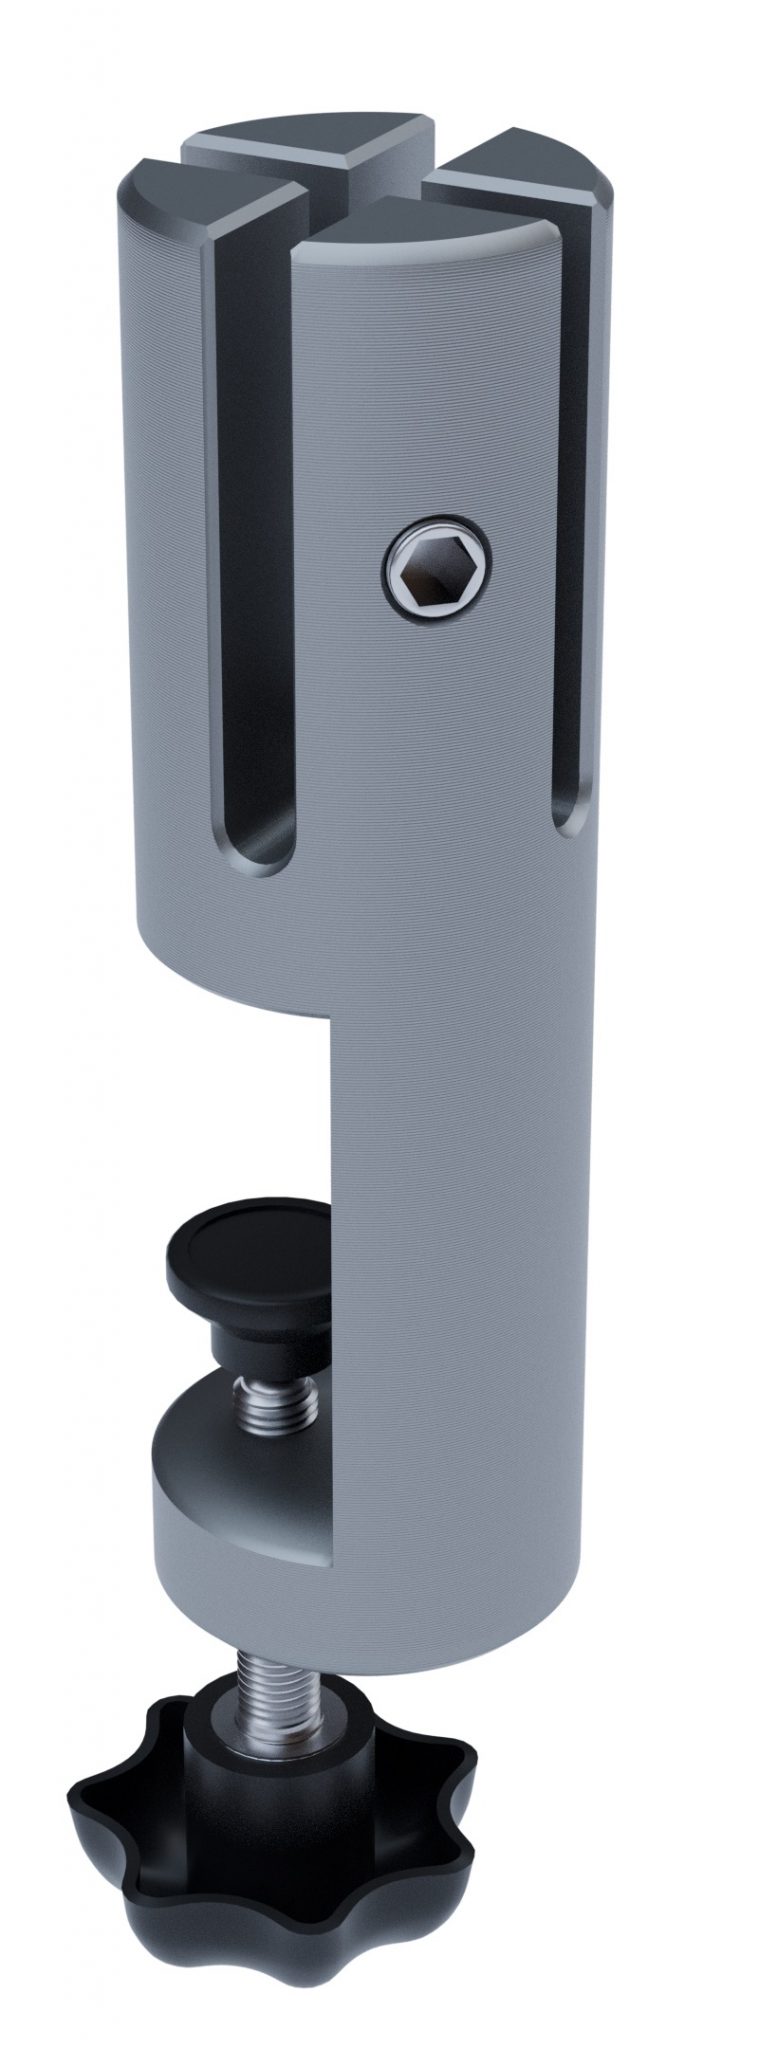
For a customer an aluminum table mount for spit protection walls was visualized as a 3D model.
The Apple Store in the ICONSIAM building in Bangkok designed by Foster + Partners 2018.


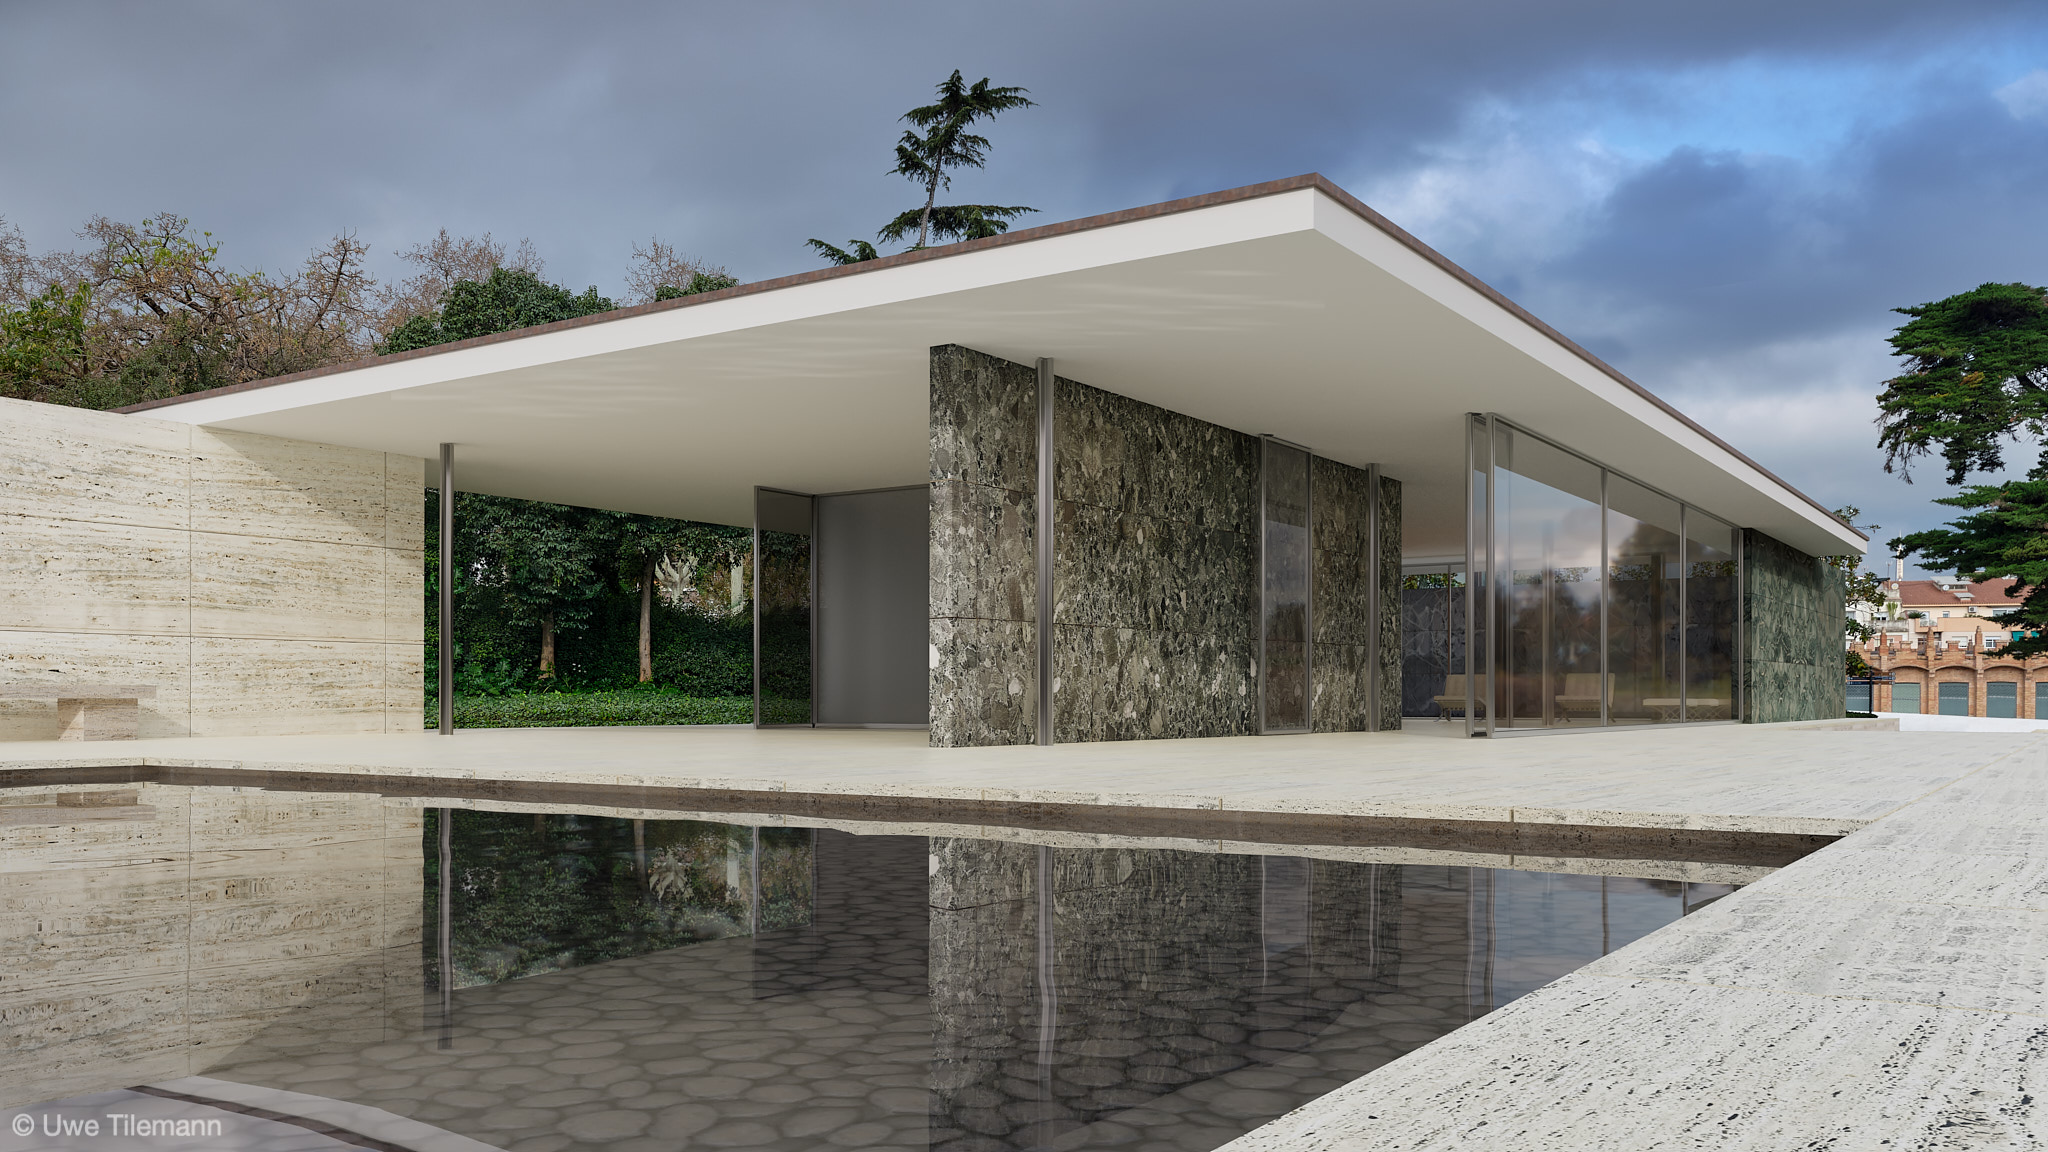
In March 2019 I was on a trip to Barcelona and took the opportunity to make some architectural photos of the great Barcelona Pavillon designed by Mies van der Rohe and Lilly Reich for the 1929 International Exposition in Barcelona.
Prior to that journey I’ve already created a 3D model of this piece of ground breaking modern architecture with the lack of good image sources of the used materials – marble, onyx and travertine. A great opportunity to make some nice architectural photos and also to get high quality image sources to create materials for my Physically Based Rendering (PBR) workflow.
I arrived at the location half an hour before opening with enough time to make a reference photo without any people around. The sky and background from this photo is used as the background for the rendering above.
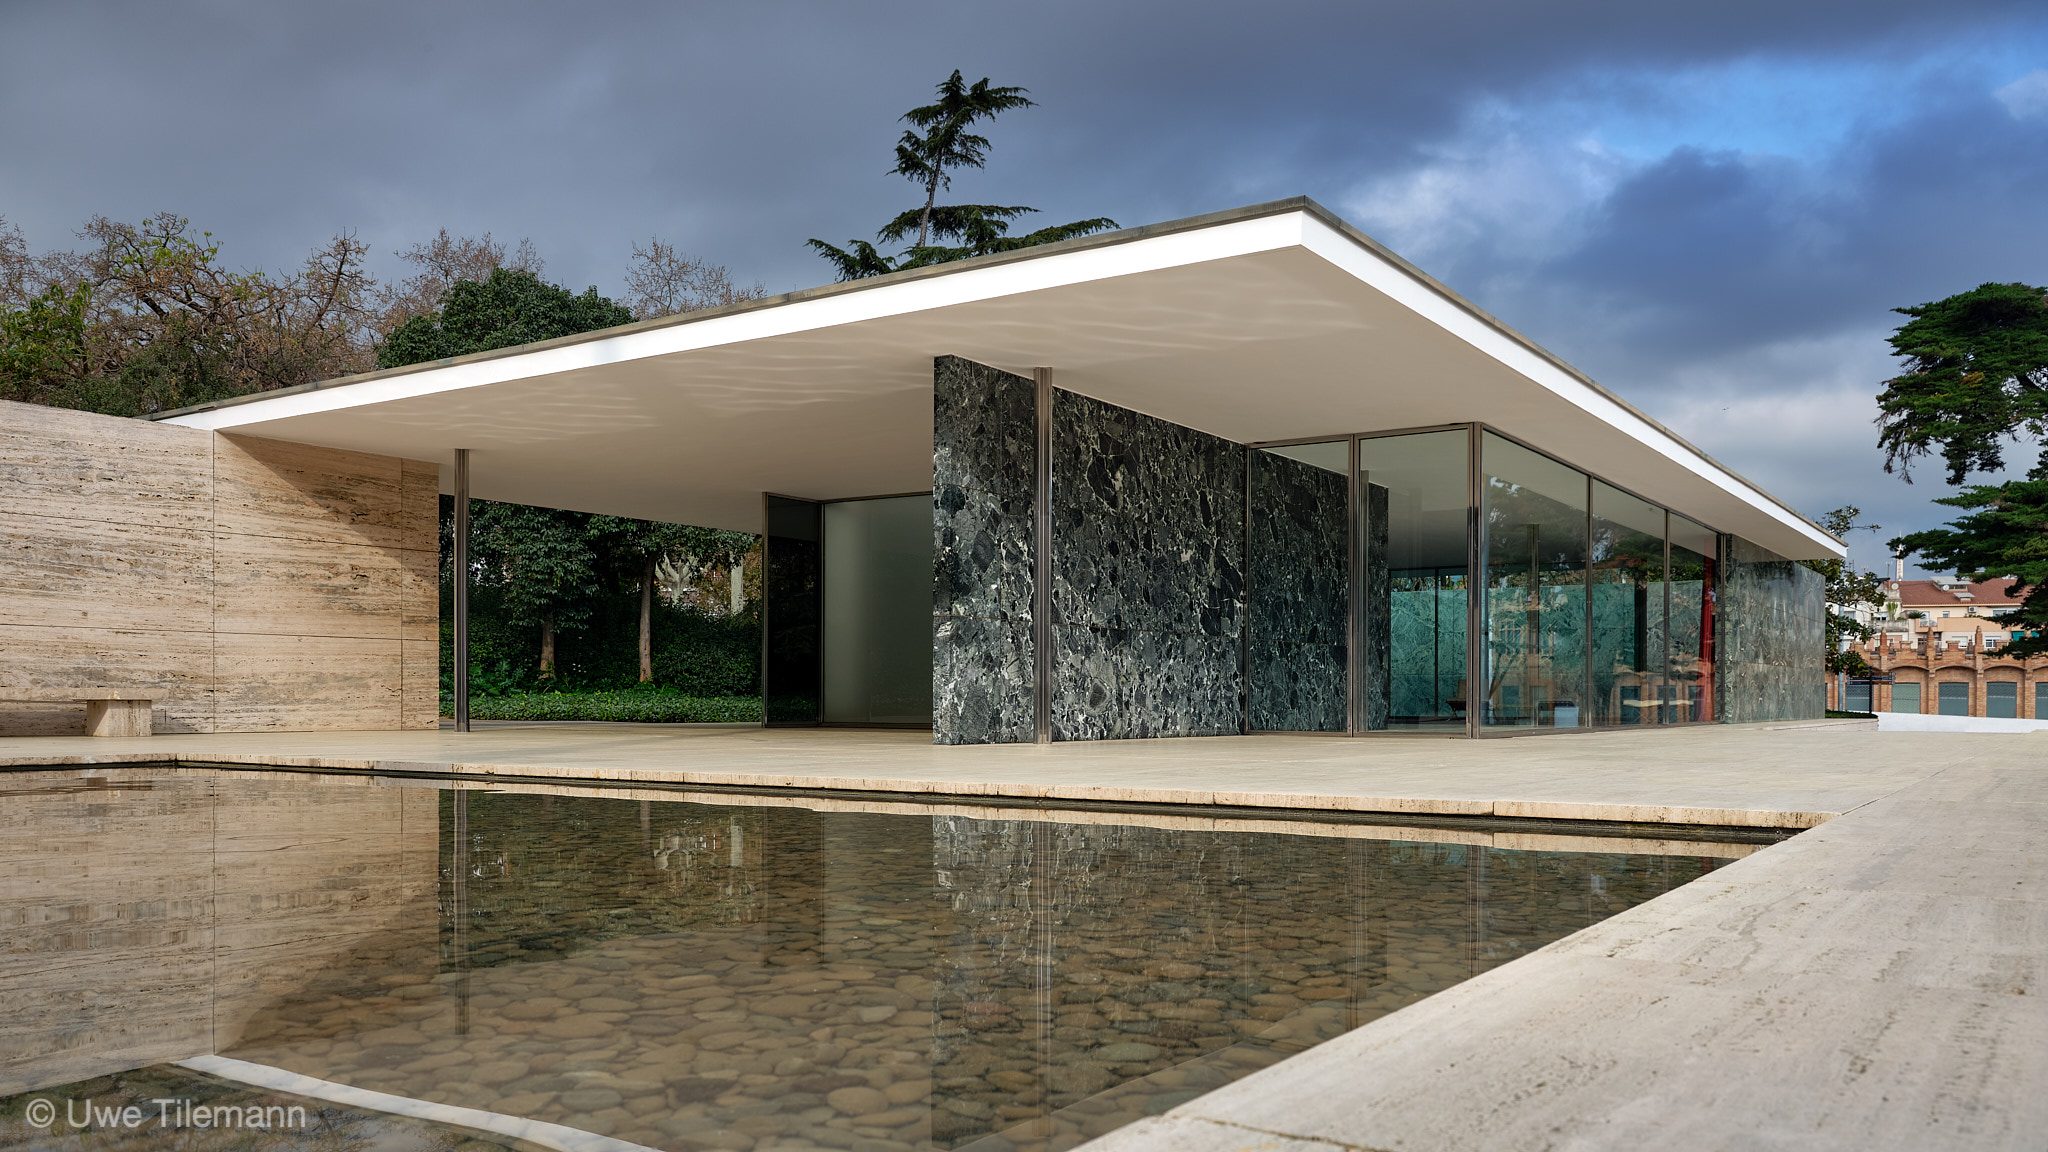
In the next hour I took 90 photos. Some architectural ones you can see here. The rest were details of the used materials and some construction details.
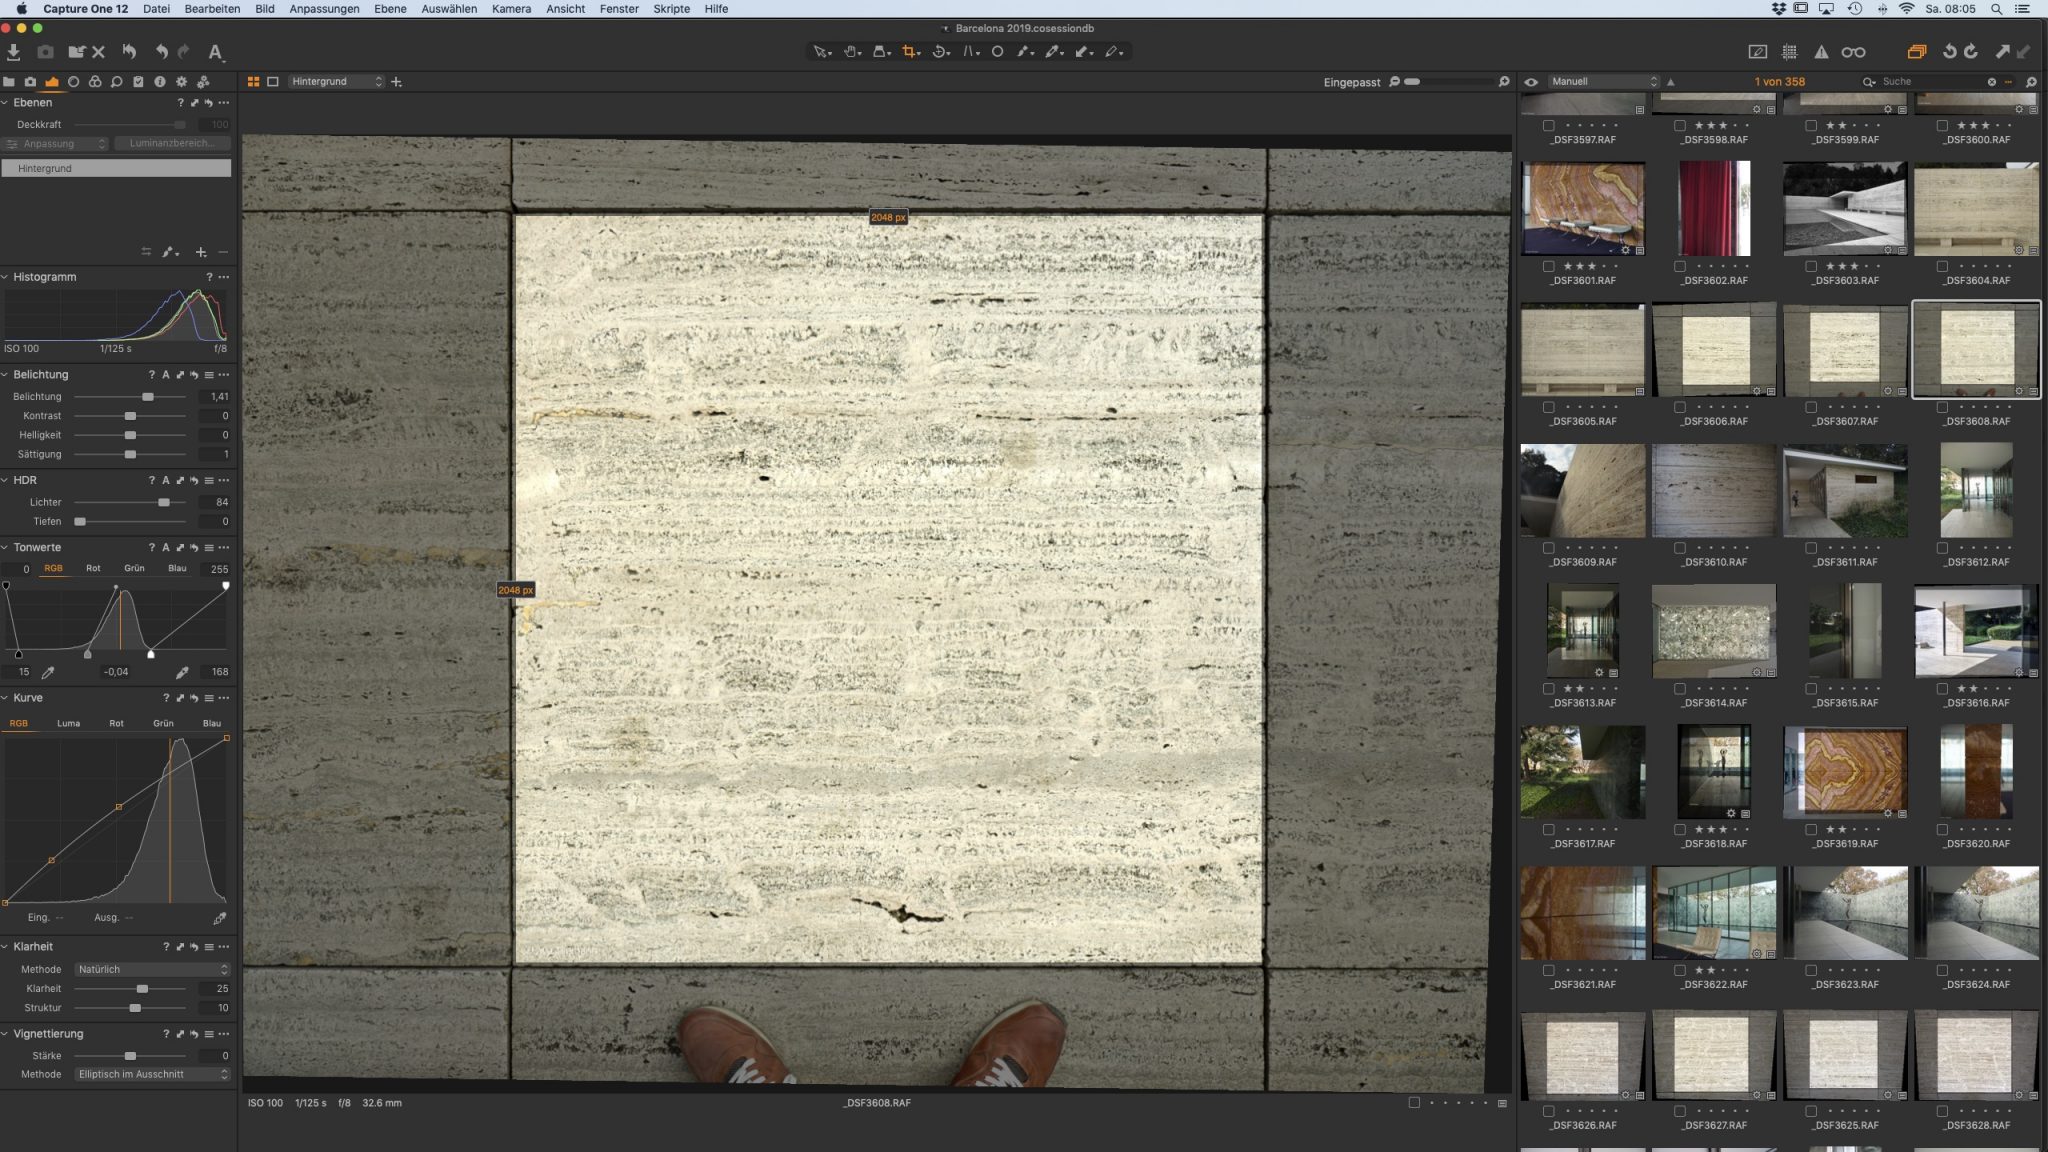
Back home I’ve used Capture One Pro to develop and prepare the images I like to use in my rendering.
These images got some retouching using Affinity Photo and I drag and drop them into PBRtist to create a realistic 3D material.
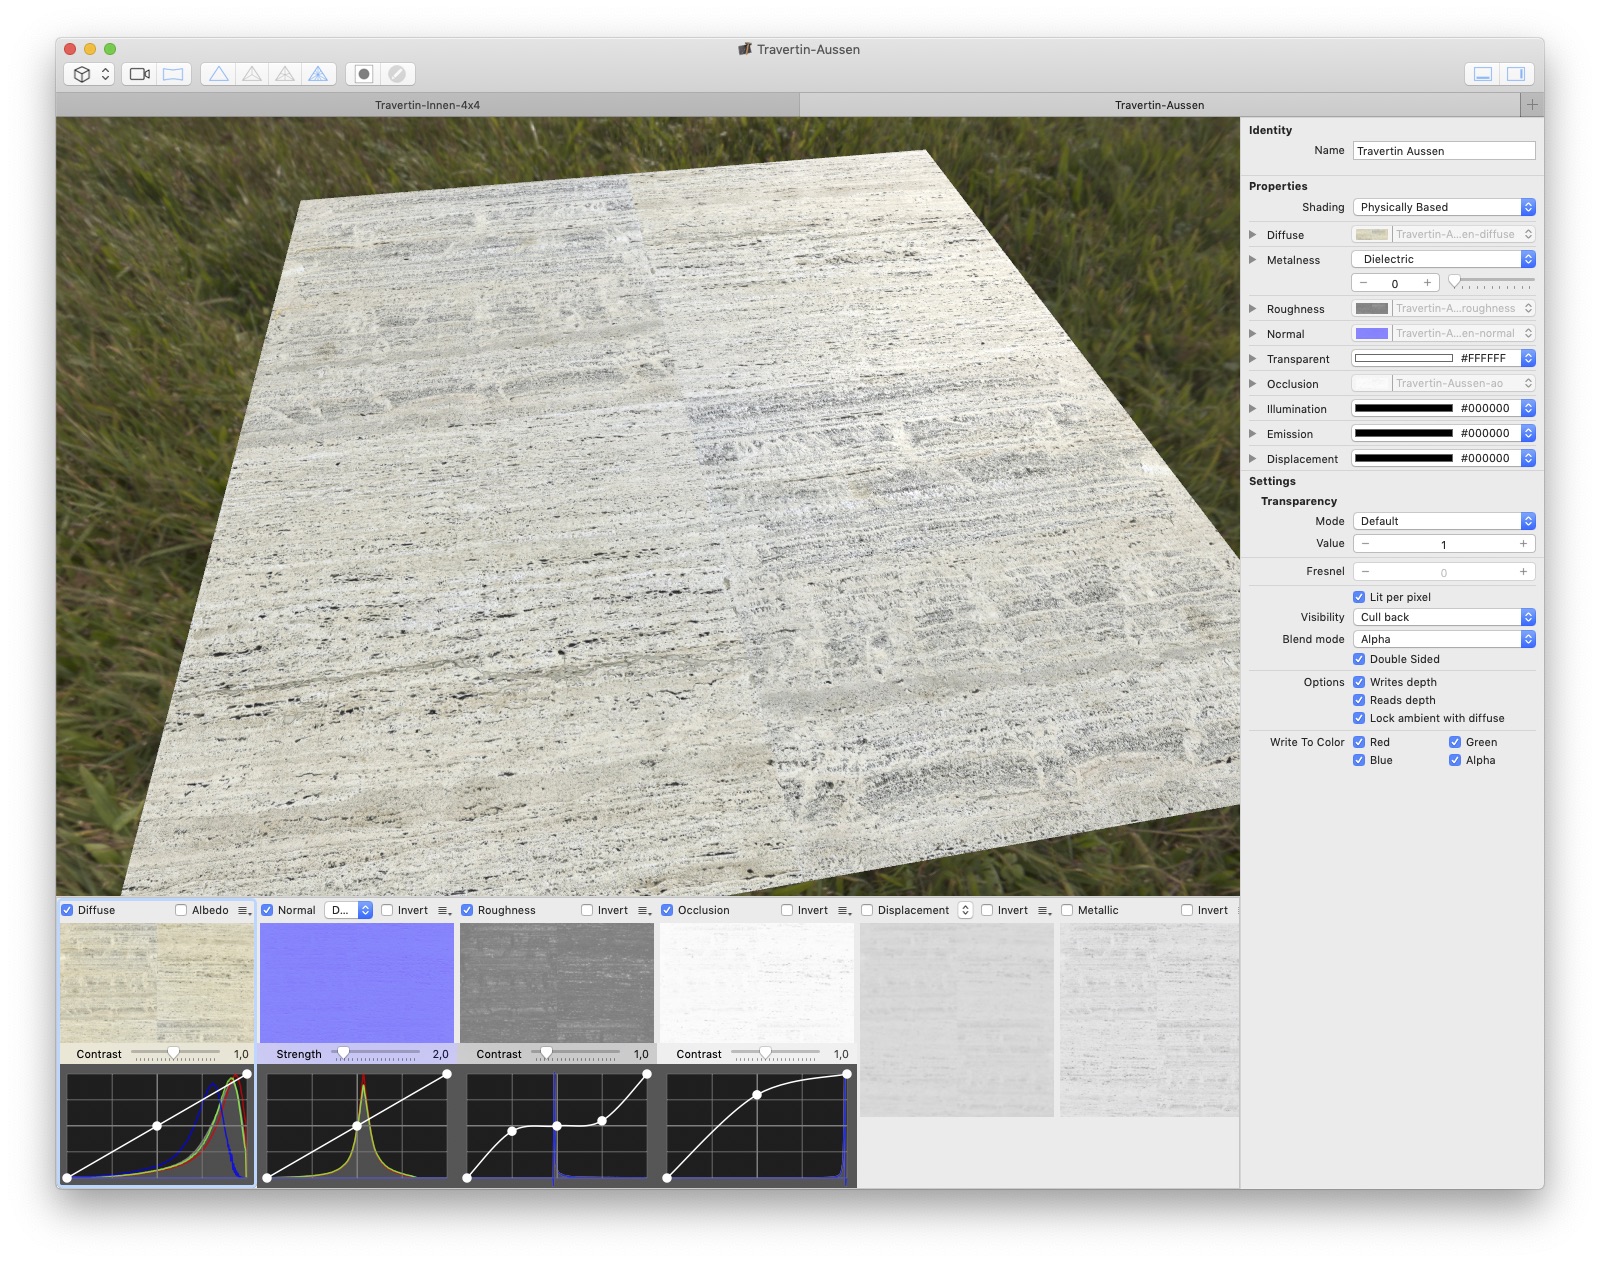
PBRtist is a tool to create all maps used in a Physically Based Rendering (PBR) workflow based on a single image. For this travertine material I’m using the Diffuse, Normal, Roughness and Occlusion map. PBRtist has a seamless integration for Cheetah 3D to export a material to Cheetah’s material format.
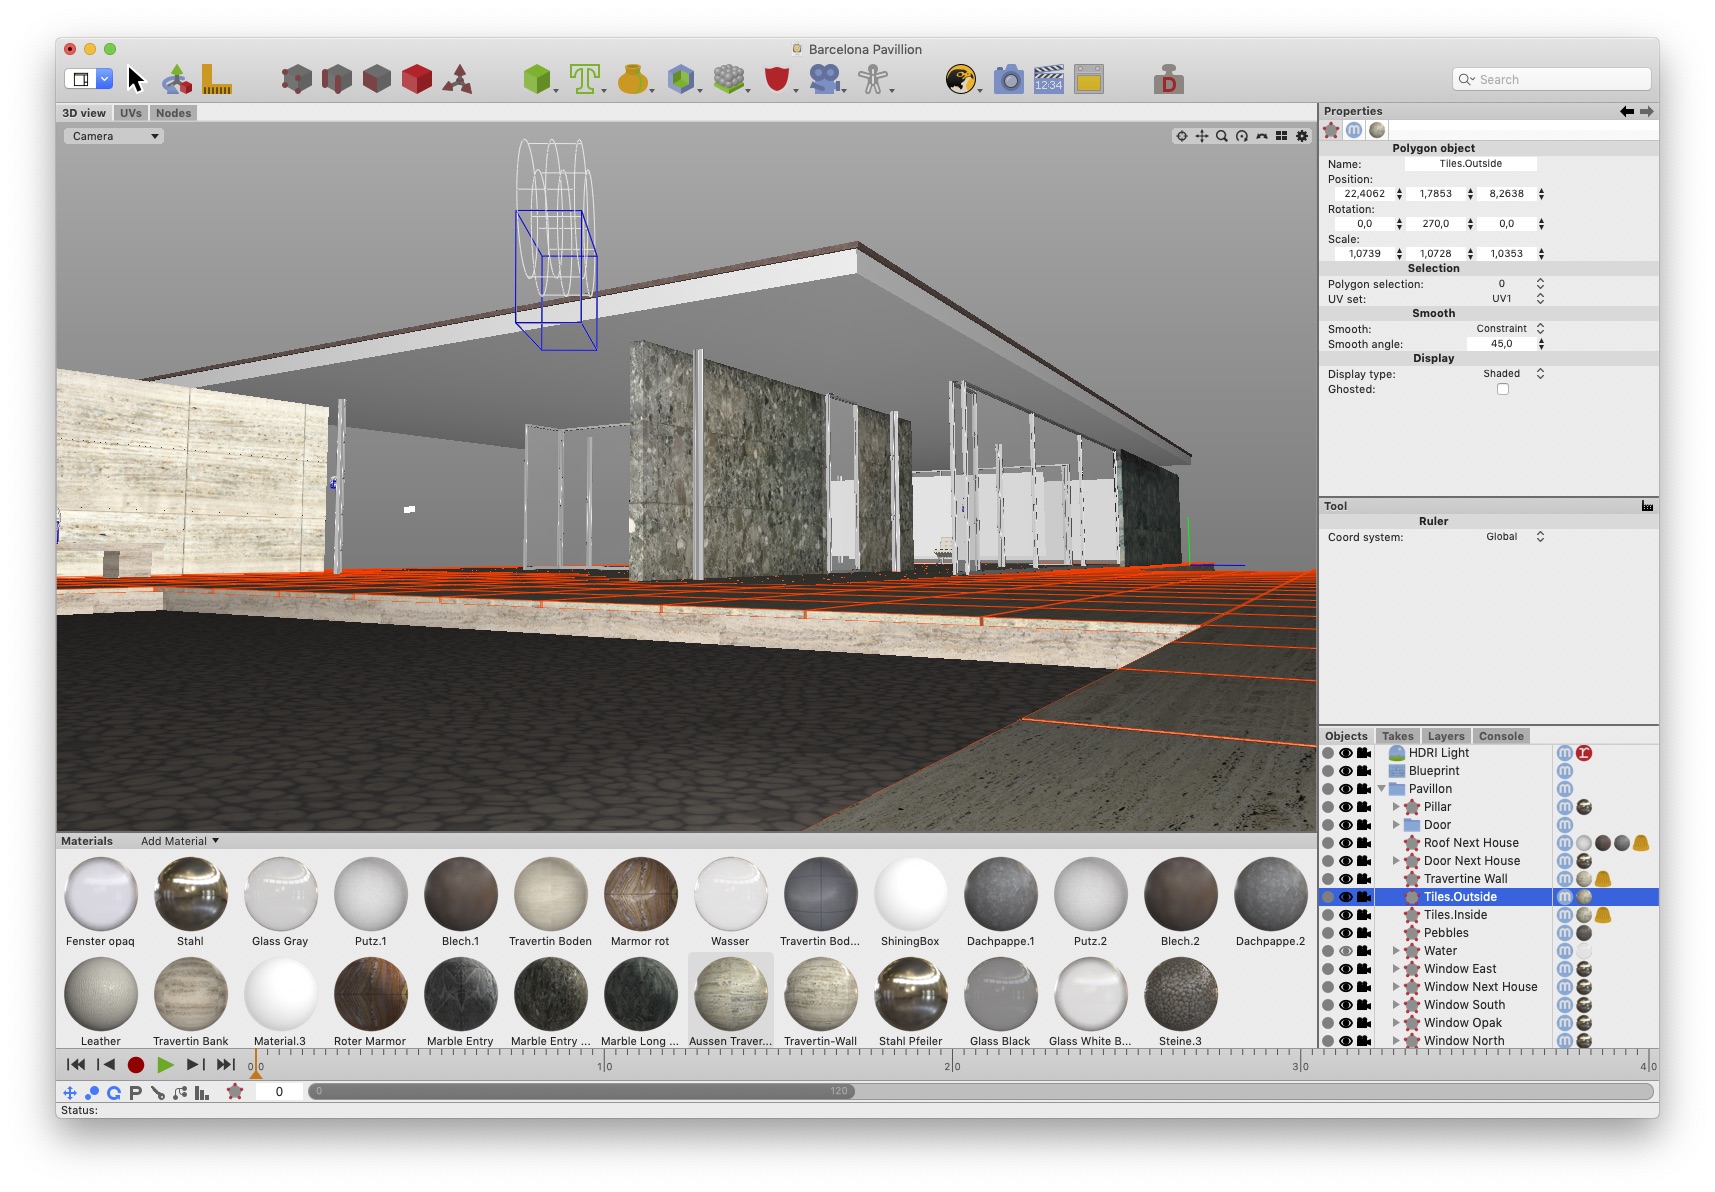
This was done for all materials used in my 3D model based on the images took on location – the big golden reddish marble wall inside the main house (which is not visible here), the greenish marble walls at the entrance and around the main building. Also the travertine used in the walls around the pool are based on separate image sources. With PBRtist this job was done in minutes.
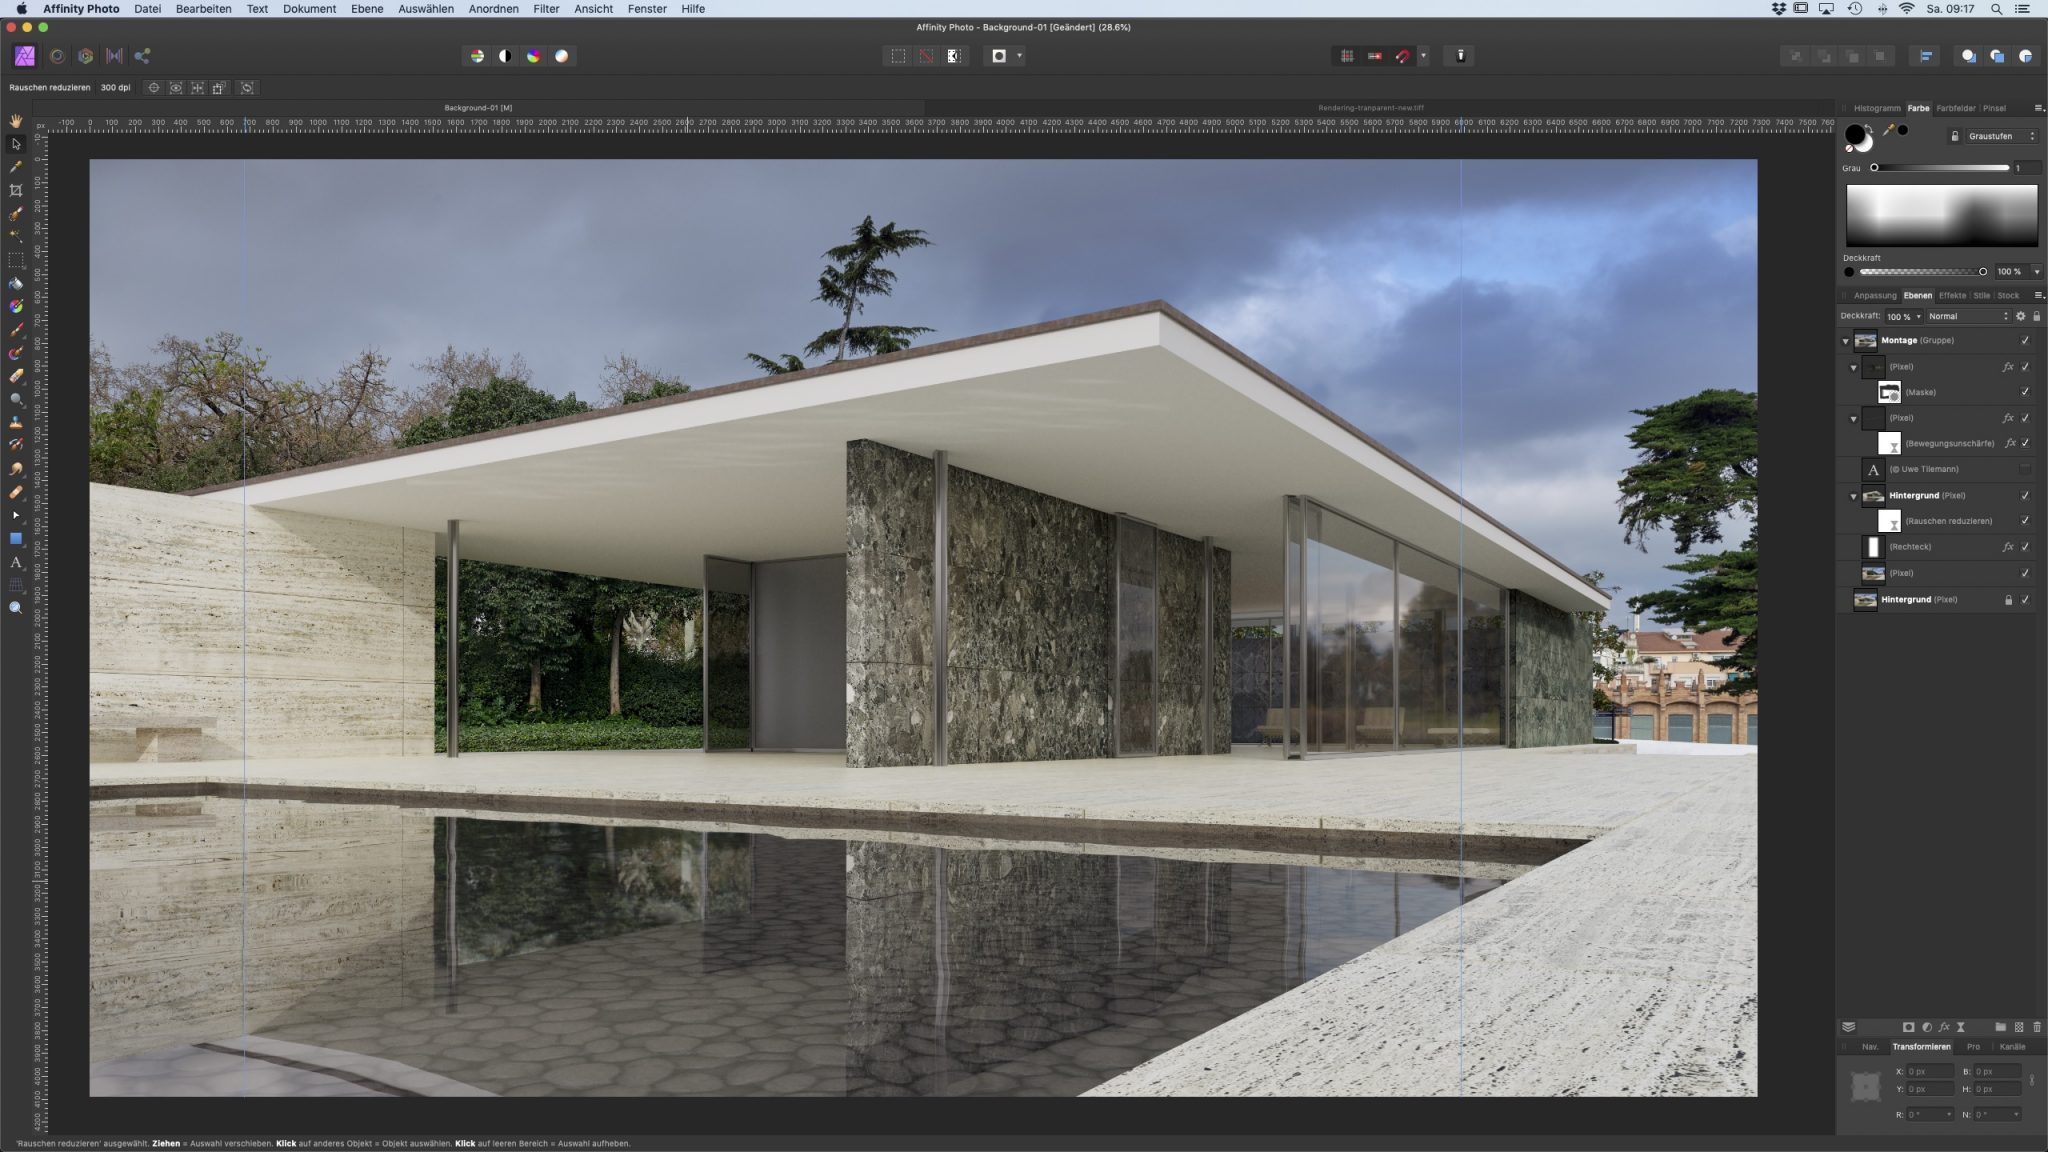
The final rendering was done in Cheetah with a resolution of 7282 x 4096 pixel, the size of reference photo you see above. The background of the rendering is transparent, because I want to do some keystone correction and compositing with Affinity Photo later.
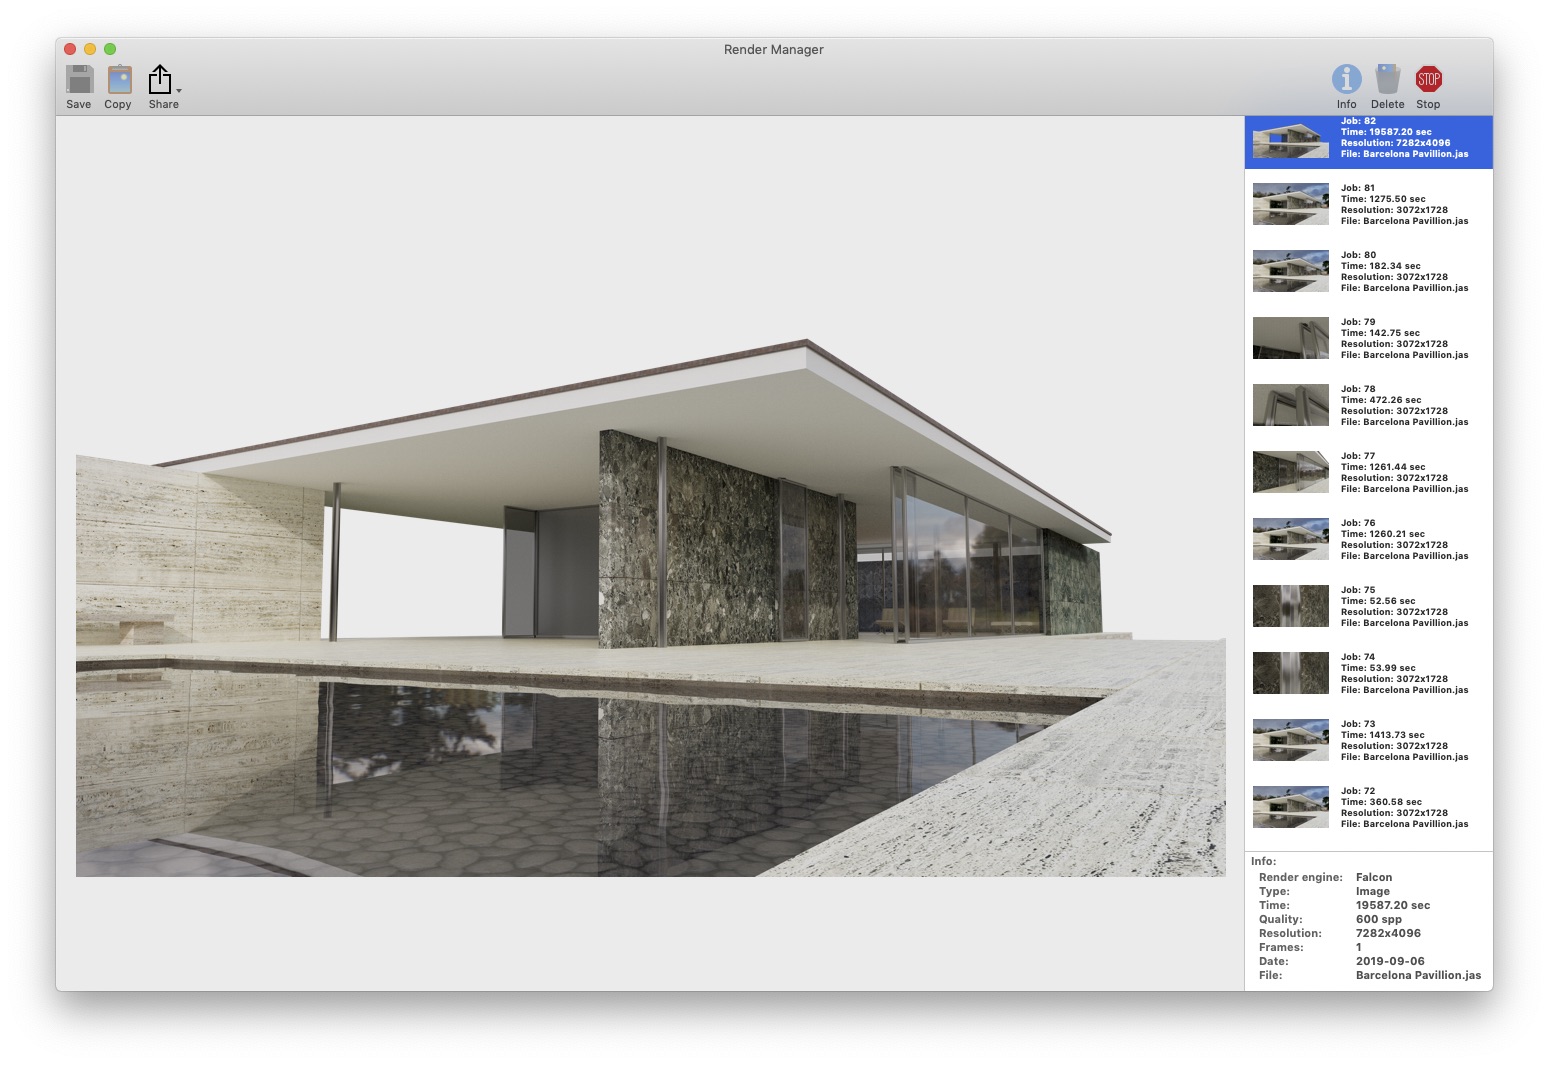
Here the final image keystone corrected and composited with the background from the reference photo above in Affinity Photo.
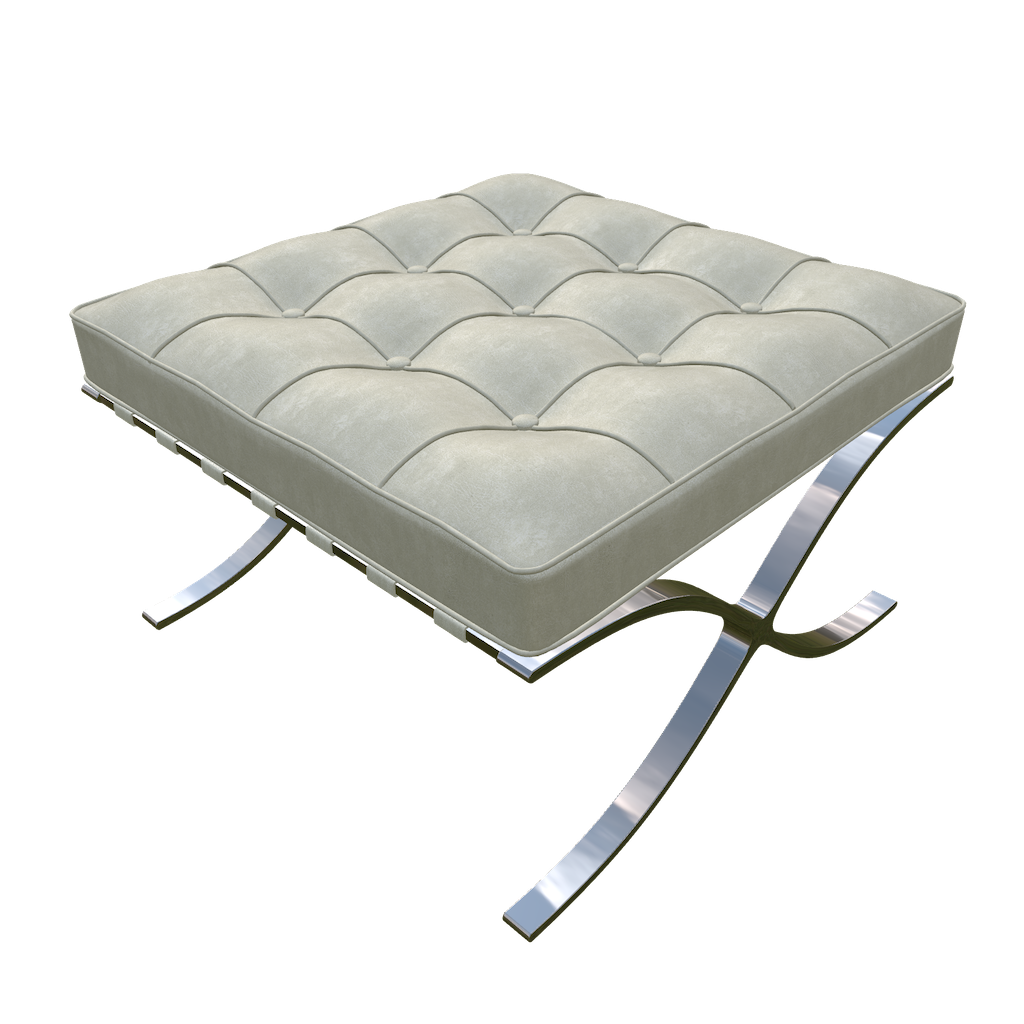
As a give-away here an USDZ file from the Barcelona Stool used in my model.
In March 2019 I’ve visited the Barcelona Pavillon from Ludwig Mies van der Rohe.


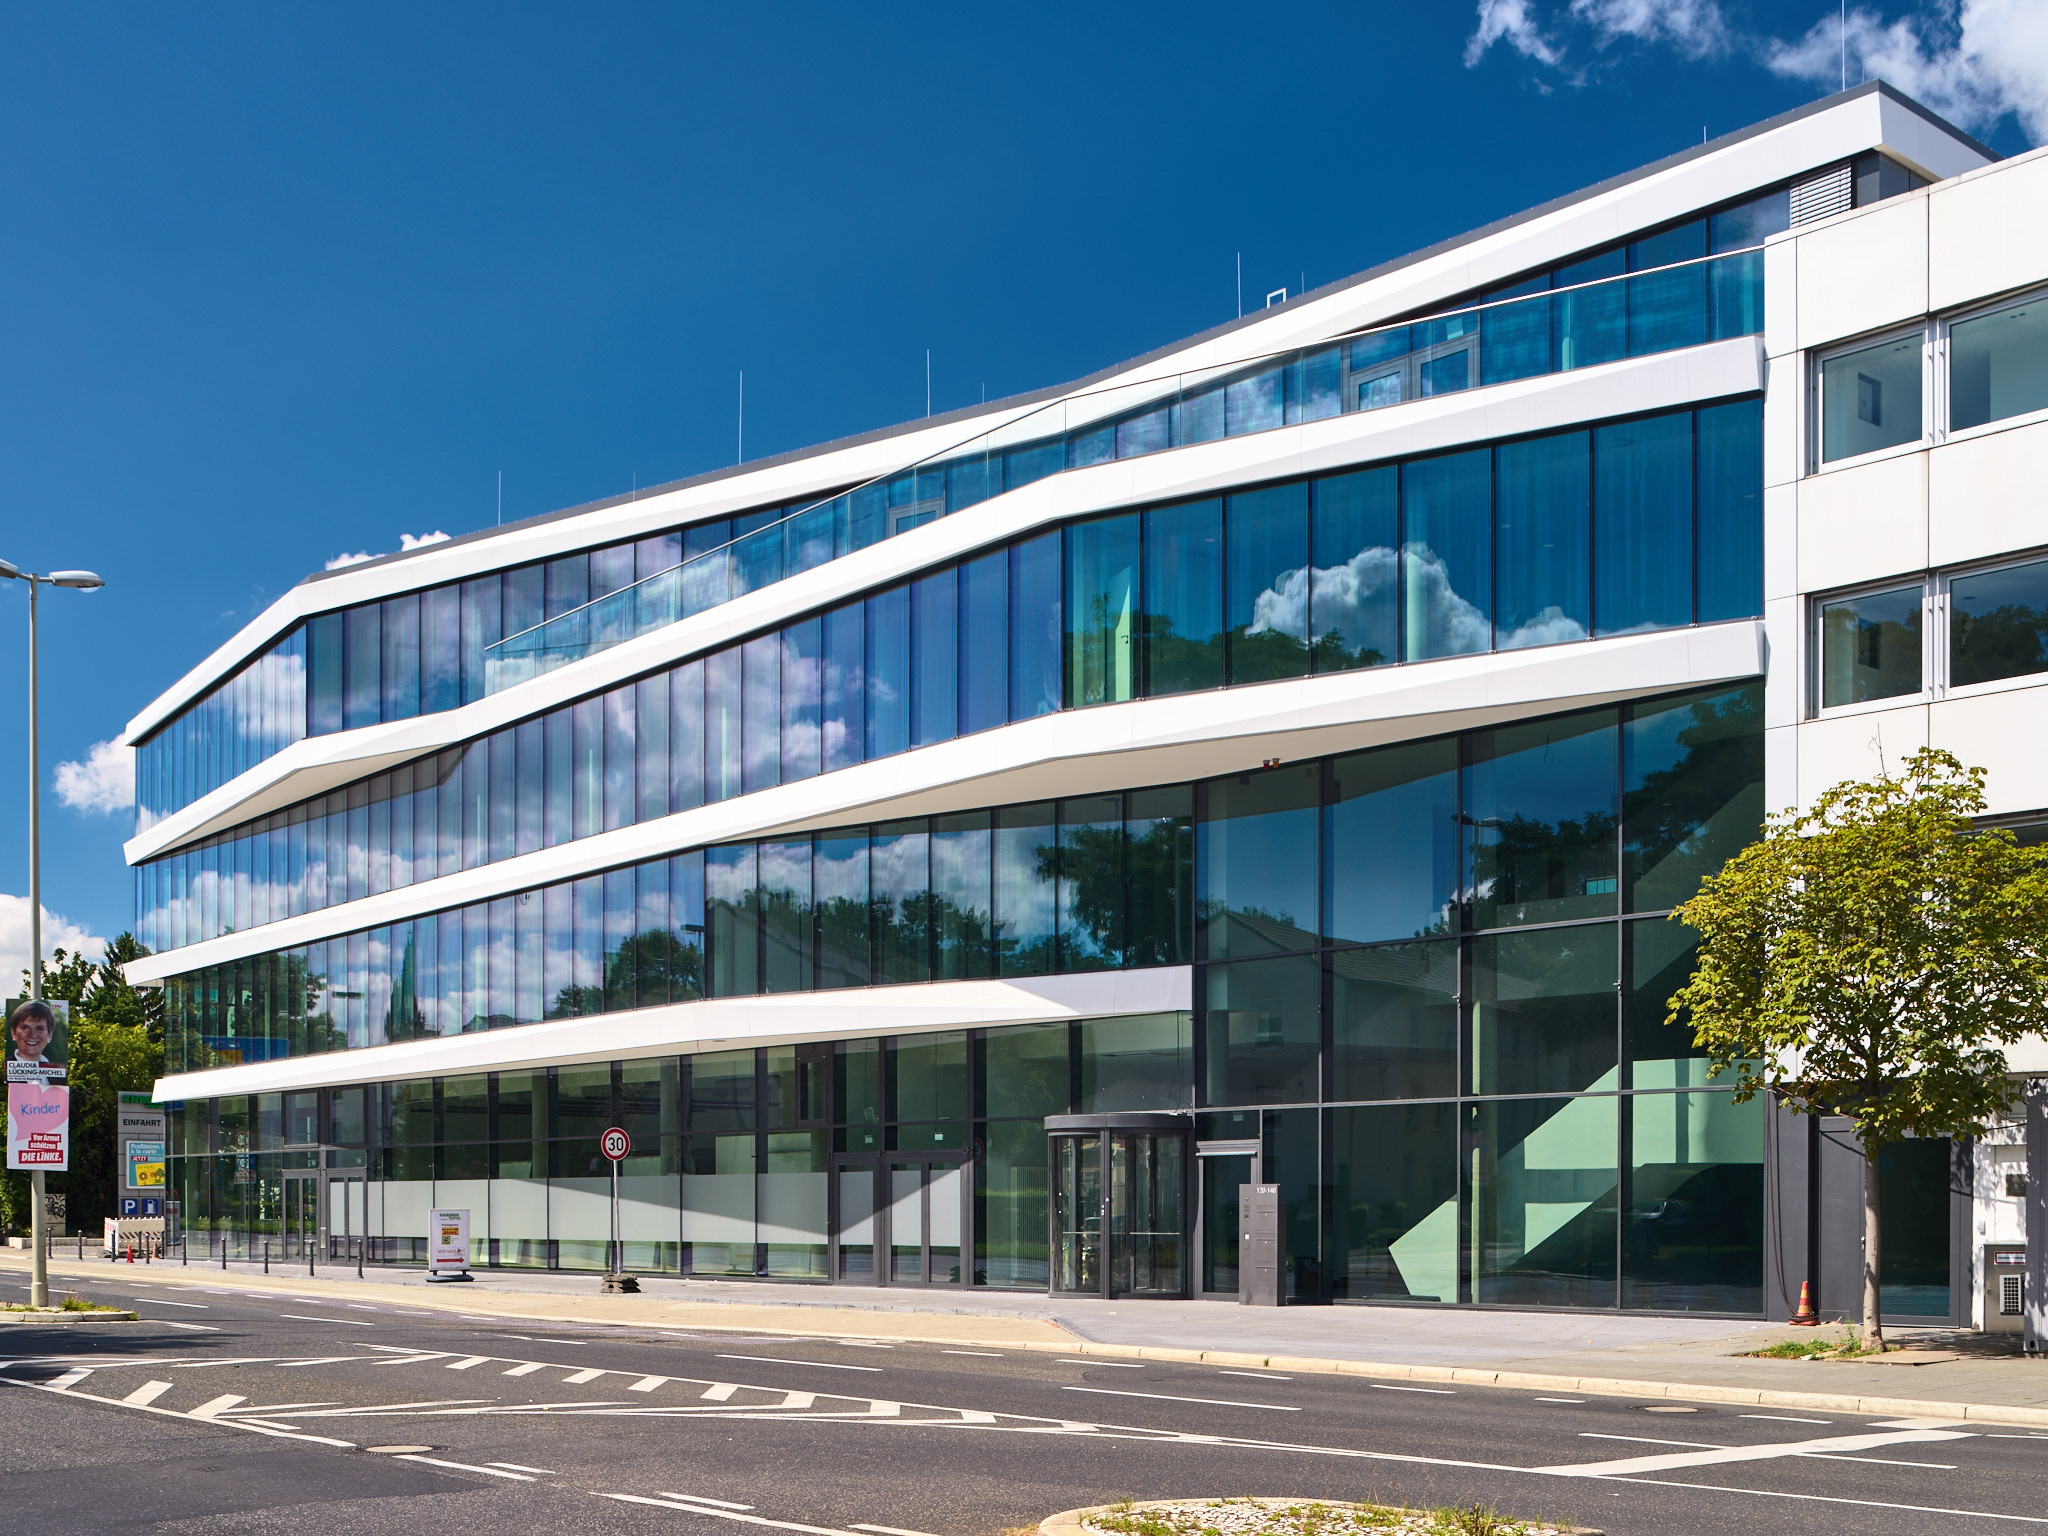
In this article I compare three solutions to create a perspective controlled architectural photography.
All RAF files were imported to Lightroom and exported directly as DNG files. Alternatively you can use Adobe DNG Converter or Irident X-Transformer for the conversion.
RAW development were done in Capture One Pro 9.3. As long as Phase One is not willing to support the RAF files natively, the DNG conversion is the only way to get Capture One to work with the GFX RAW files. I have not update to version 10 of C1 yet, because with the latest version you have to fiddle the EXIF meta data. Phase One actively blocked this camera model in the latest version to protect their camera business.
Another problem with Capture One is that the DNG files do not have the correct color profile, resulting dark and dull images. To solve this I have used the GFX 50s ICC profile from Ken Dun Photography’s website. Additional adjustments were done on the final images: increased saturation, recovered highlights and shadows, added a bit of clarity. Using Capture One’s automatic buttons gives a good starting point for these adjustments.
These six images were exported to 16bit TIFF files and loaded in a new PTGui Pro document. Clicking „Align Images“ let PTGui to analyse the images to search for matching control points for sticking the images together and displays a preview of the panorama. In the „Panorama Editor“ I have corrected the perspective and cropped the image. Clicking „Create panorama“ let you specify the file type and settings. The setting were 16bit TIFF file, with packed bits compression and no alpha channel. C1 can’t handle TIFF files containing an alpha channel.
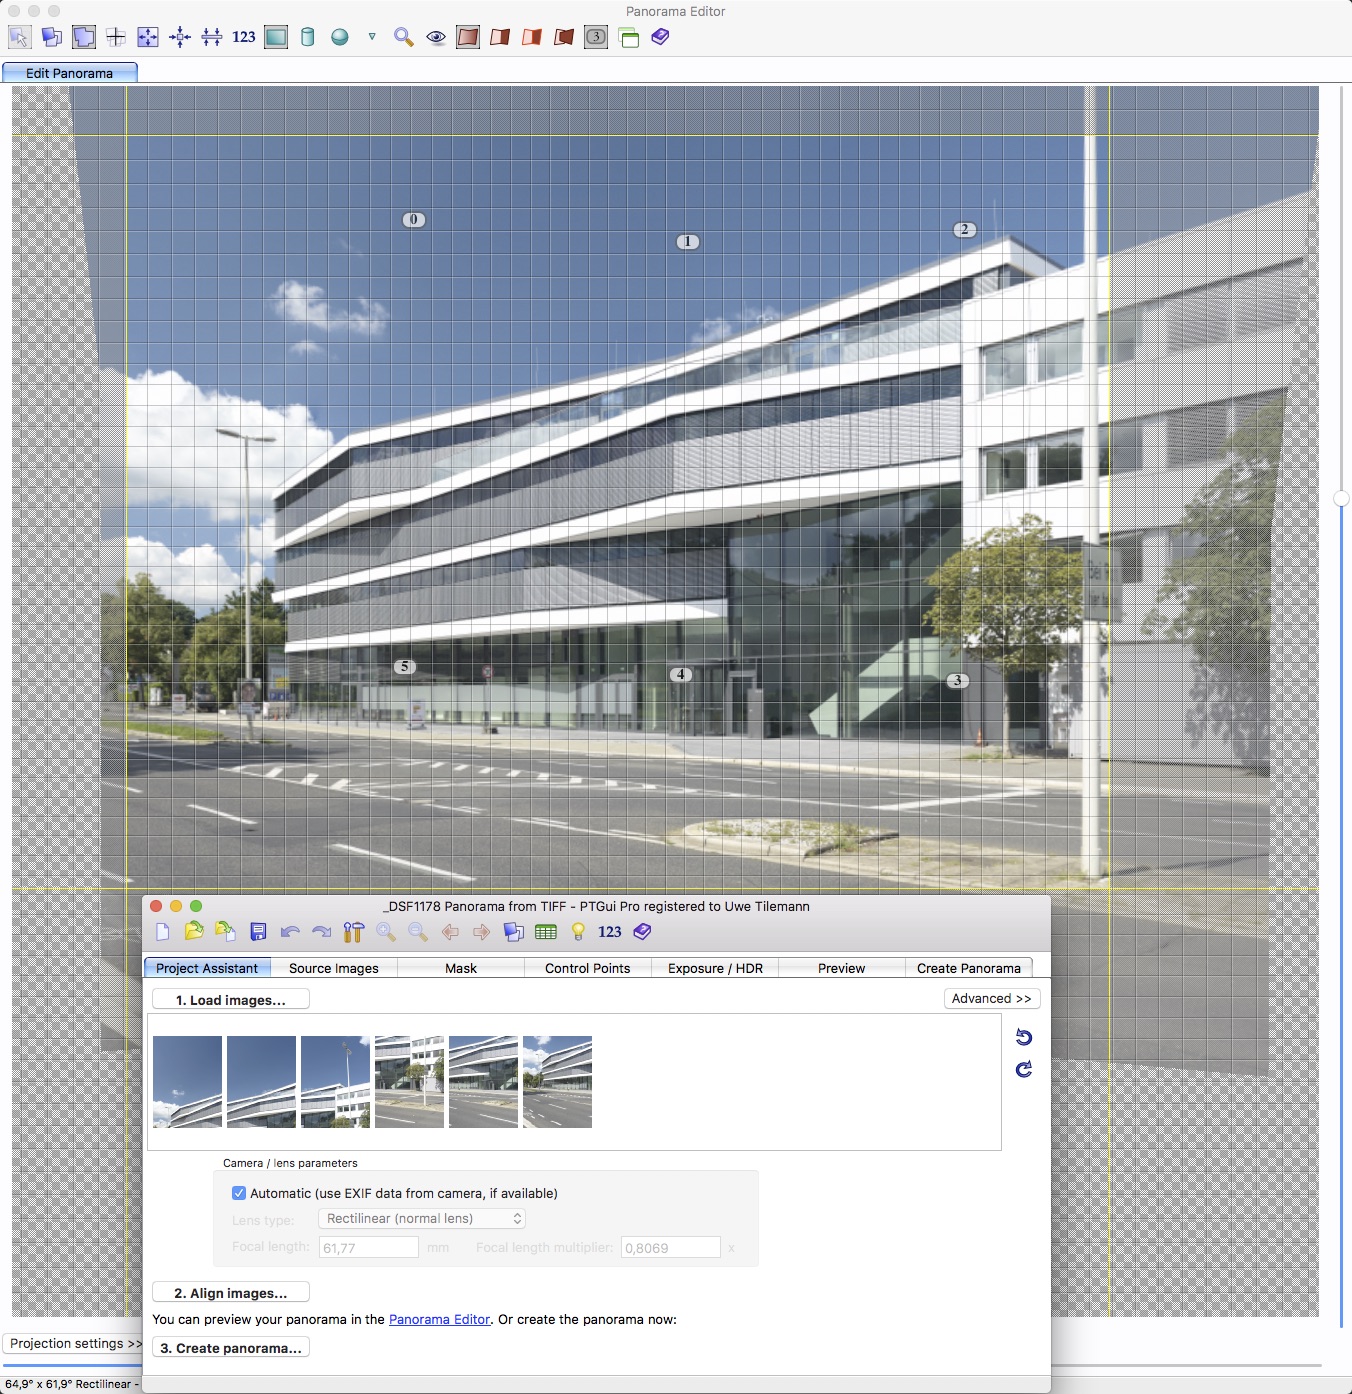
Stitching 6 image in of PTGui Pro
The resulting image has a resolution of 11094 x 8501 pixel (94MP). This image were cropped in C1 to the desired size and some little more adjustment were done.
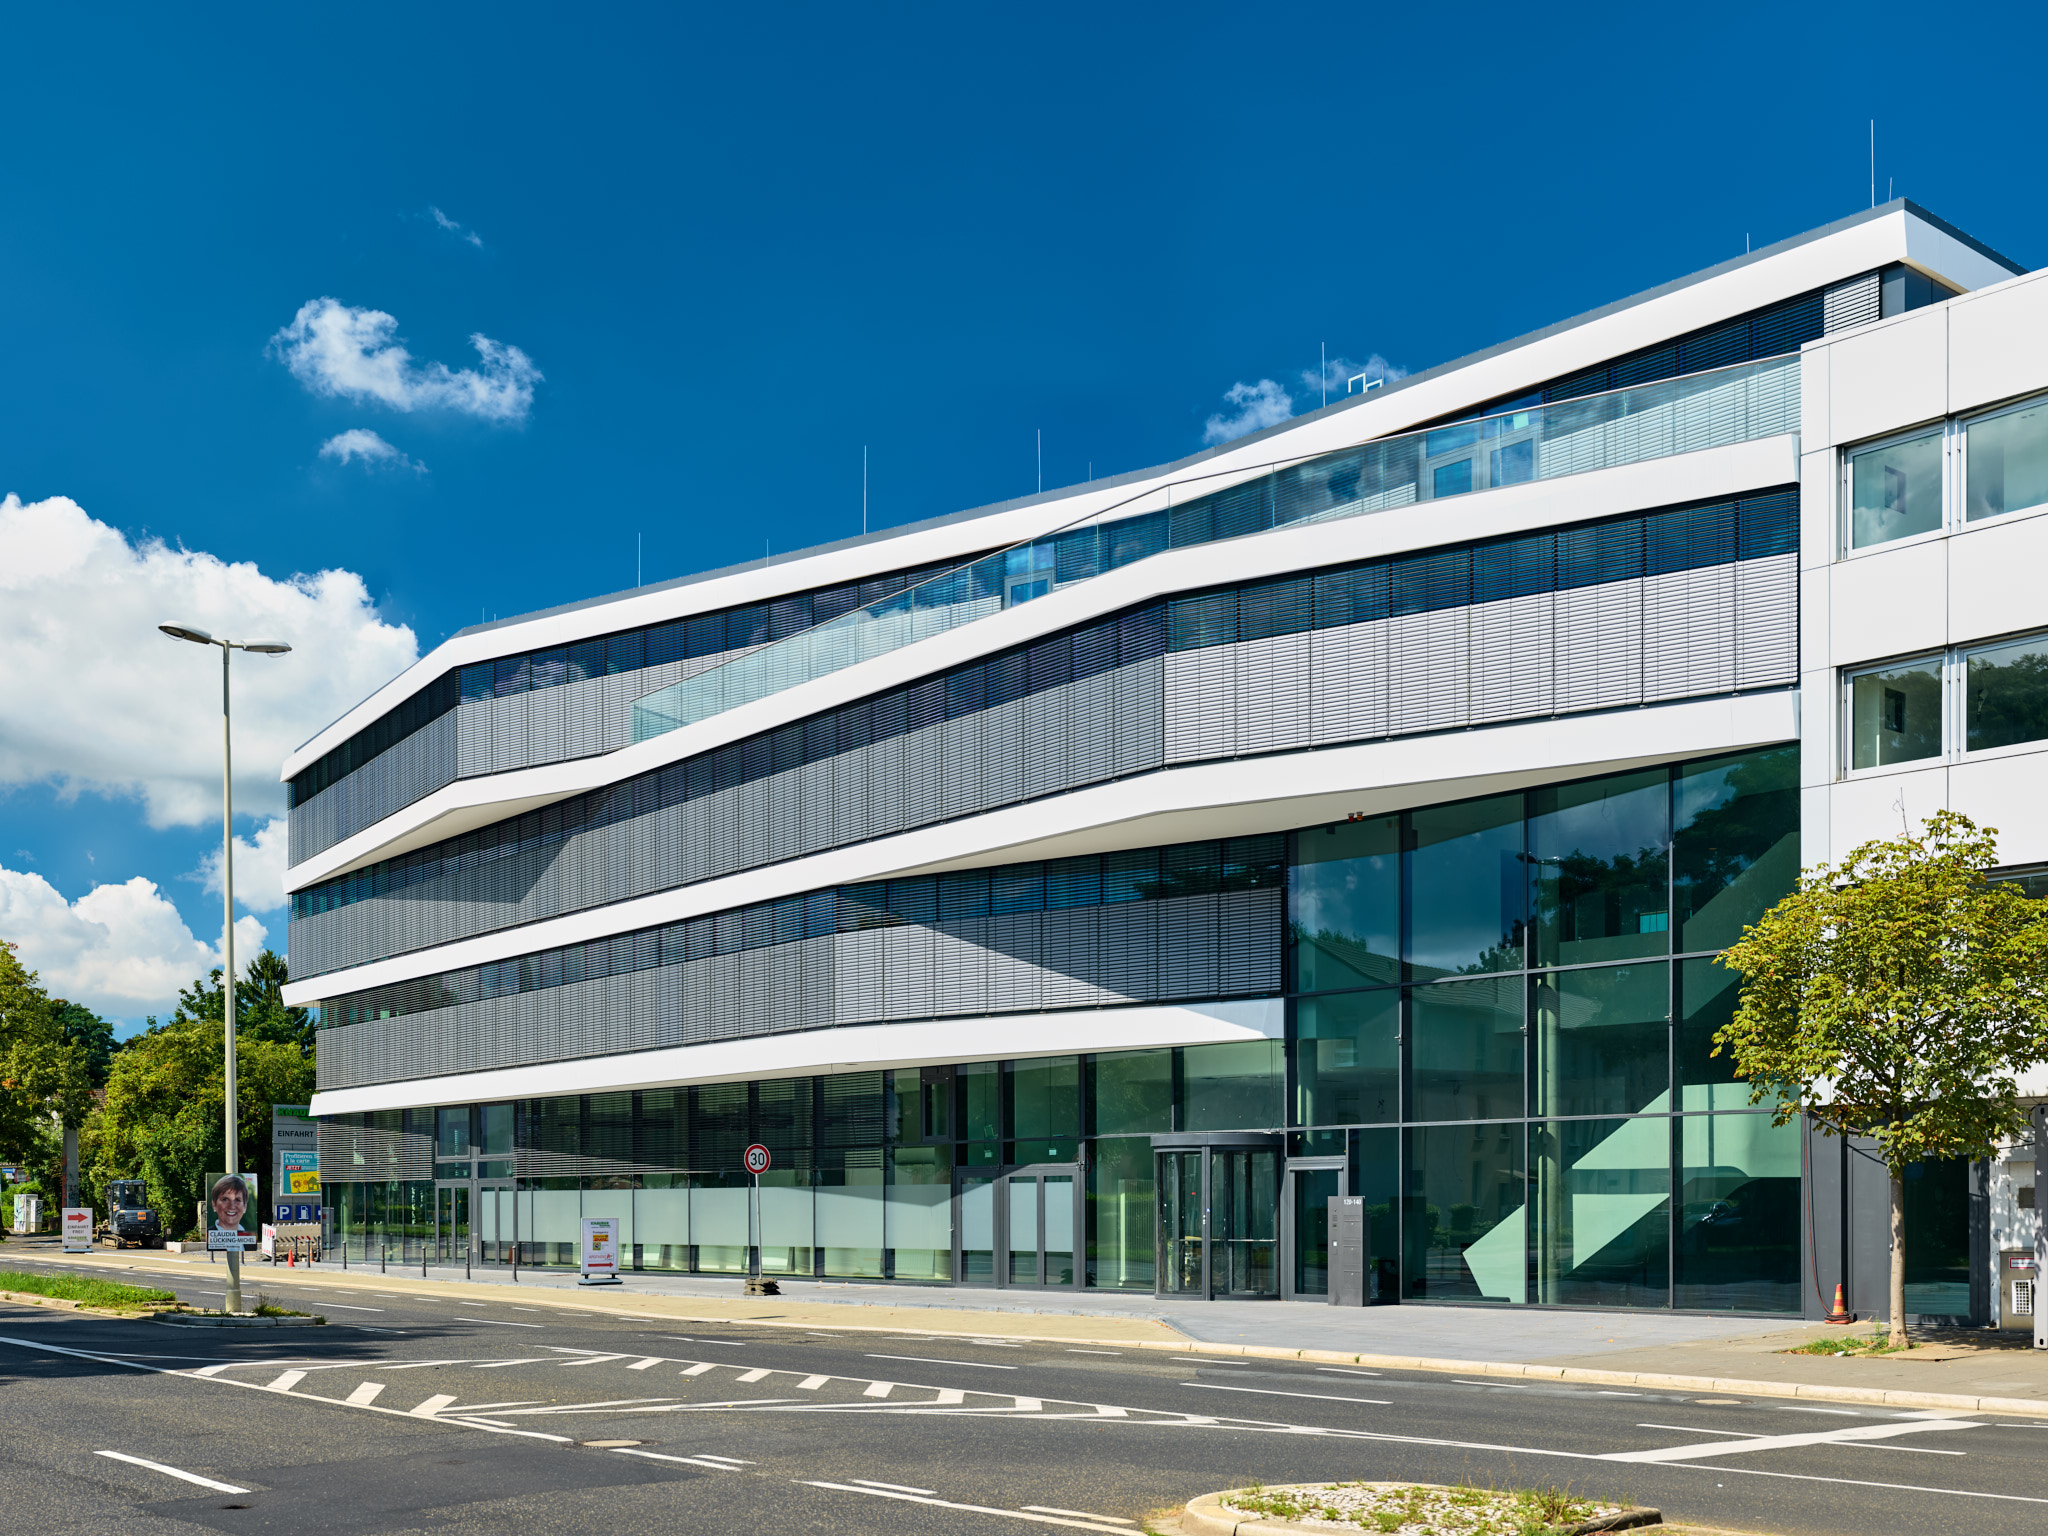
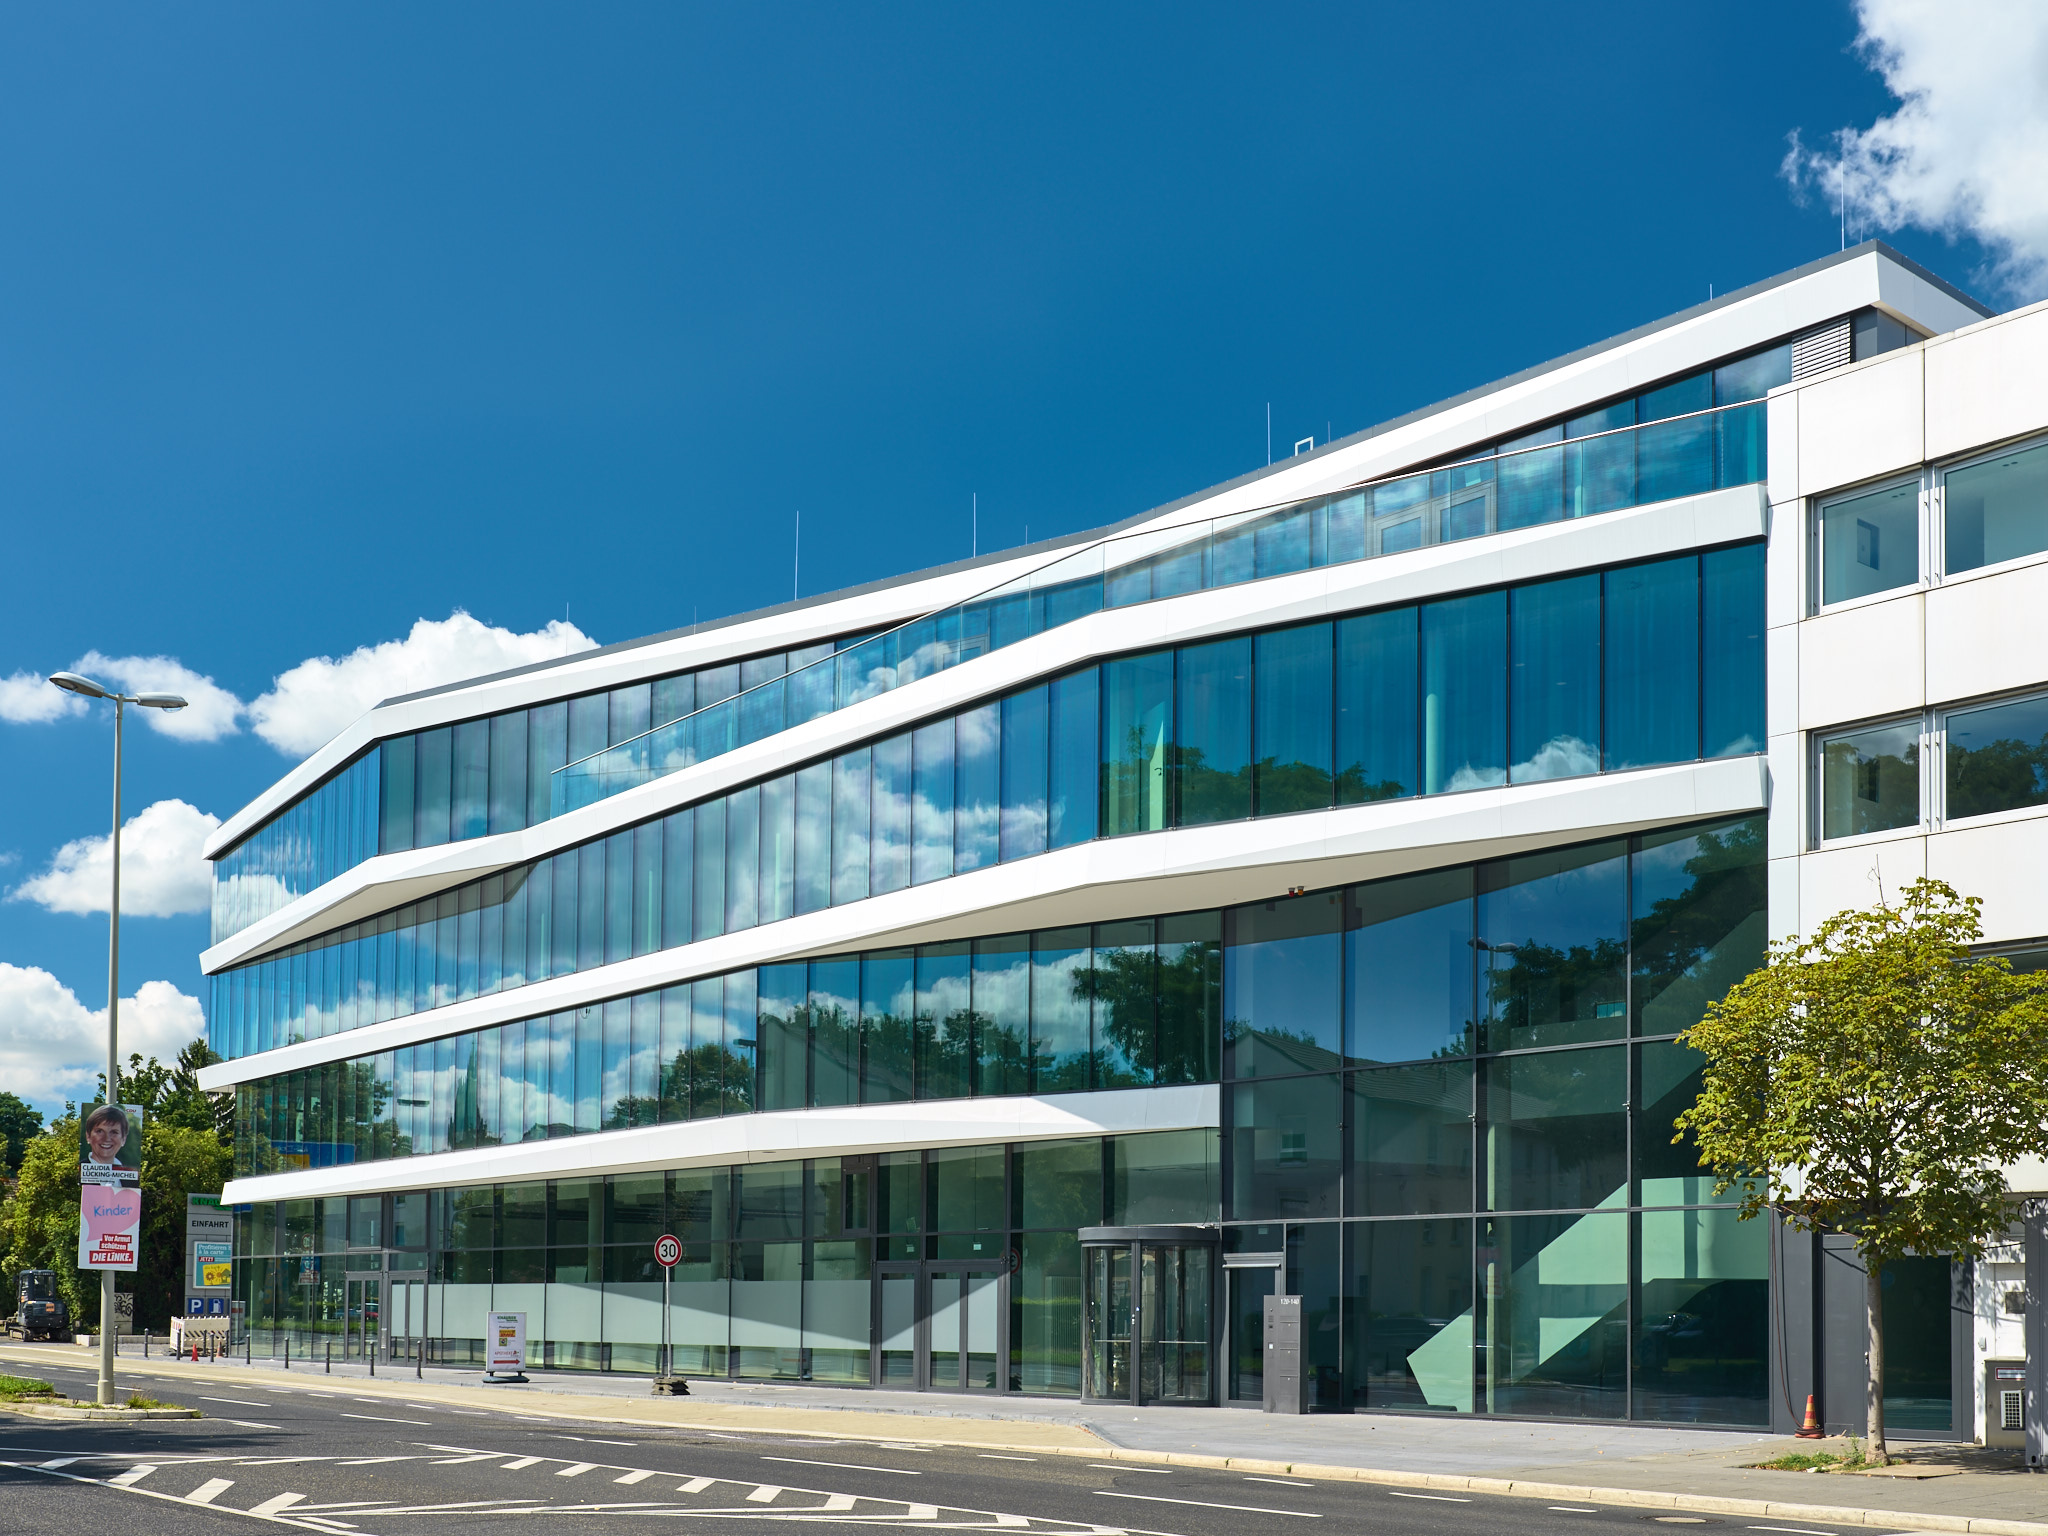
3 by 2 stitched and keystone corrected image using a panoramic head and the GF 32-64 @63mm
Pros
Cons
Using a shift lens is the classic way for architectural photography solving the problem of perspective correction. The problem with the new Fujifilm GFX 50s is, that there is no native shift lens yet.
I’ve got the Mamiya Sektor C 50mm shift lens from eBay for 550 Euro. With the Fotodiox Pro M645-GFX adapter this lens fits on the GFX 50s.
Mamiya 645 Sekor C 50mm/f4.0 @ f11 shift lens 10mm vertical shifted
Pros
Cons
Single shot keystone corrected image GF 32-64@44mm, ISO 100, 1/30, f13
Pros
Cons
The following gallery shows 100% crops from the upper right corner of the building:


The image quality of the pano is the best one followed by the single shot at @44mm. The IQ of the Mamiya lens is worse and not acceptable for a modern medium format camera.
In the end I prefer the solution using a panoramic head. The image quality is the best of all. I can shoot exteriors with my preferred focal length of 63mm (50mm full frame equivalent) wich gives the most natural field of view. It’s the most time consuming process, but it’s worth the result.
The simple one shot and keystone corrected result is also acceptable. This solution is simple and the most less time consuming way. You can avoid problems with ghosting and shooting handheld is possible.
The Mamiya shift lens is only acceptable for low resolution images. The IQ especially in the corners is really bad. Maybe I’ll give an Contax 645 Zeiss 35mm lens in conjunction with a shift adapter a try, but this will be a quite expensive way. 1.000 Euro for a used lens from eBay and additional 450 Euro for a Mirex adapter is not a cheap experiment.
Based on the panorama created from six images, I have used this source for retouching. It was done completely in Affinity Photo. I prefer this software over Photoshop, because it’s more easy to use and the recovery brush works very well in most situations. I was able to remove the street light on the left side just by masking it out.
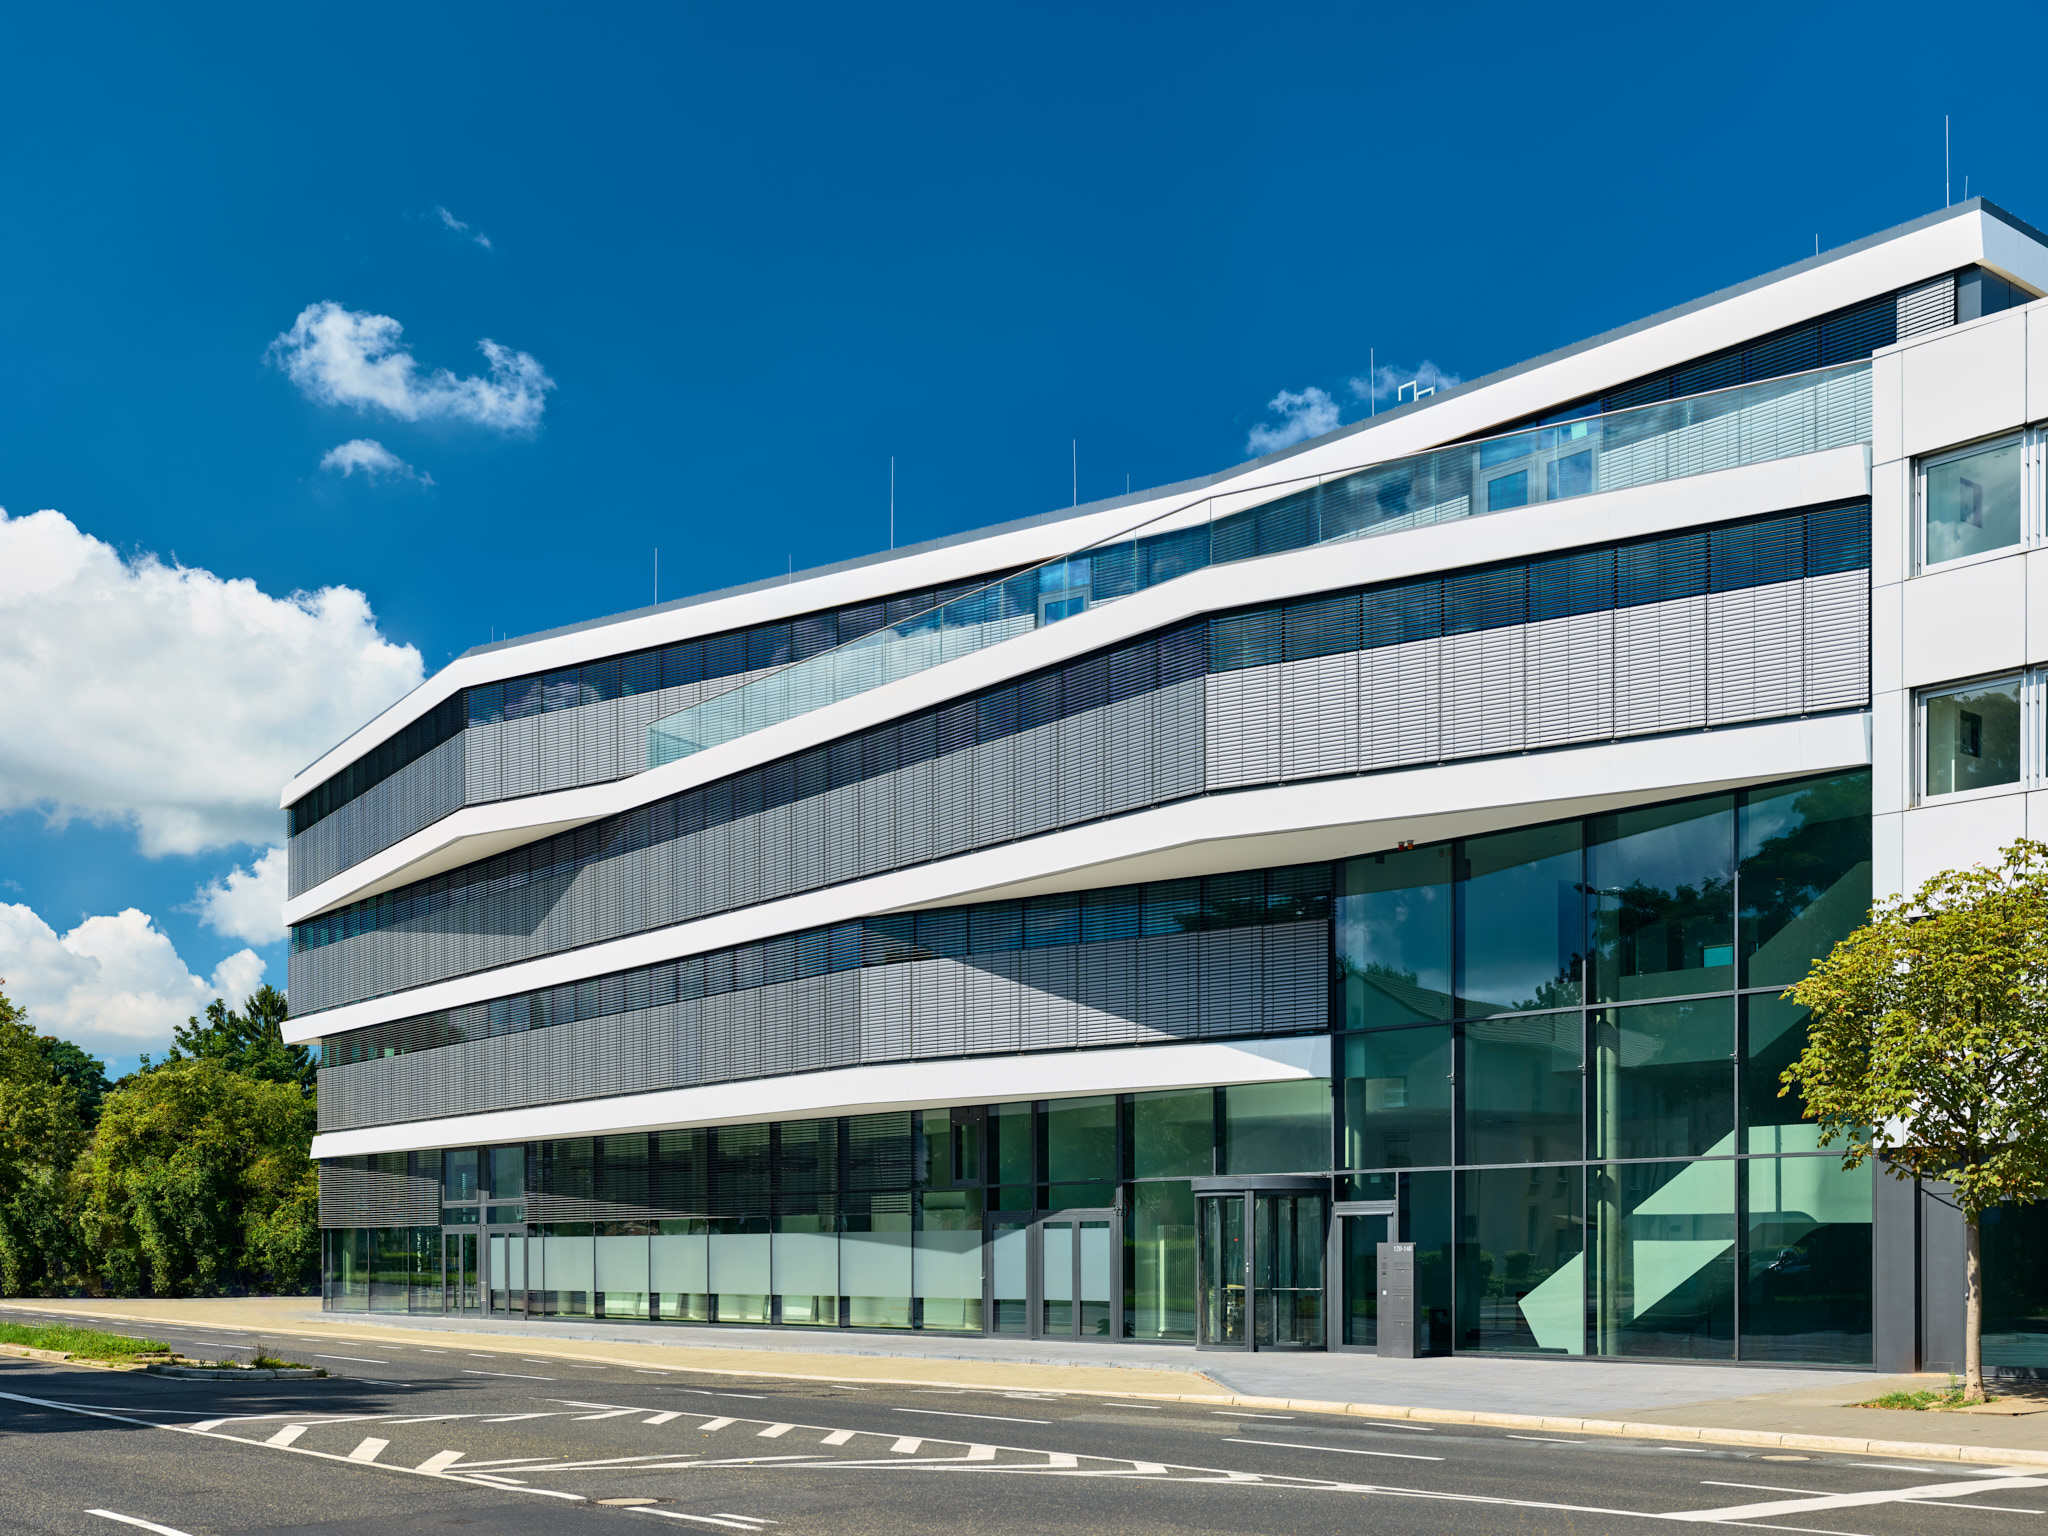
3×2 Panorama GF 32-64 @64mm retouched
Im Juni 2017 ging es mit dem Auto und der neuen Fujifilm GFX 50s auf eine Reise über Süddeutschland, den Lago Maggiore nach Ligurien an die Côte d’Azur bis nach Korsika.
Mein Fazit der Reise: 3500 Kilometer mit Ehefrau und Hund in einem Fiat 500 C vom Rheinland bis nach Korsika und zurück, waren eine kleine Herausforderung. Gefühlte 1000 Kilometer davon waren Serpentinen, weitere 1000 Kilometer Tunnel und Brücken. Das ganze bei 35 Grad. Die nächsten Wochen werde ich auf jeden Fall, so viel wie möglich, zu Fuß gehen und das Auto nur in Notfällen benutzen.
Auf jeden Fall freute ich mich, nach dem Einsatz der GFX bei Kundenprojekten, auf die ersten Landschaftsaufnahmen mit der neuen Mittelformatkamera von Fuji.
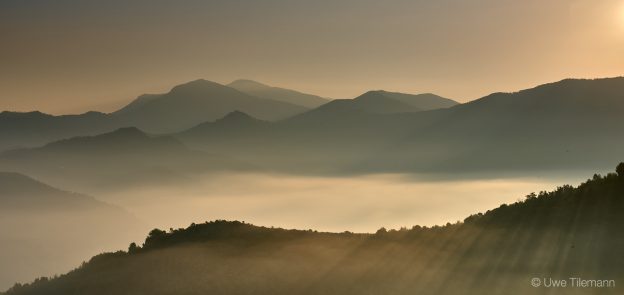
Für die meisten Landschaftsaufnahmen verwendete ich ein Stativ und das LEE 100mm Filtersystem. Das 100mm Deluxe Kit von LEE beinhaltet den „Landscape Polarizer“, den „Big Stopper“ zur Verlängerung der Belichtungszeit um 10 Blenden und einen Satz mit drei ND graduierten Filtern. Der LEE Filterhalter wurde mit einem entsprechendem Weitwinkeladapter an das 77mm Gewinde der Fujinon Optik montiert.

Fujifilm GFX 50s mit montiertem LEE 100mm Filtersystem. Blick auf das Bavella Gebirge in Korsika beim Sonnenaufgang.
Als Stativ kam ein DÖRR Cybrit Maxi 3-BA zum Einsatz. Diese kompakte Reisestativ hatte ich vor einiger Zeit für die OM-D gekauft. Es ist zwar leicht, erwies sich aber im Verbindung mit der schwereren GFX oder gar mit dem Panoramakopf VR-System Pro von Novoflex, als nicht ganz brauchbar. Zu wackelig für extreme Situationen mit Wind oder losem und steilen Untergrund. Die Aufnahmen vom Wasserfall „Piscia du Gallo“ auf Korsika waren manchmal minimal verwackelt bei einer Belichtungszeit von 1/4 bis zu 1,5 Sekunden, trotz 2 Sekunden Selbstauslöser. Für diesen Zweck muss sich etwas Optimaleres finden. Als „Walking Tripod Stick“ auf dem Rückweg des Trails zum Wasserfall war es nach 3 Stunden kraxeln doch ganz hilfreich.
Mein Fazit zur GFX: Die GFX 50s ist eine großartige Kamera. Für das (kleine) Mittelformat mit einer Sensorgröße von 44 x 33mm eine erstaunlich tragbare, robuste und zugleich gutmütige Kamera. Meine Backup-Kamera eine Olympus OM-D E-M1 MK I die ich auf die Reise mitnahm, blieb die ganze Zeit ungenutzt.
Die 51,4 Megapixel erfordern zwar eine ruhige Hand und eine entsprechende Belichtungszeit bei längeren Brennweiten. Das Fujinon GF32-64mmF4 macht mit seinem Zoombereich von 25-50mm im Kleinbildformat das Objektiv zu einem guten Allrounder. Nur das Gewicht und die Abmessung der Linse sind schon etwas heftig. Am relativ kurz eingestellten Tragegurt ließ sich die Kamera trotzdem ganz ordentlich, auch bei etwas längeren Gängen, mitführen.
Das Zoomobjektiv bietet auch für Portraits bei kurzer Distanz, langer Brennweite und Blende 4.0 eine sehr gute Freistellung. Es ist am Anfang nicht ganz leicht, hier den Schärfepunkt exakt zu treffen. Bei einigen Aufnahmen, die in der JPEG-Vorschau gut aussahen, war das entsprechende Auge doch nicht 100%ig scharf getroffen. Hier bedarf es noch ein wenig mehr Übung. Ebenso ist meine Erfahrung, dass bei 64 mm Brennweite die Belichtungszeit mindestens 1/125 Sekunden betragen sollte. Eine 1/60 führt oft zu einem leicht verwackelten Bild.
Das Menüsystem von Fujifilm ist bekanntermaßen sehr funktional, auch wenn ich noch nicht alles kenne. Die für mich wichtigsten Einstellmöglichkeiten habe ich jedoch schnell gefunden. Das Quickmenü ist hilfreich, ebenso wie die Möglichkeit individuelle Einstellungen in ein Benutzermenü zusammenzufassen. Eine Erholung wenn man das Menü-Chaos von Olympus kennt.
Die Wasserwaage und deren Visualisierung ist sehr hilfreich und sinnvoll. Das Betrachten der JPEG-Vorschau durch den 3,69 Megapixel Sucher ist für mich als Brillenträger optimal. Die Zoomfunktion und Ausschnittverschiebung, das ganze Handling der Touch-Oberfläche ist sehr funktional gelöst.
Mit der GFX gehe ich noch überlegter und bewusster beim Fotografieren vor. Weniger Aufnahmen und mehr Zeit für Komposition und Bildwirkung. Alle Aufnahmen habe ich manuell gemacht. Das Konzept von Fujifilm mit der manuellen Einstellung der Blende am Objektiv und den separaten Einstellrädern für ISO und Zeit, kommt dem sehr entgegen. Nach einiger Zeit weiss man schon vorher ziemlich genau, welche Einstellungen für eine Lichtsituation notwendig sind. Hier stellt sich wieder das Gefühl aus der analogen Fotografie ein.
Die Faszination des Mittelformats macht sich auf jeden Fall beim ausgedruckten Print richtig bemerkbar. Die Bildwirkung ist irgendwie magisch. Eine dezidierte Schärfe bei Blende 4.0 mit entsprechender Freistellung vor dem Hintergrund und schönem Bokeh. Extreme Details und ein hoher Dynamikumfang lassen Landschaftsaufnahmen aufblühen.
So schnell werde ich diese Kamera nicht wieder hergeben. Ich bin begeistert ;-).
Hier eine kleine Auswahl an Bildern von dieser Reise.


Dieser Beitrag spiegelt meine eigene Meinung wieder. Ich stehe in keinem Verhältnis zu den hier erwähnten Firmen.
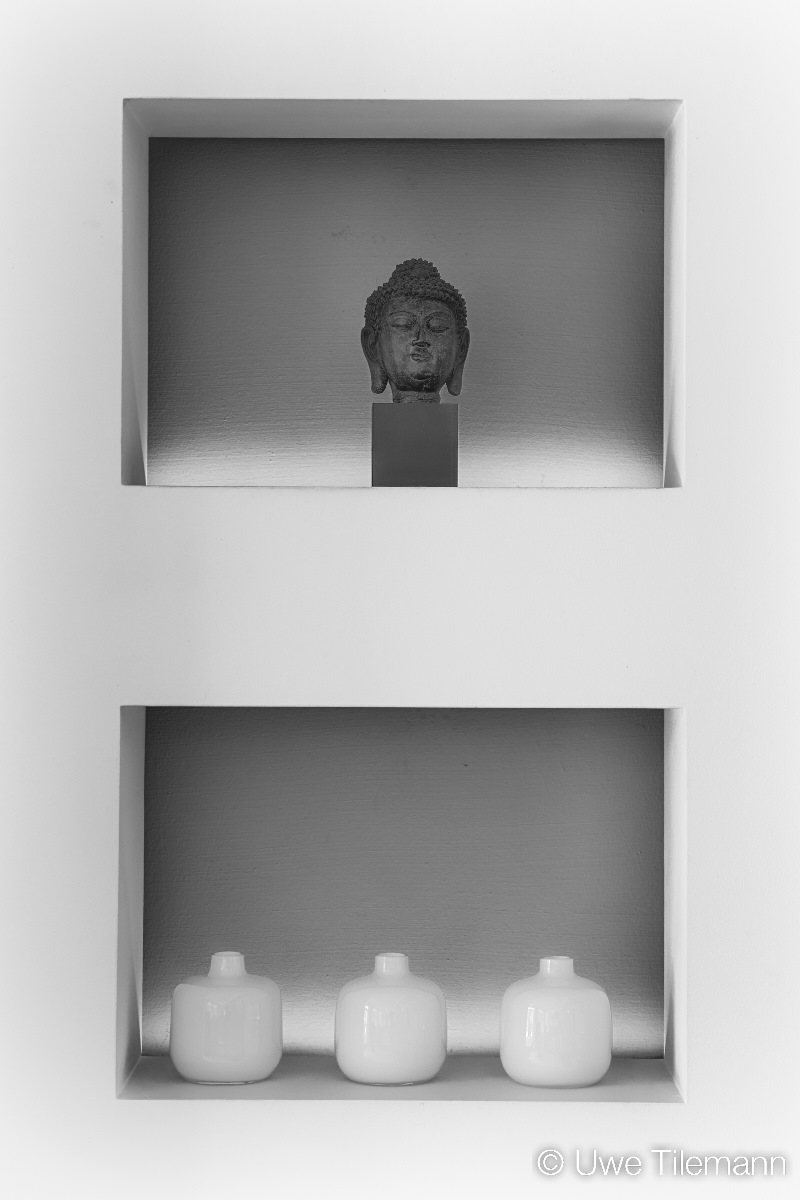
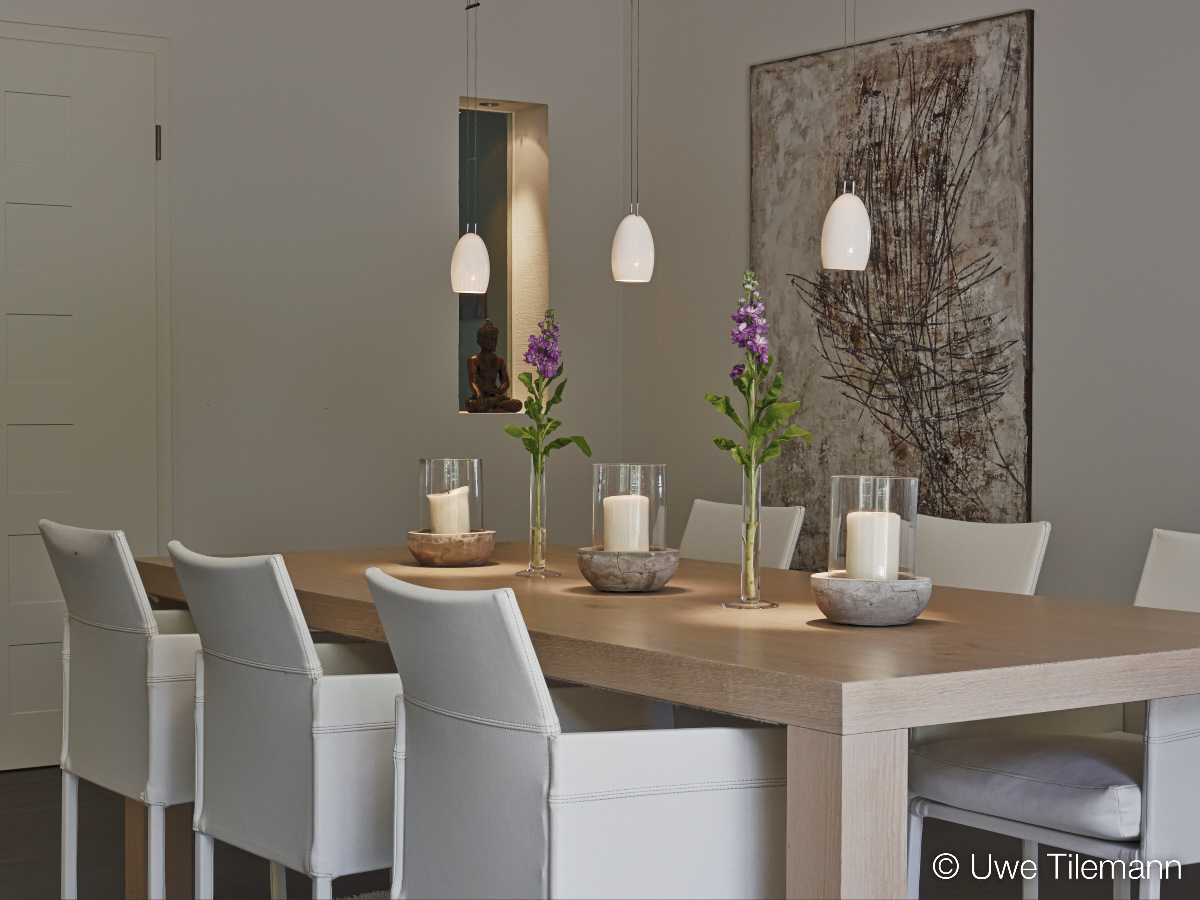
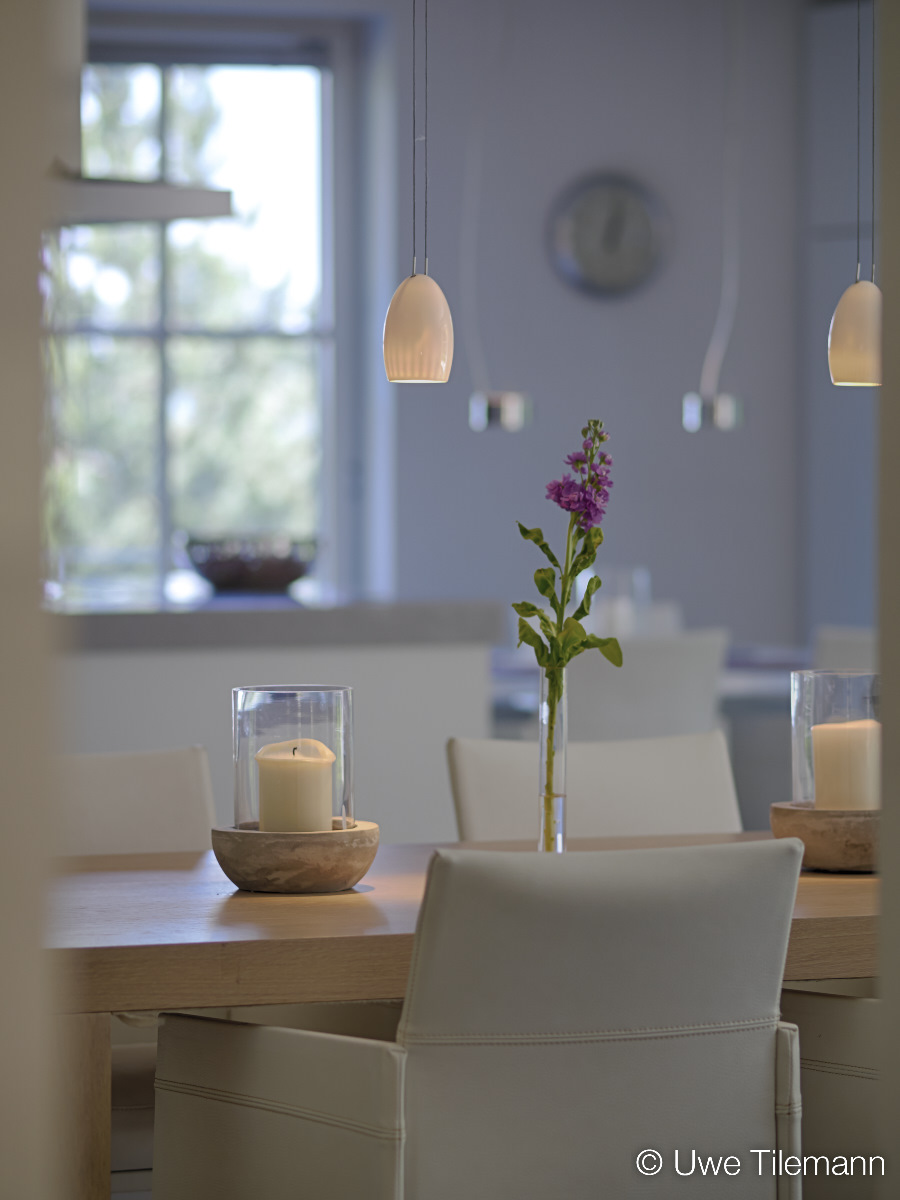
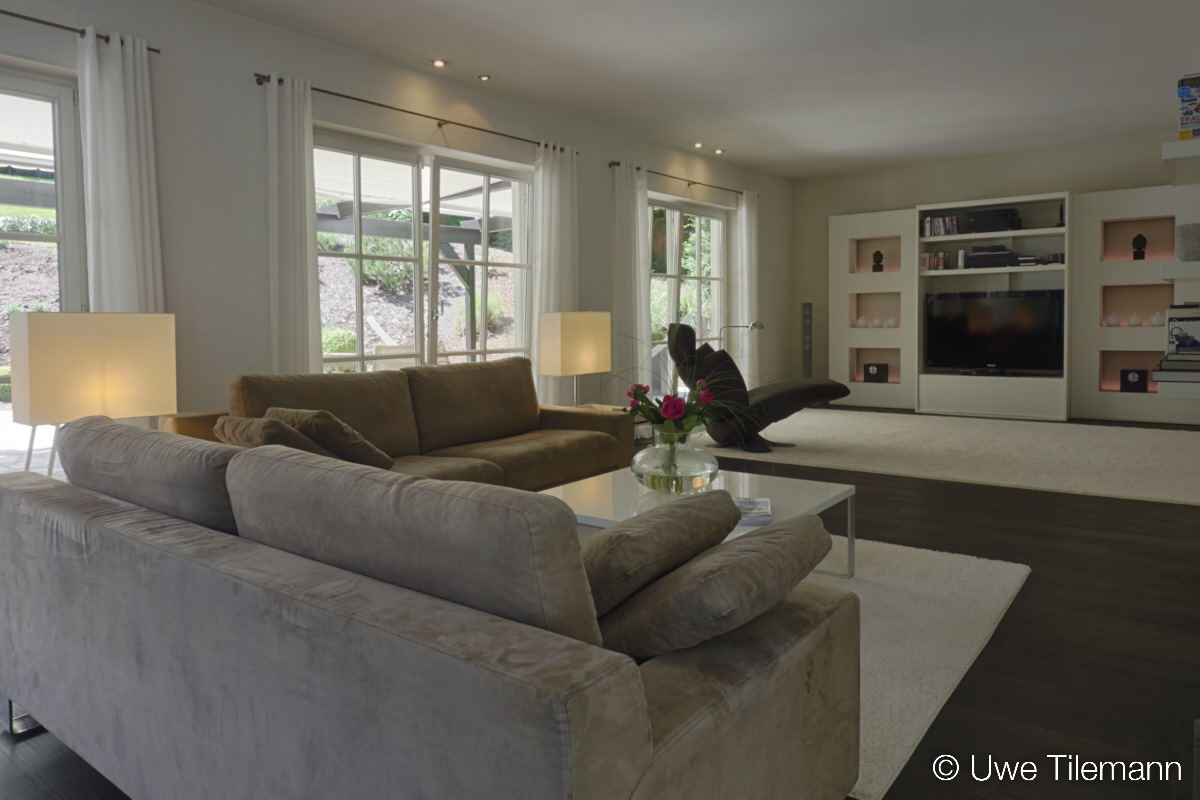
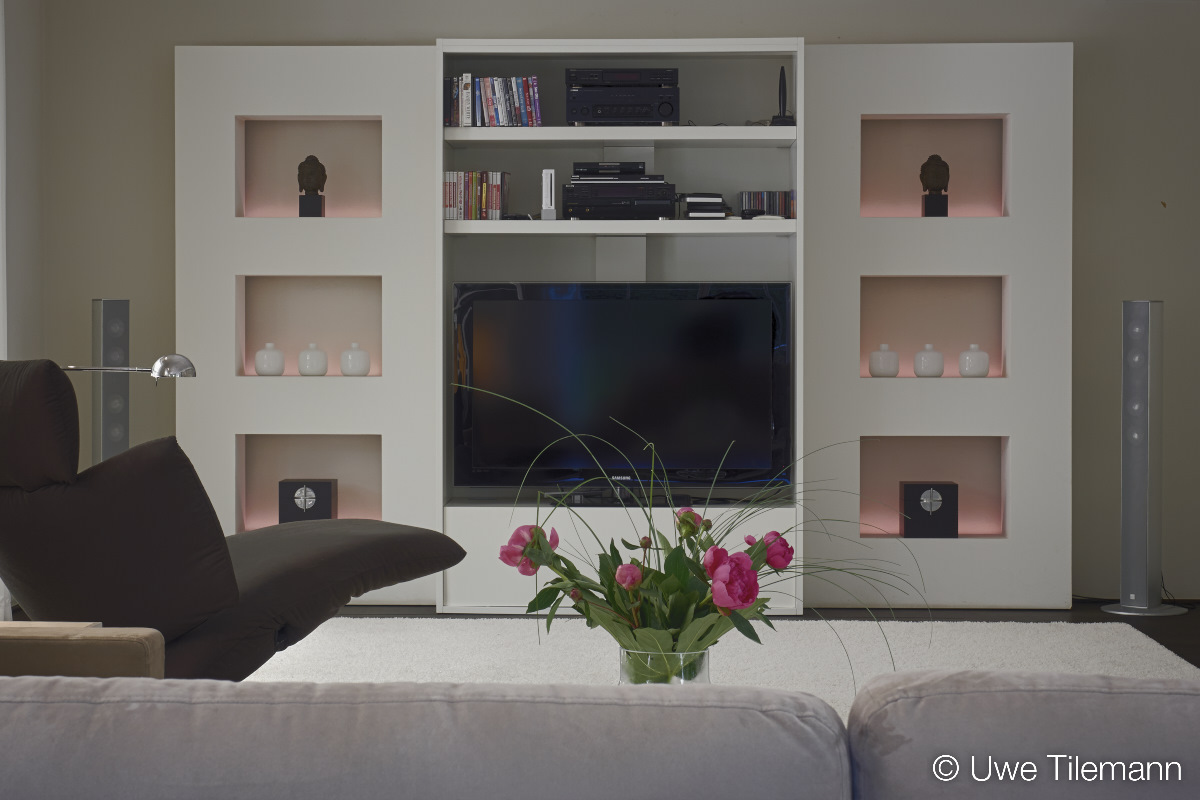
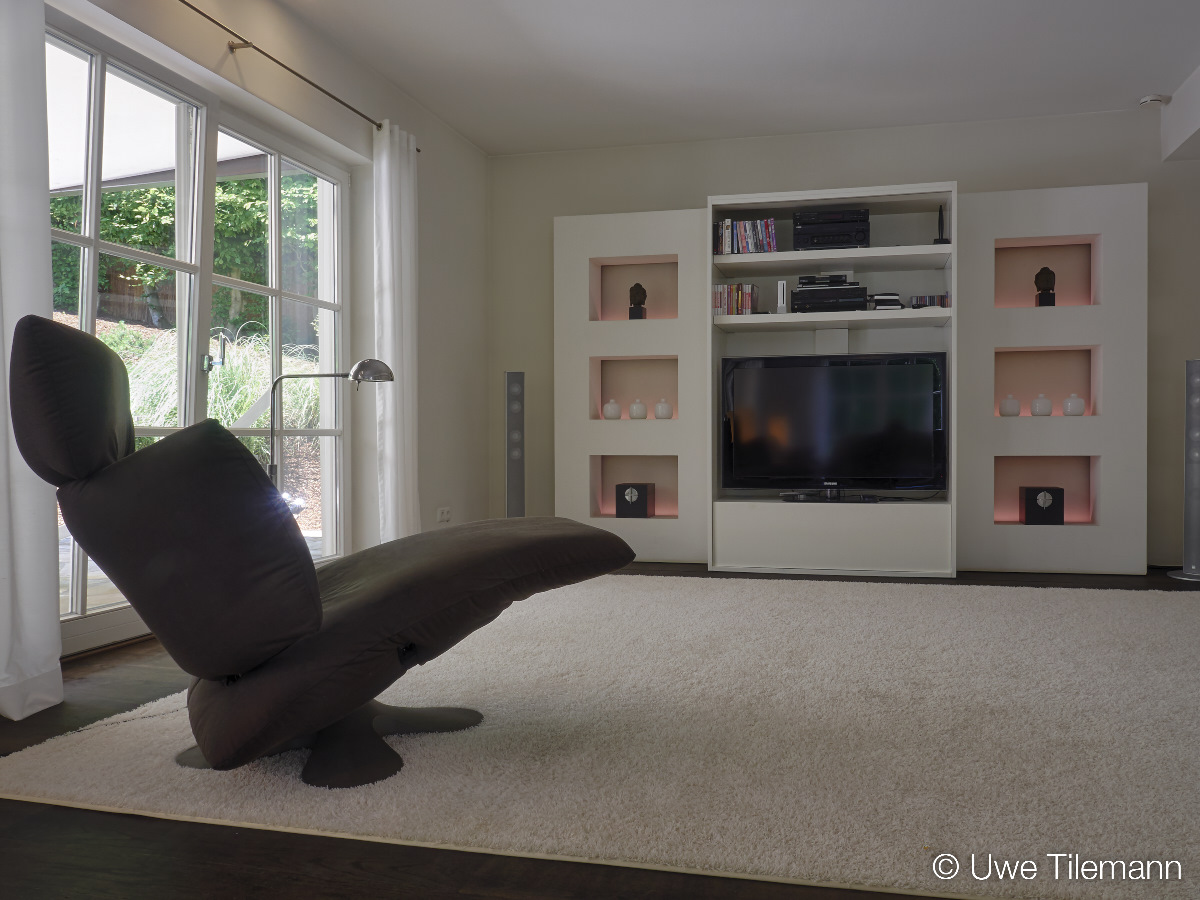
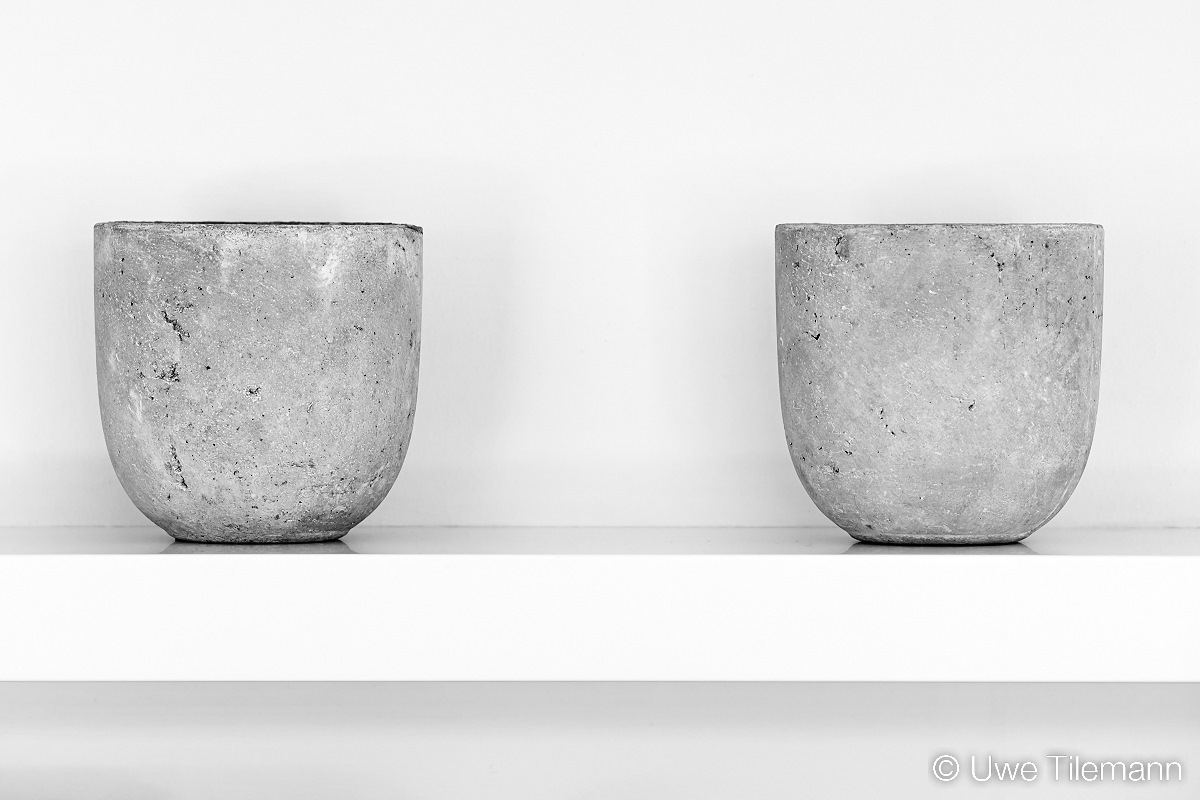
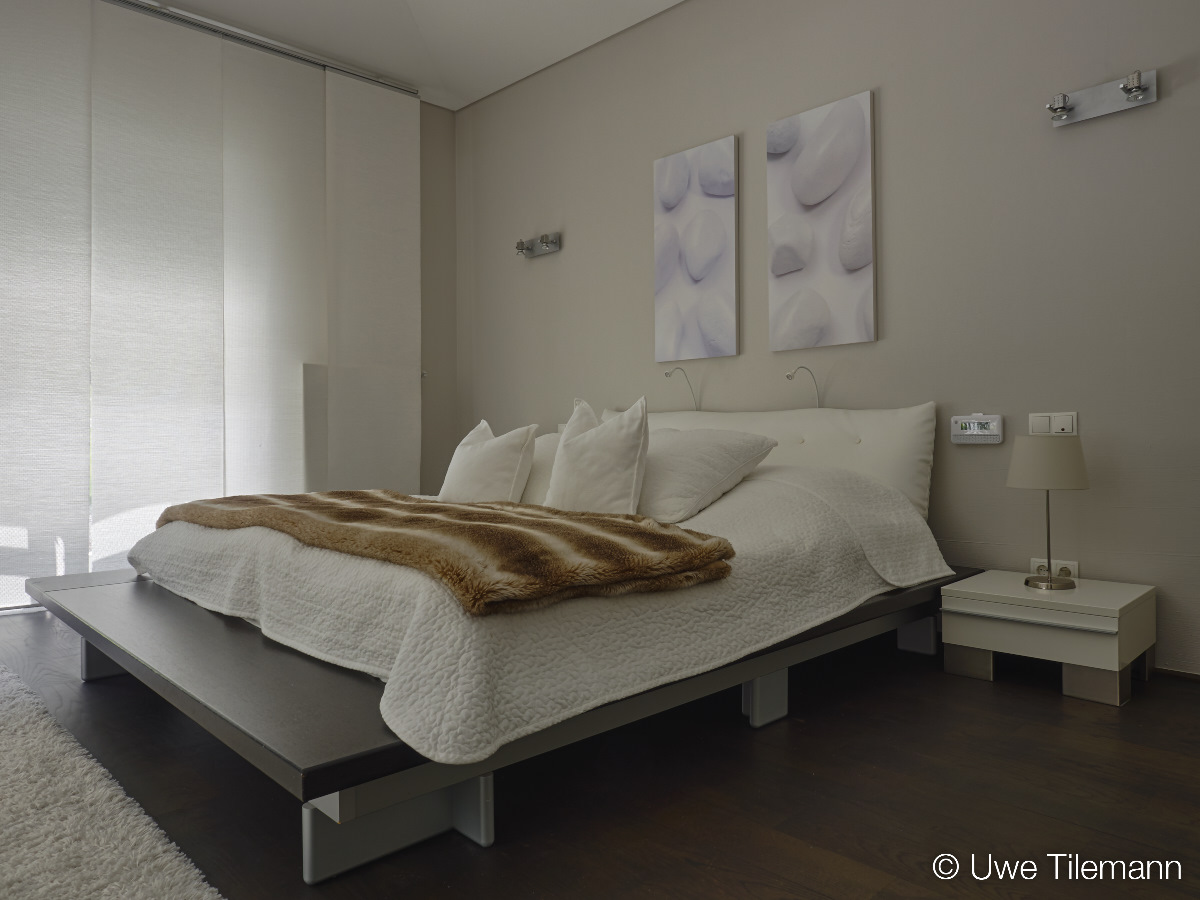
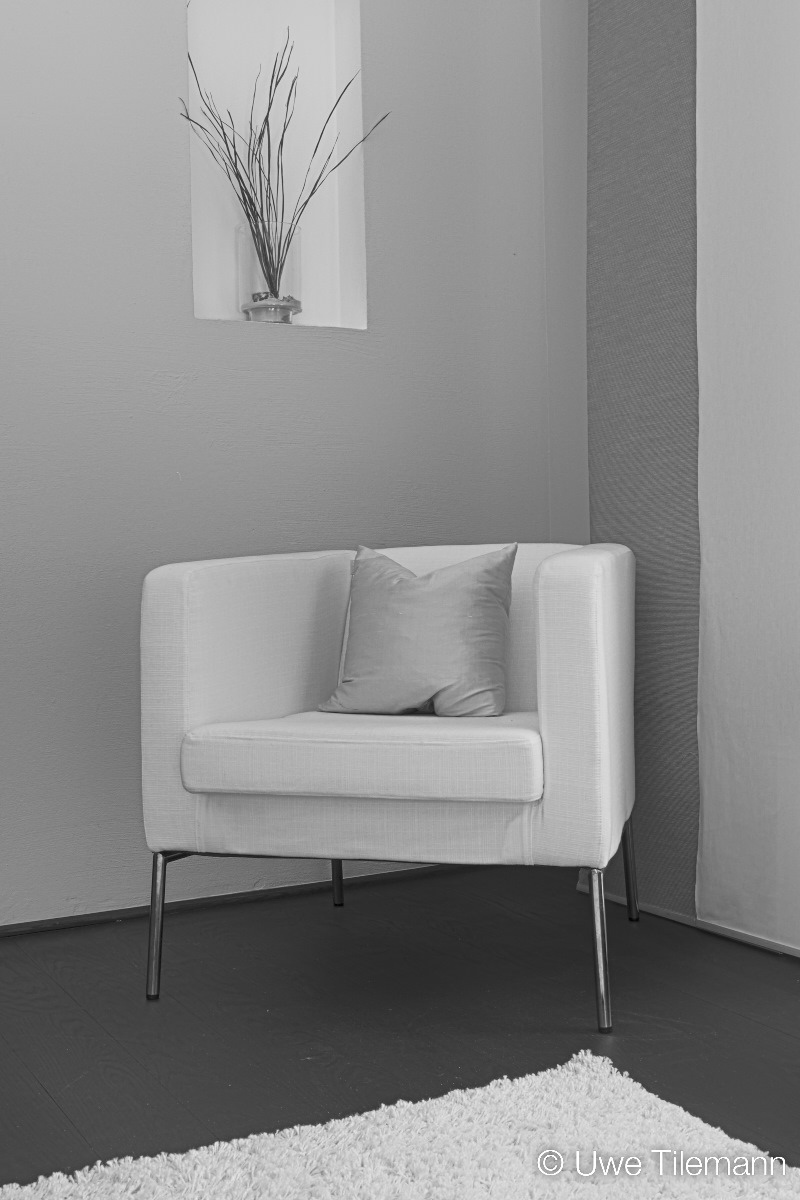
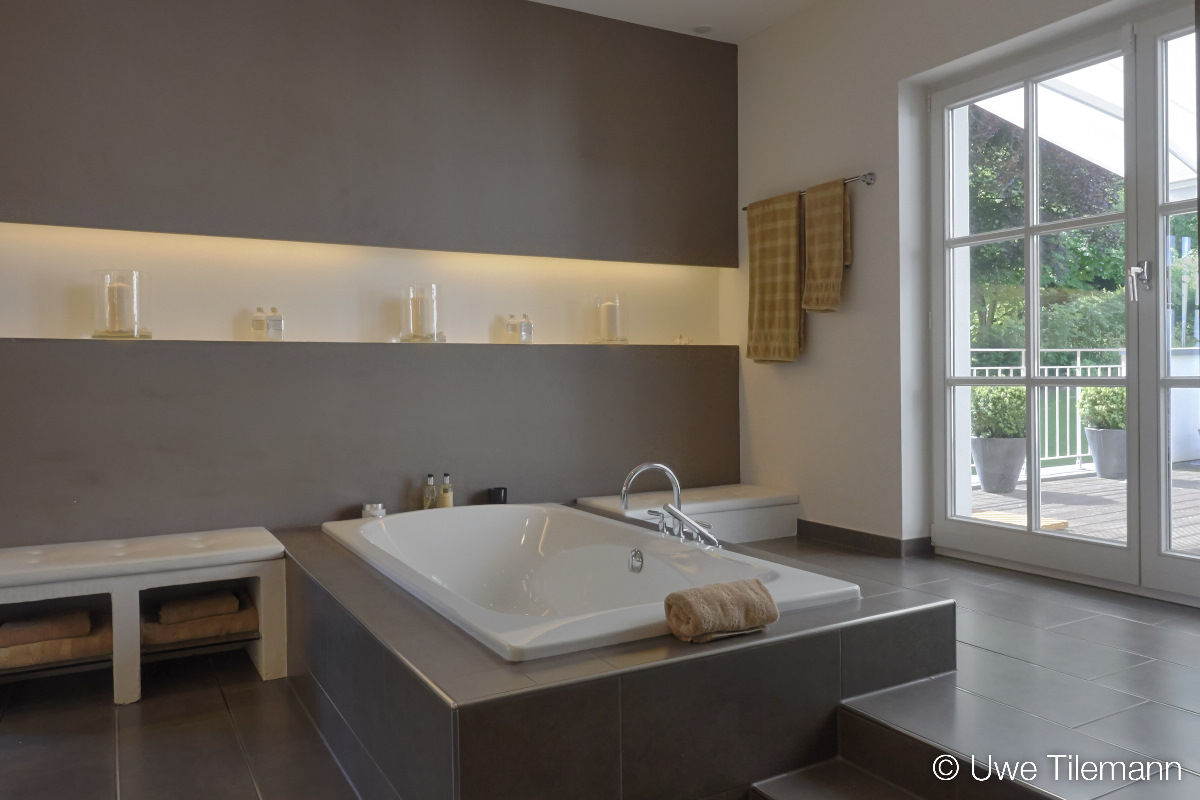
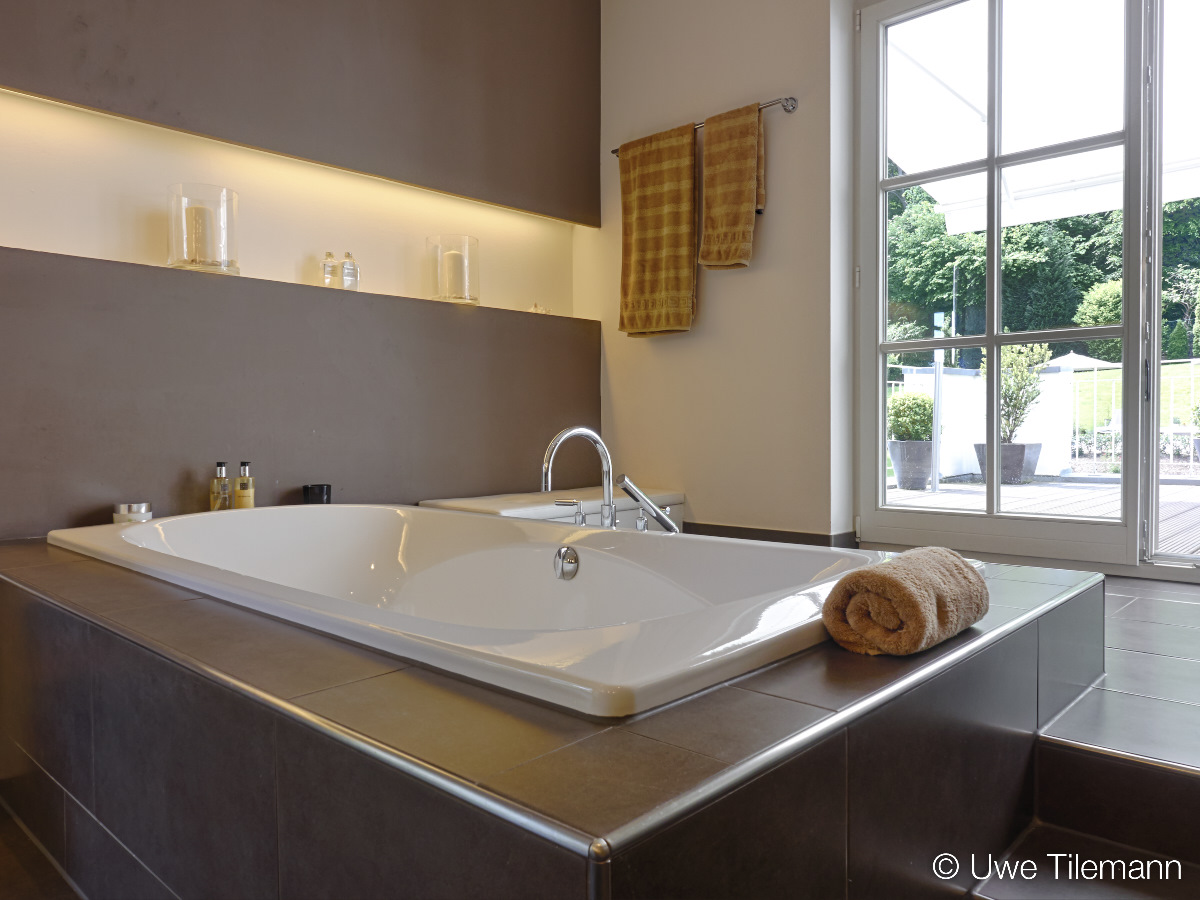
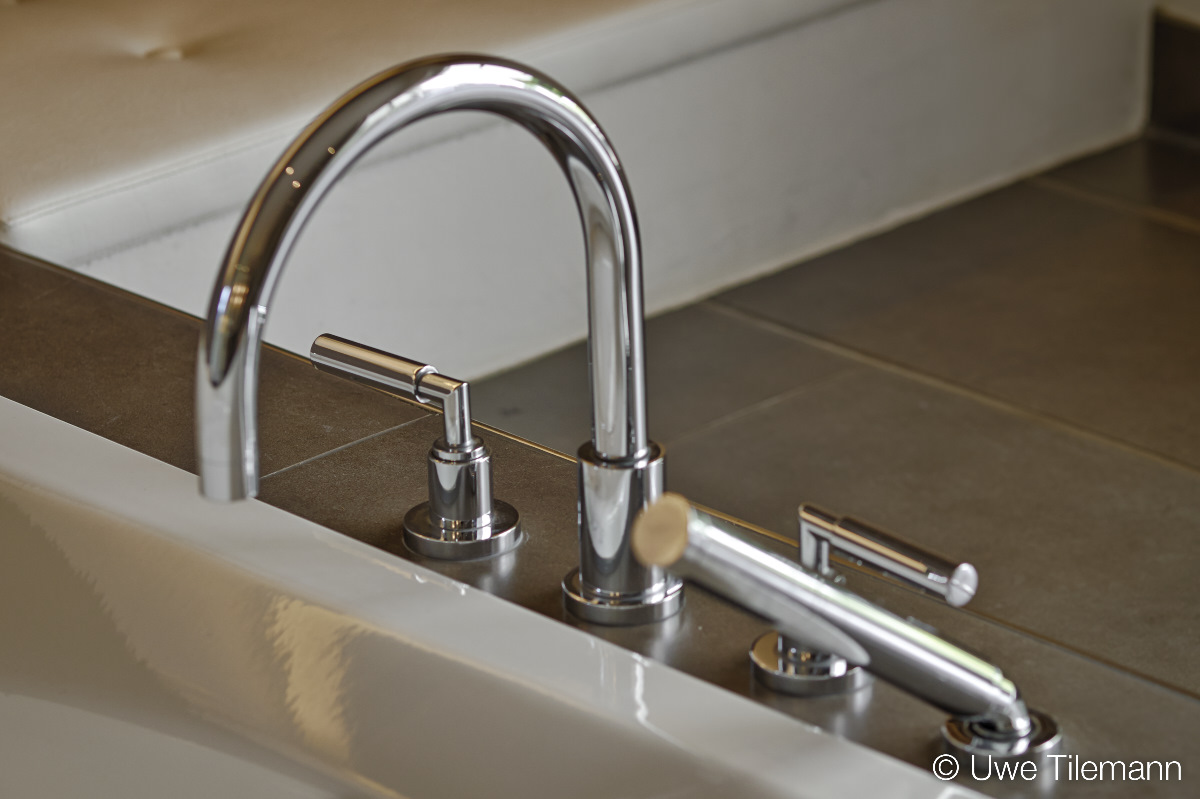
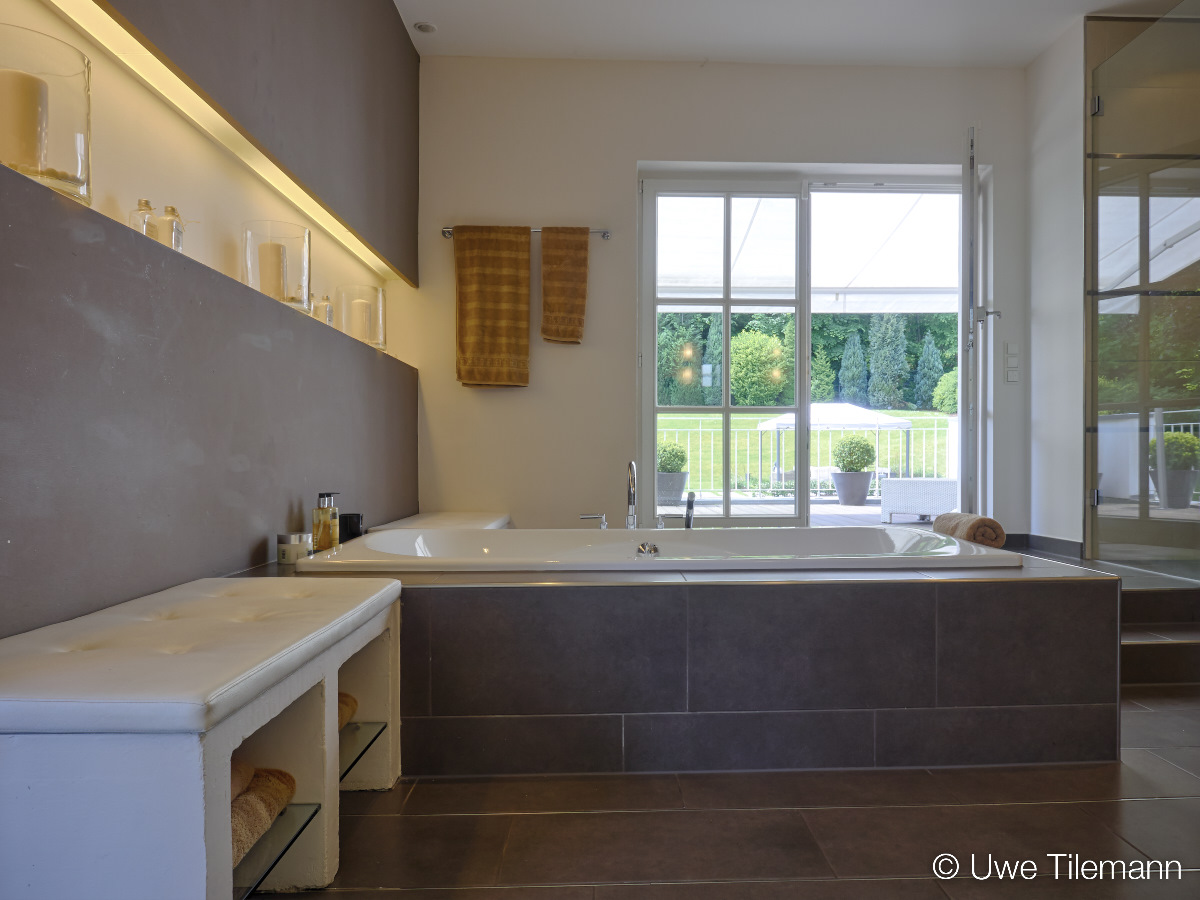
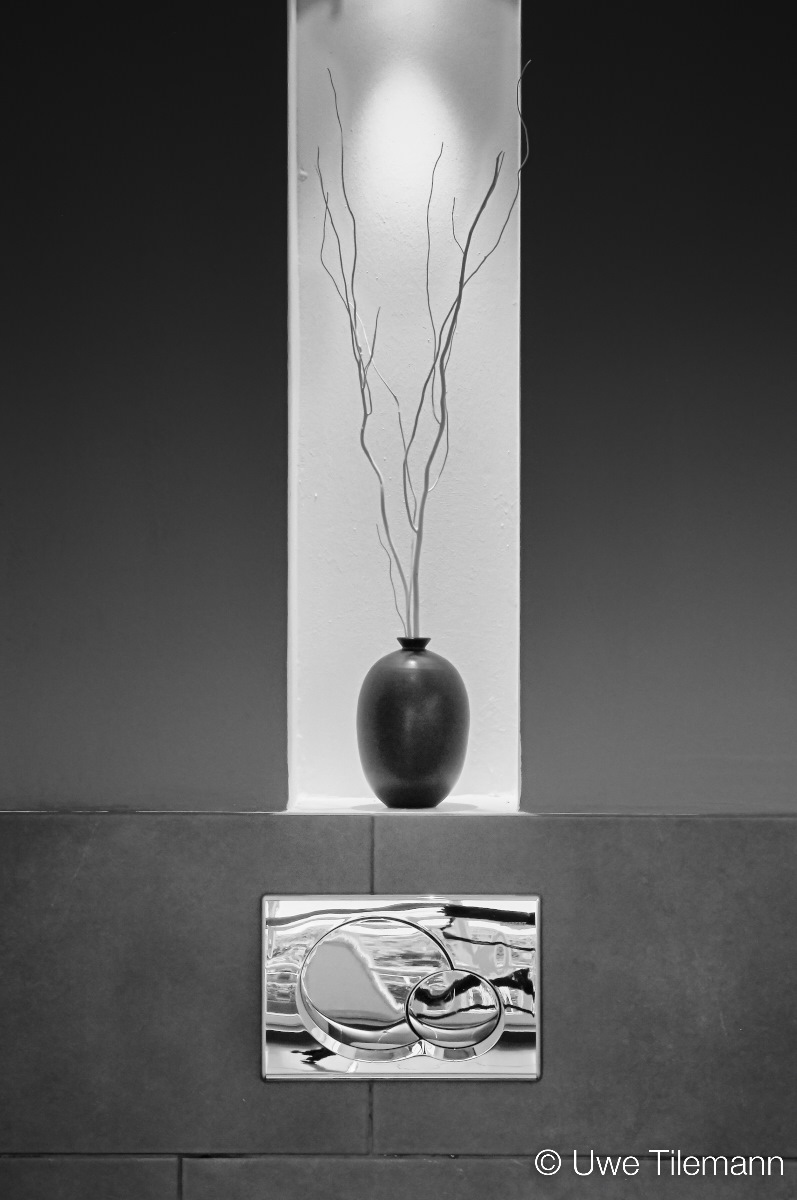
Ende Mai 2014 entstanden folgende Fotos eines moderniserten Einfamilienhauses aus den 1950er Jahren:


Ende Januar 2014 fand für Udelhofen Immobilien Bonn ein Foto-Shooting für eine Business Kampagne statt.
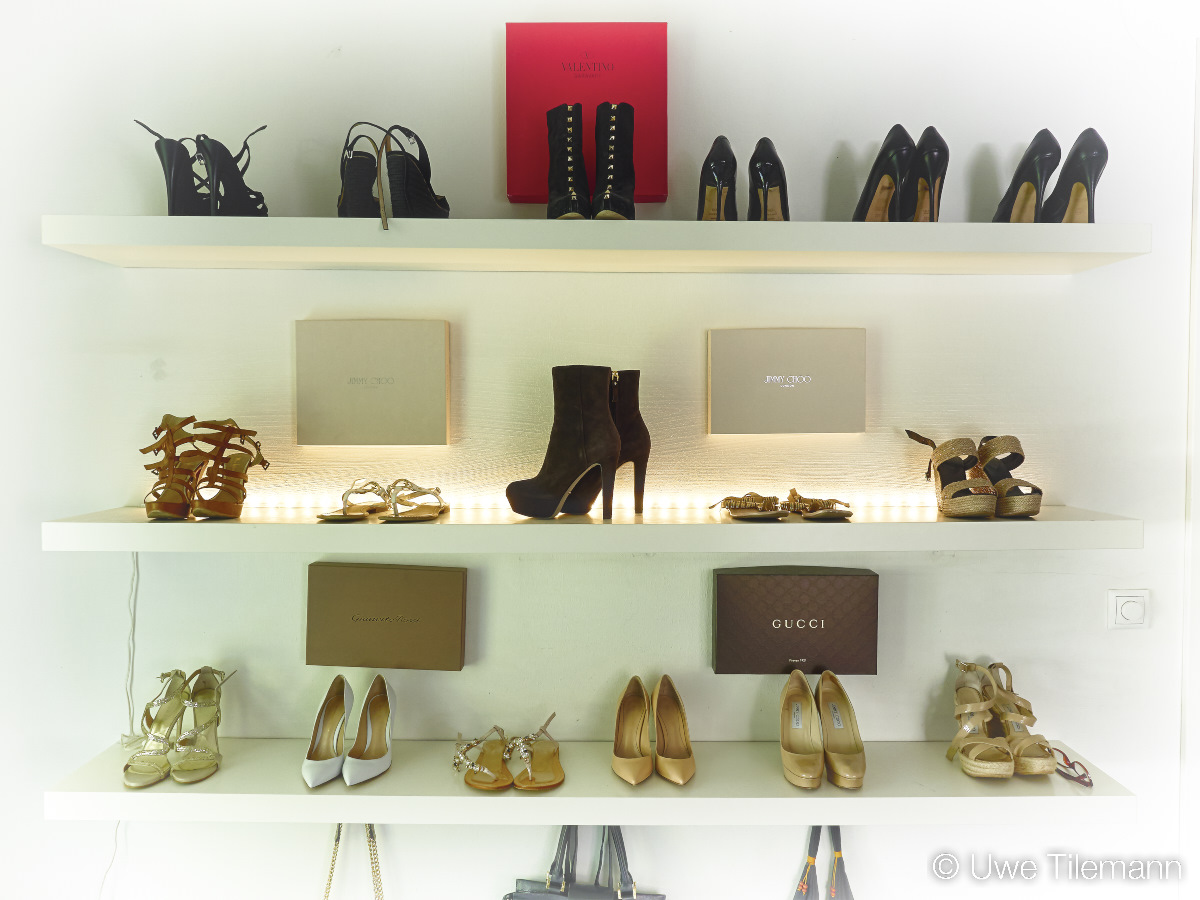
Anlass war der Bezug der neuen Geschäftsräume in Sankt Augustin durch die Tomescheit GmbH und die am 13. März 2014 stattfindende Neueröffnung der Schokowelt Sankt Augustin.
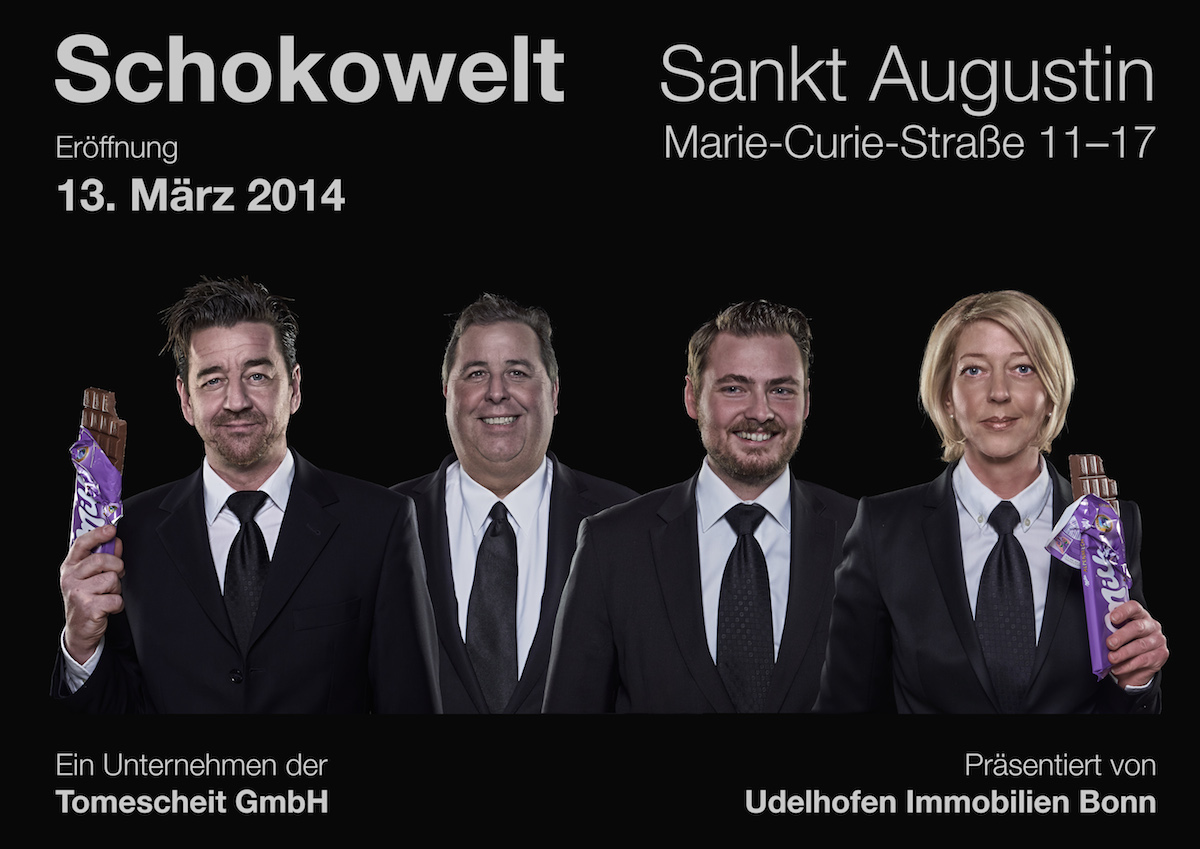
Business Kampagne für Udelhofen Immobilien Bonn
Die Schokowelt Tomescheit GmbH bietet auf ca. 300 m² Verkaufsfläche köstliche Schokoladenspitzenprodukte weltweit bekannter, namhafter Hersteller an, die das Herz des Schokoladenliebhabers höher schlagen lassen. Wer große Mengen günstig einkaufen möchte ist hier ebenso willkommen, wie derjenige, der hervorragende Qualität zum günstigen Preis erwerben mag. Im umfangreichen Sortiment befinden sich ebenso Textilien wie Handtaschen, Mützen und Jacken der Firma Milka und vieles mehr.
Nach Eintreffen des Lee Filter Systems Sev5n von linhofstudio.com mit Verlaufsfilter, Polariser und dem Big Stopper, der eine Verlängerung der Belichtung um 10 Blendenstufen erlaubt, habe ich heute einige neue Bilder vom Posttower in Bonn erstellt.
Die Belichtungszeiten einiger Bilder konnten dank des Big Stopper auf 40 bis 60 Sekunden verändert werden.