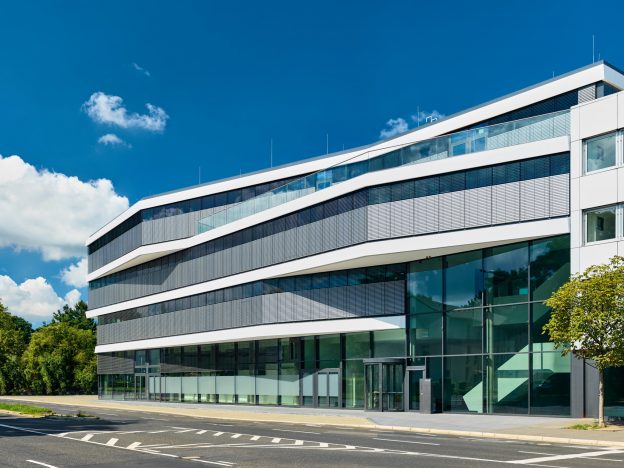
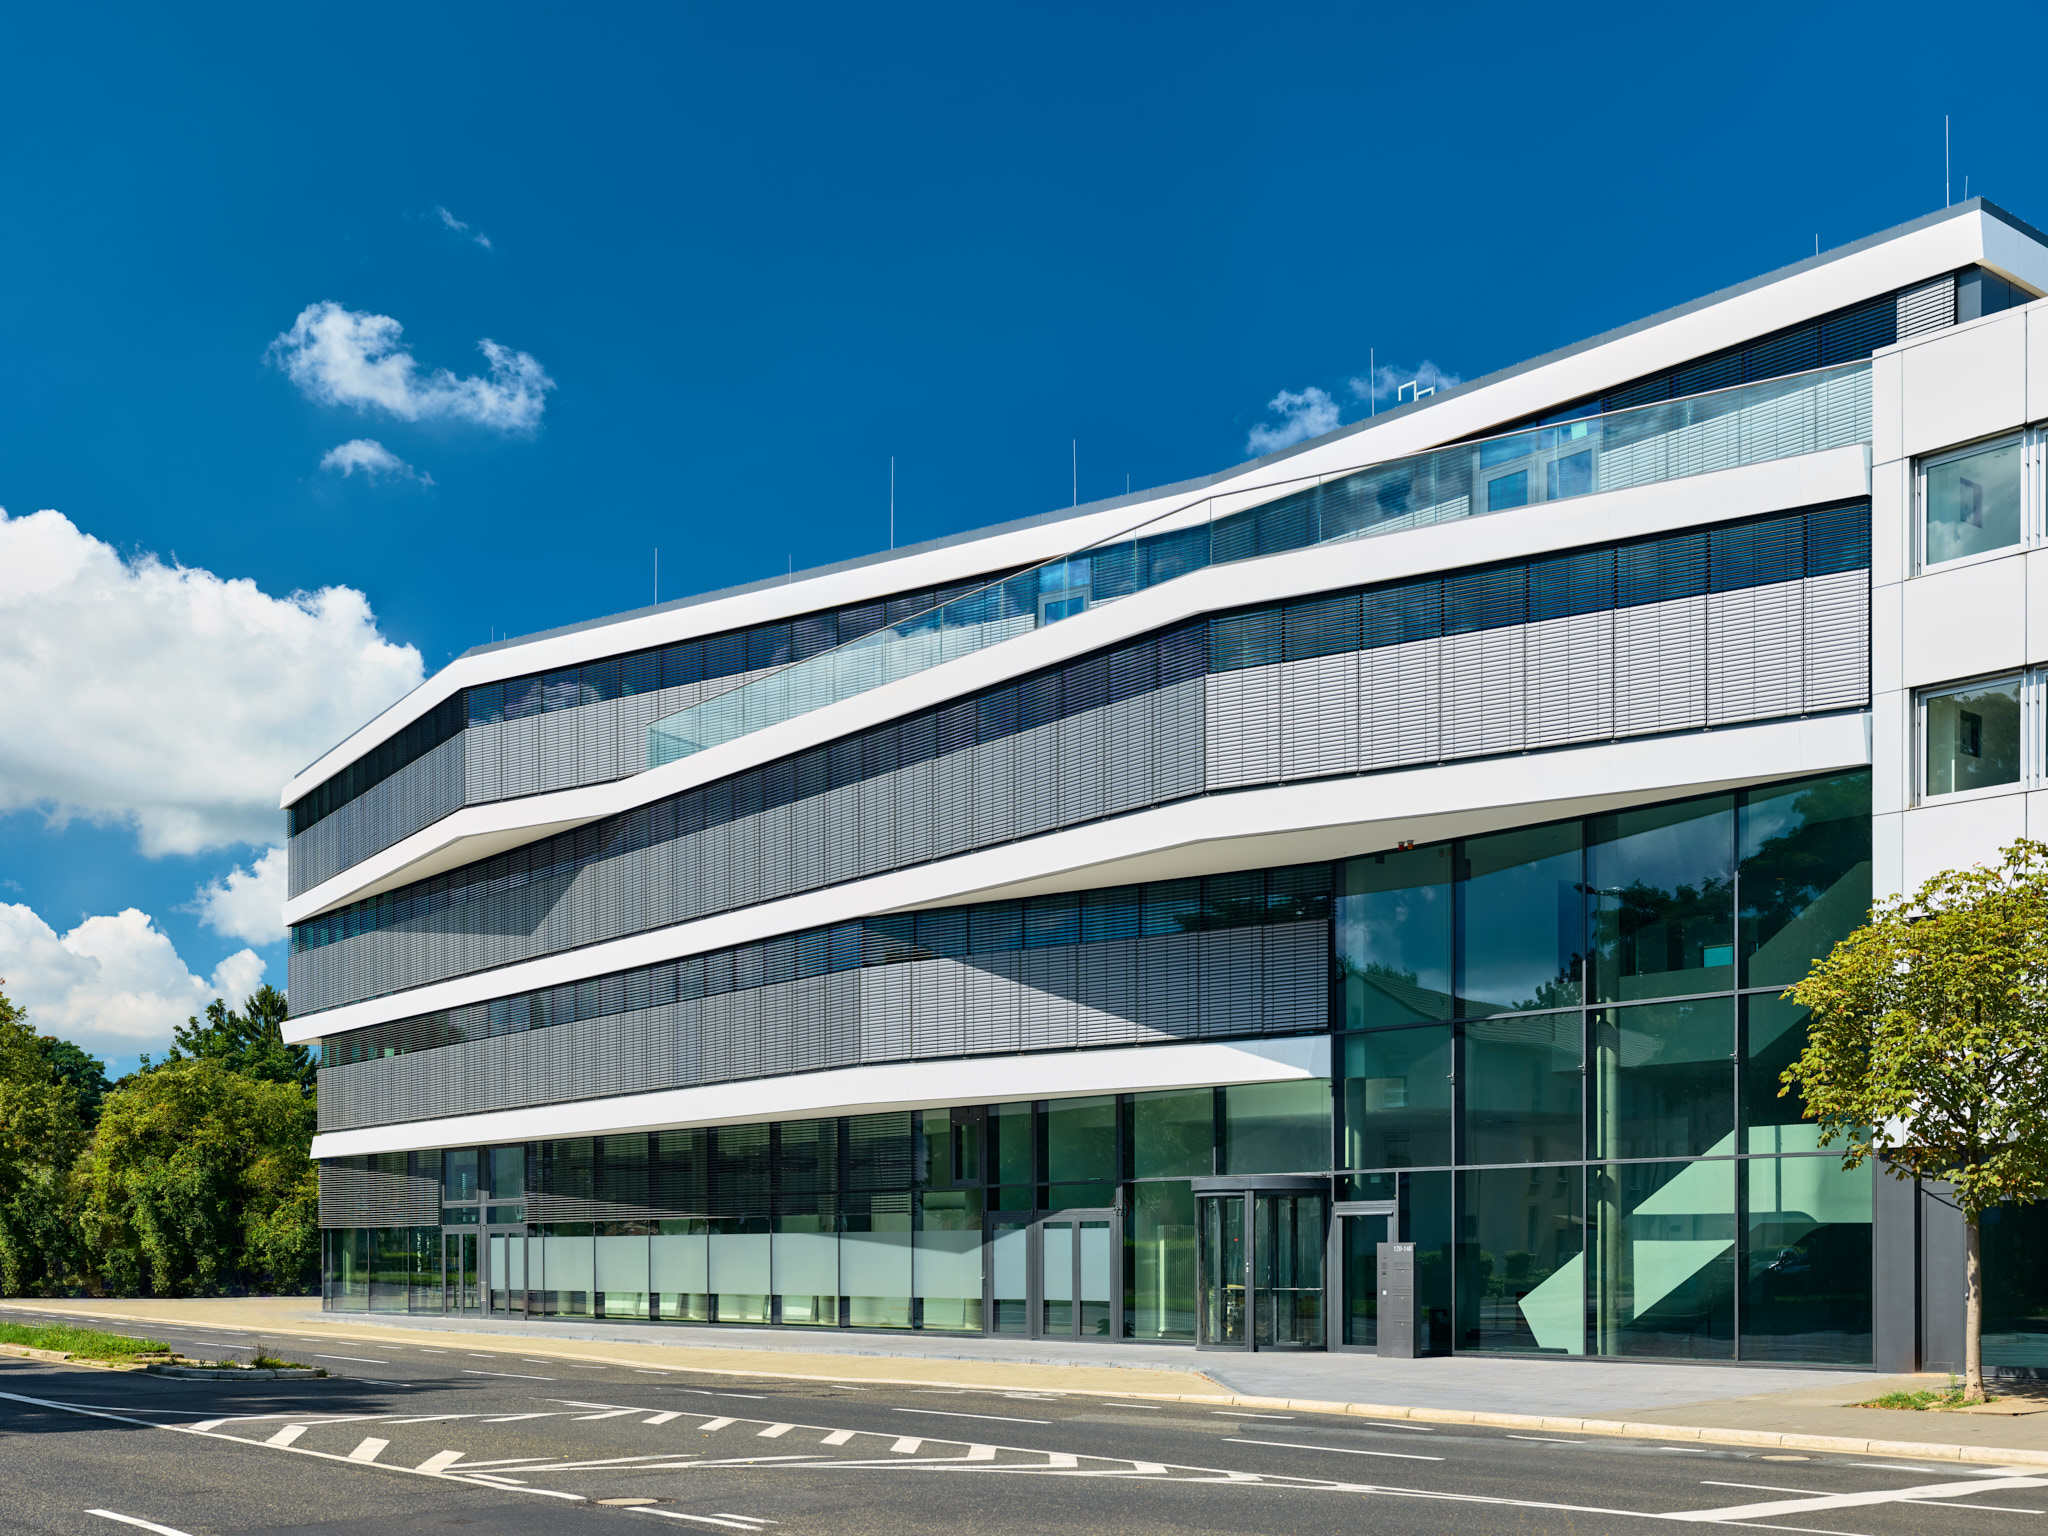
In this article I compare three solutions to create a perspective controlled architectural photography.
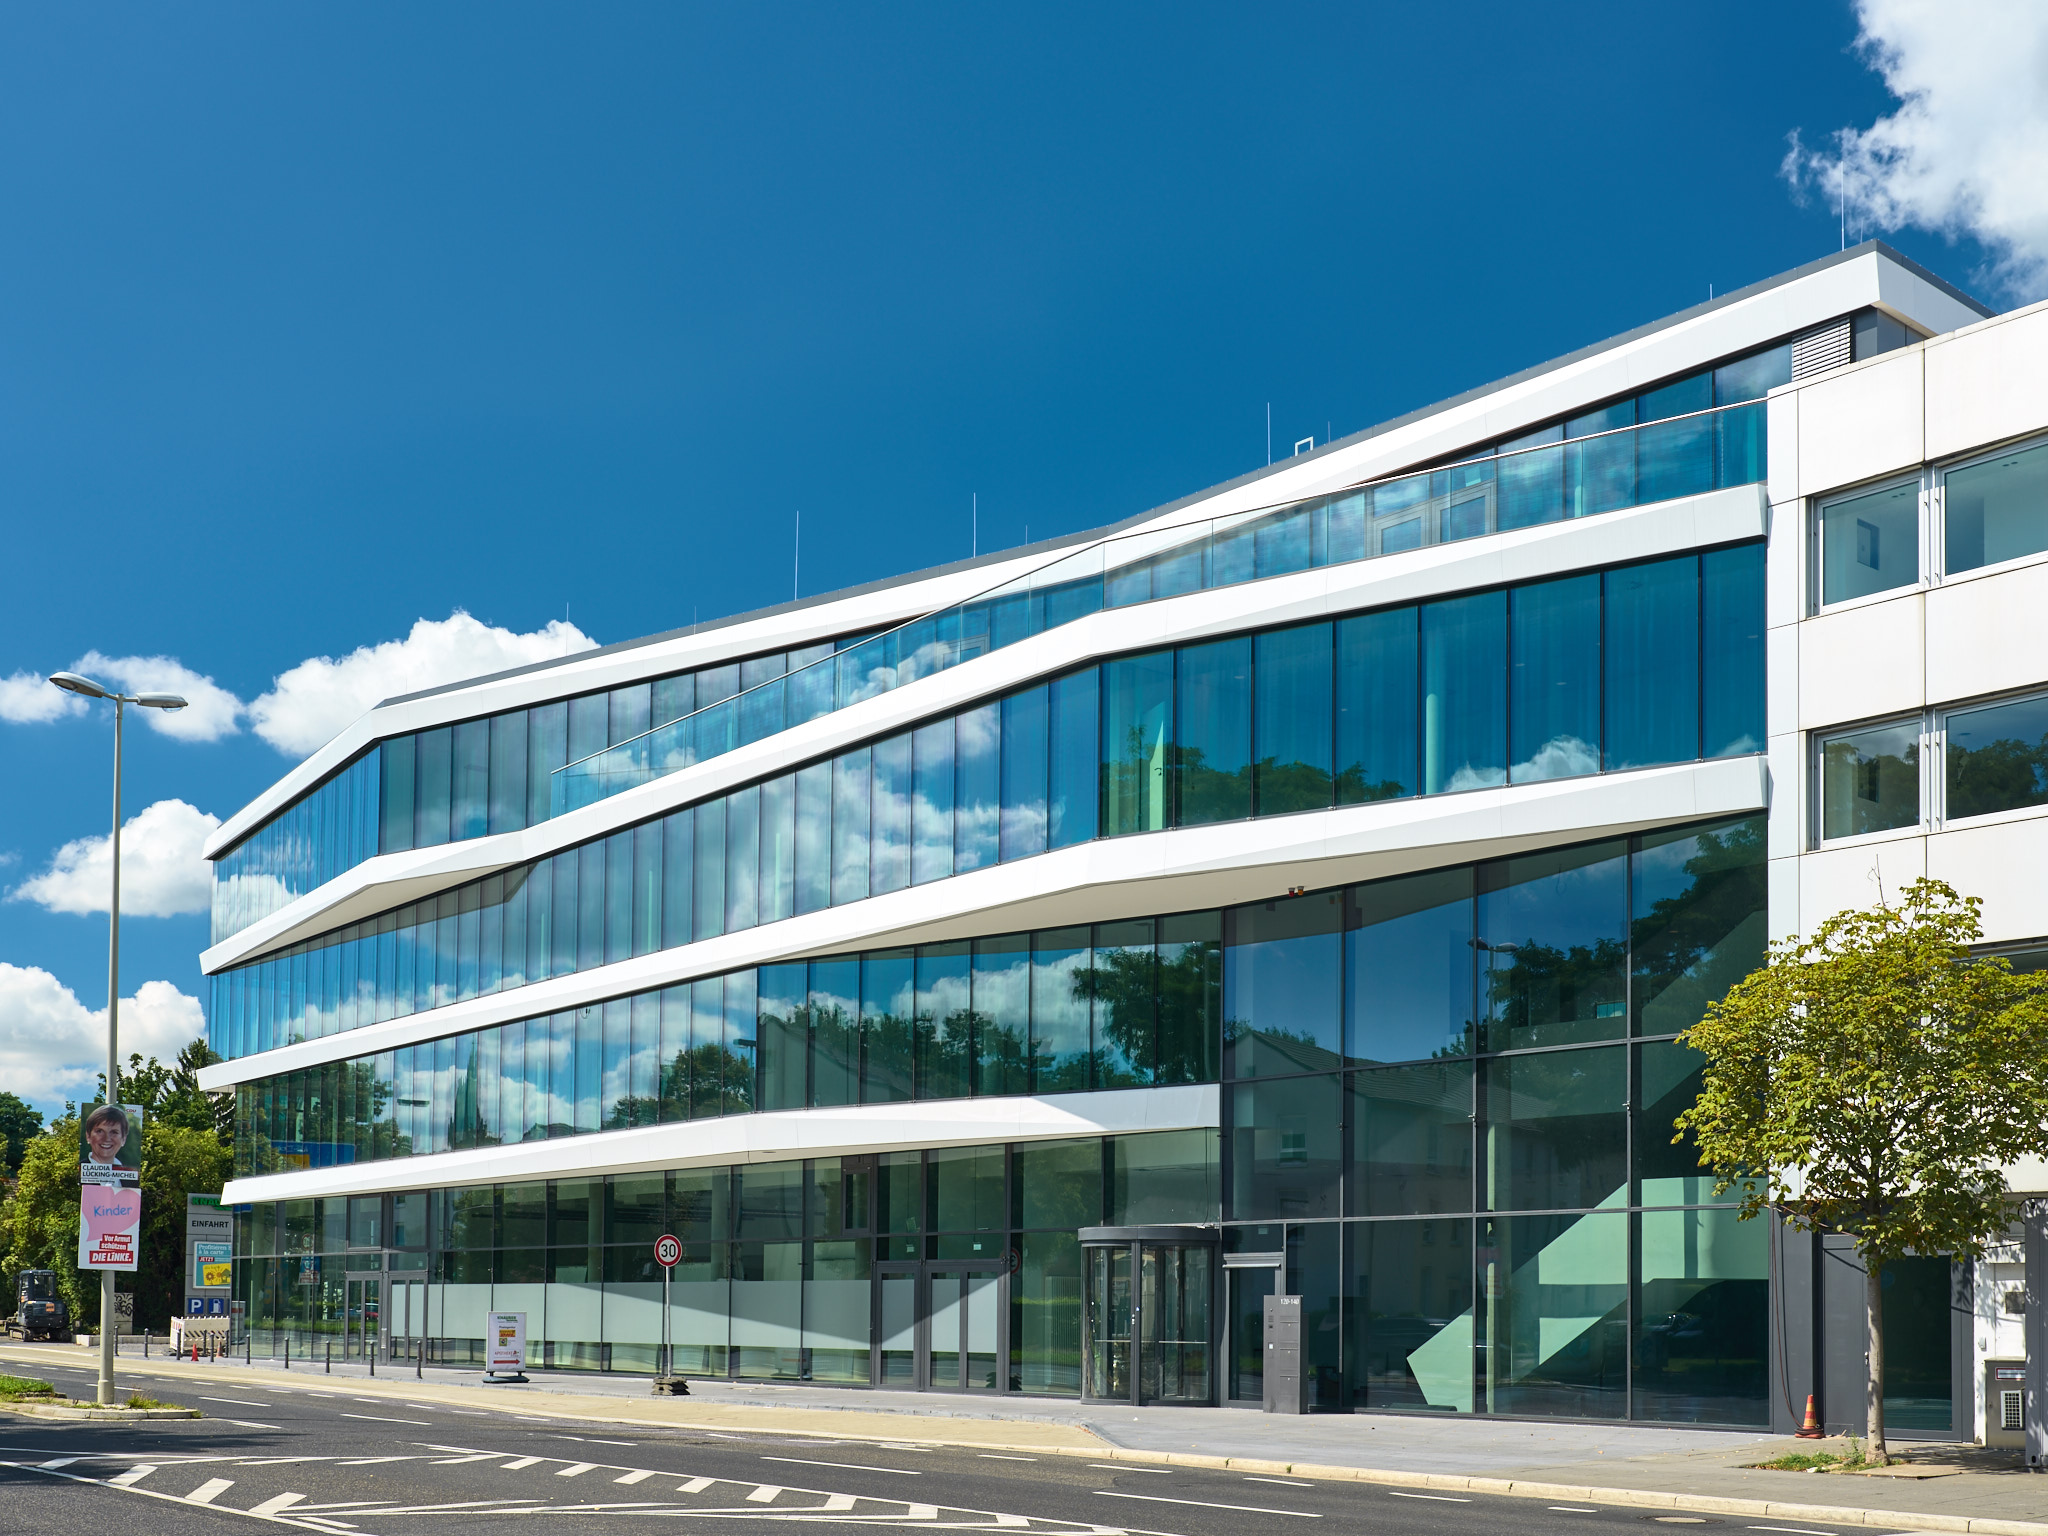
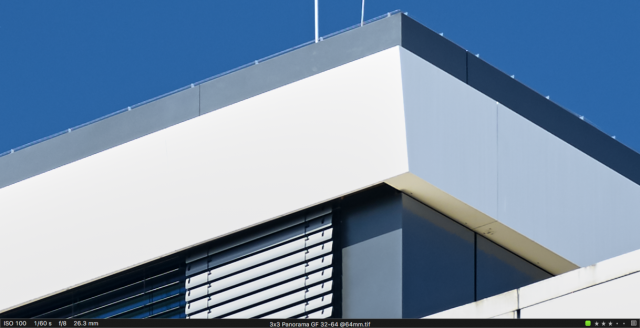
- 3 by 2 stitched and keystone corrected image using a panoramic head and the GF 32-64 @63mm
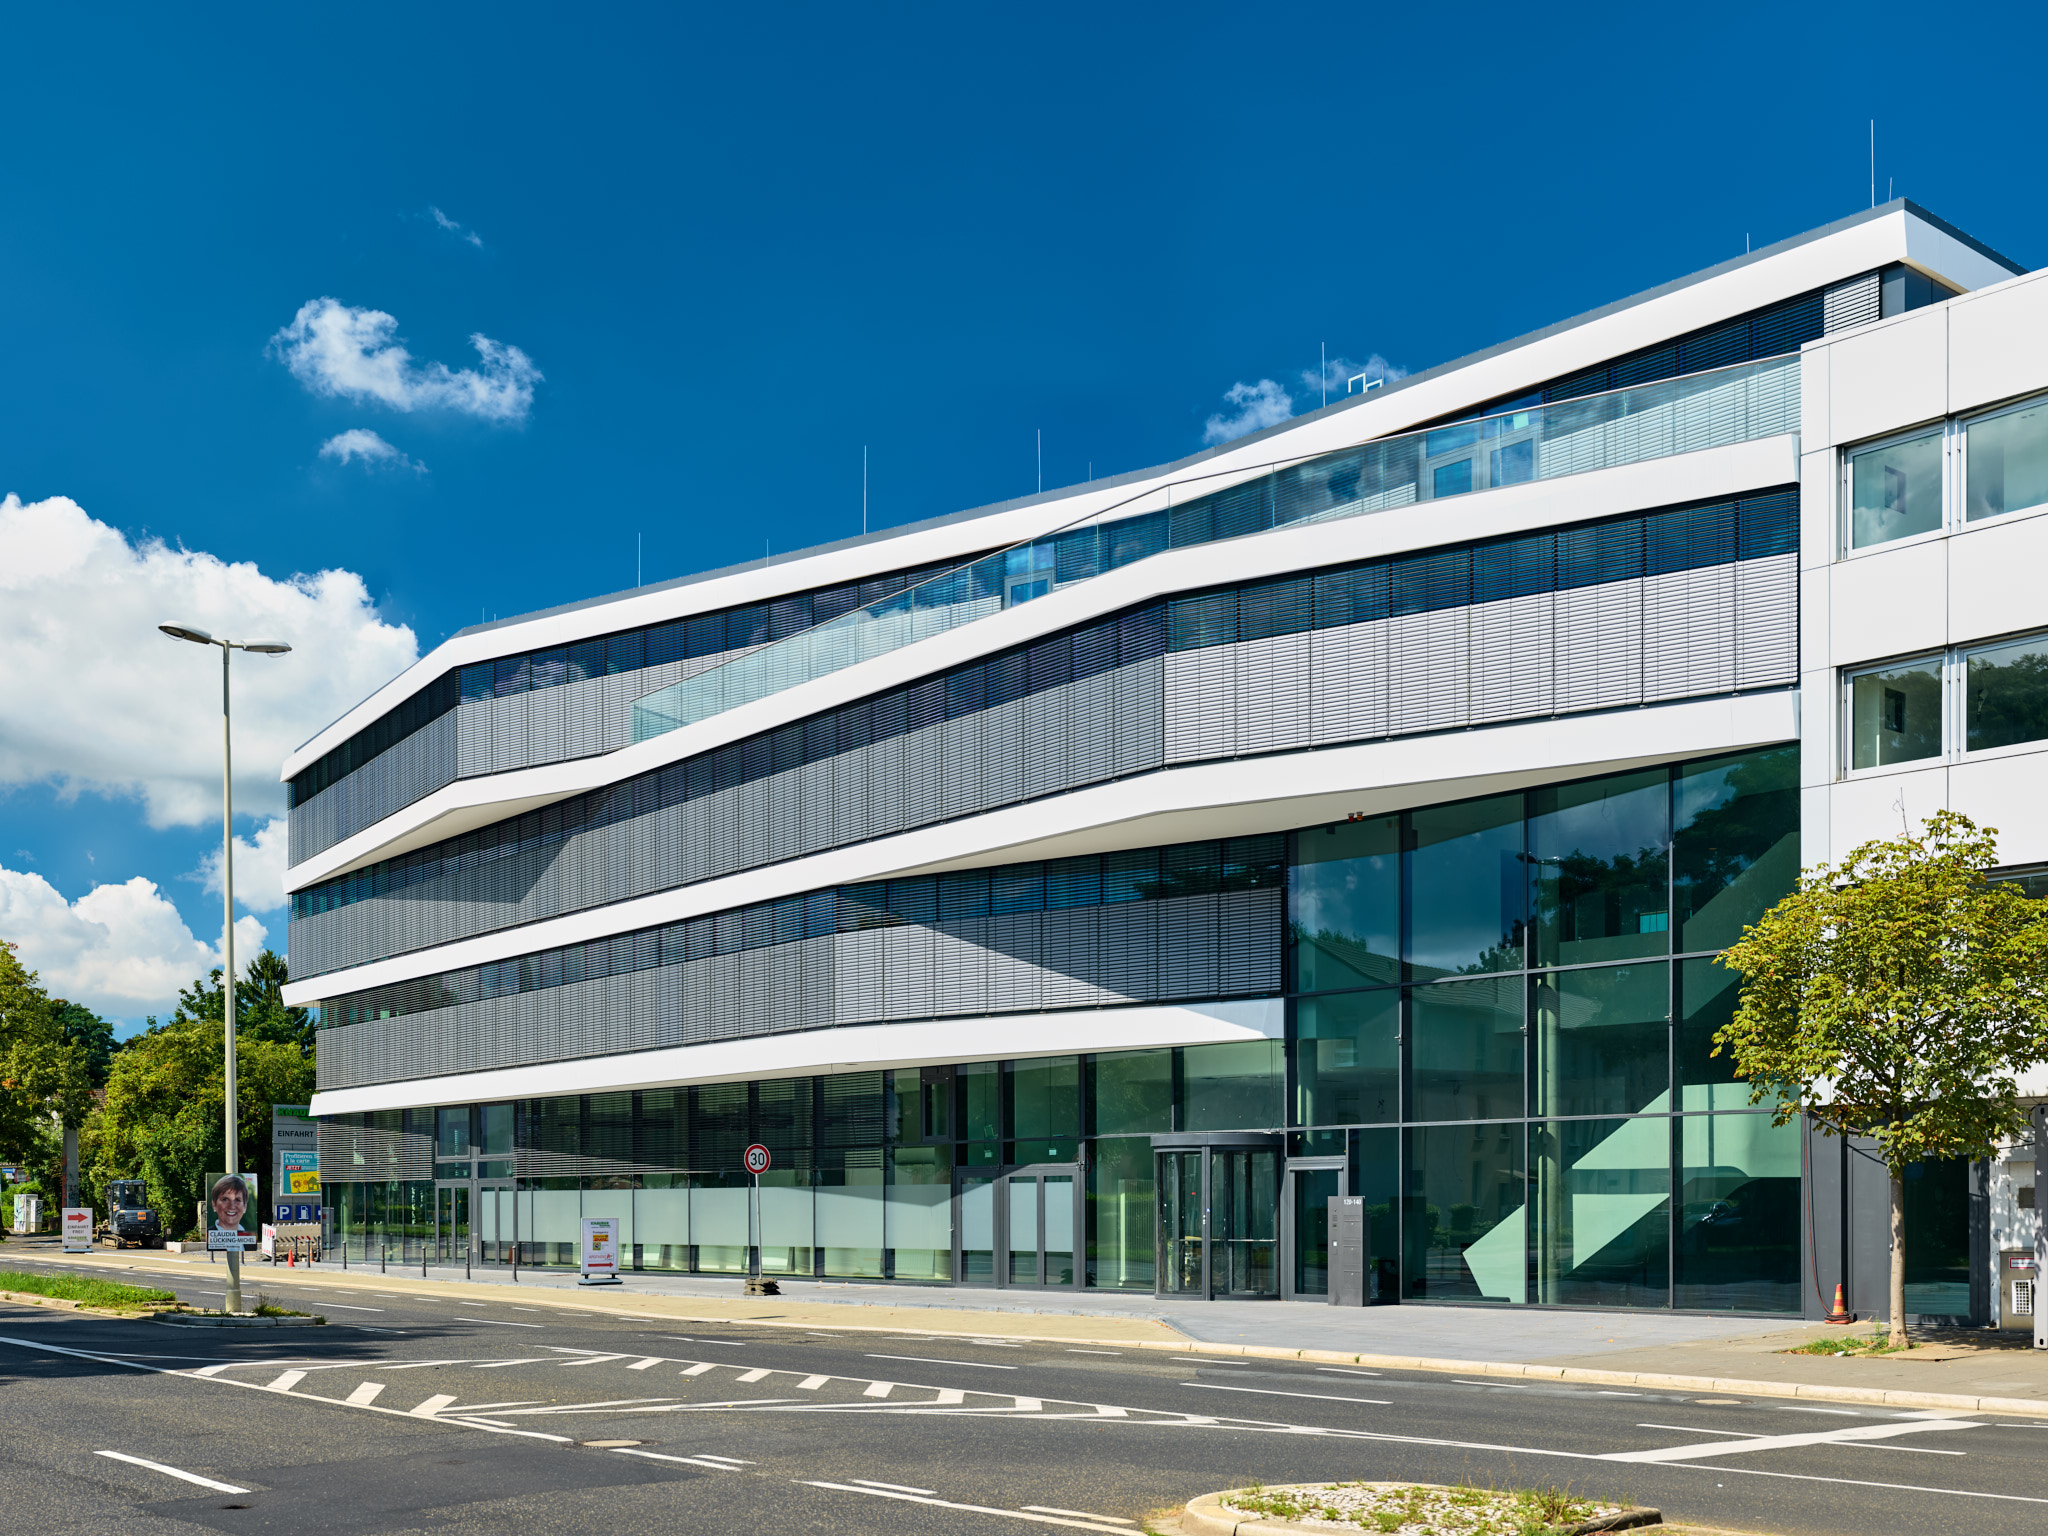
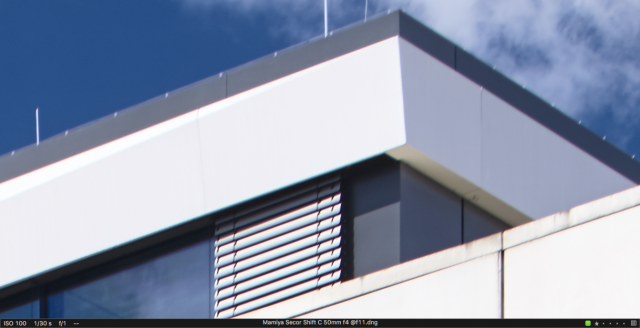
- vertical shifted image using an old Mamiya 645 Sekor C 50mm shift lens
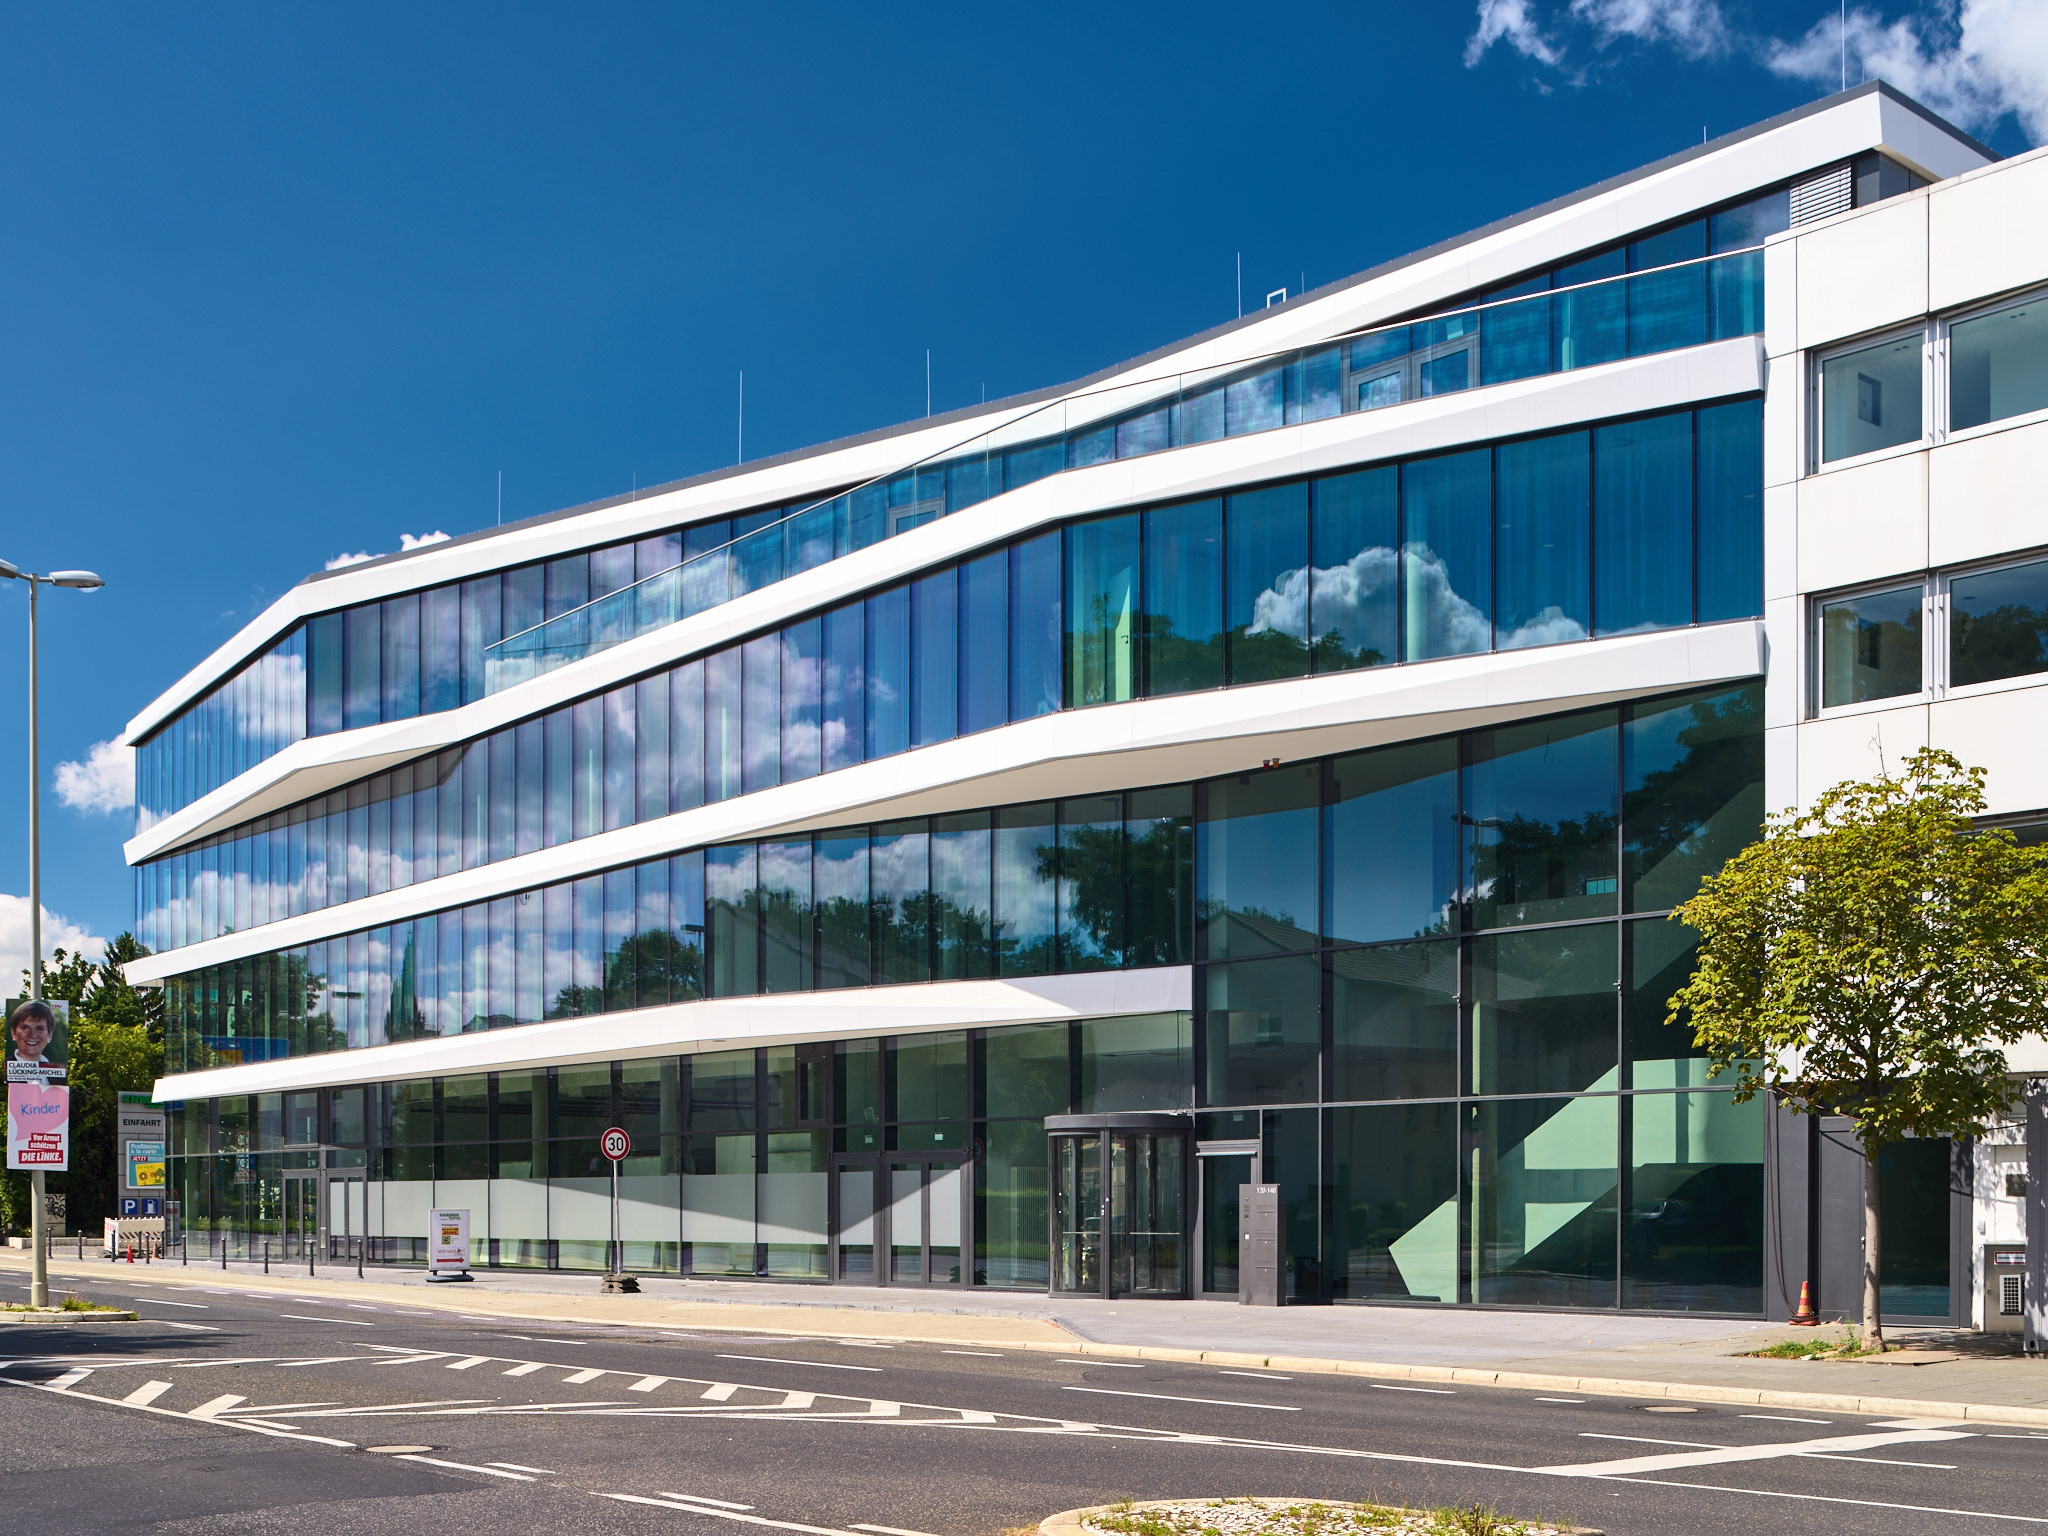
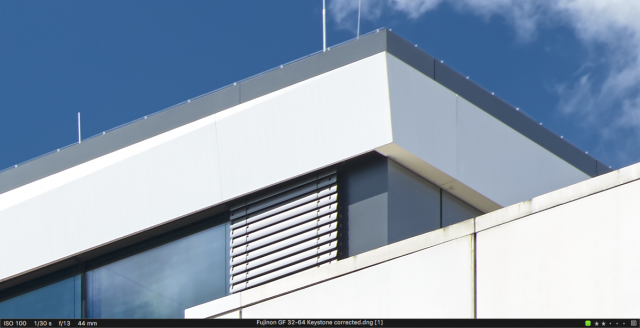
- single keystone corrected image using the GF 32-64 @44mm
All RAF files were imported to Lightroom and exported directly as DNG files. Alternatively you can use Adobe DNG Converter or Irident X-Transformer for the conversion.
RAW development were done in Capture One Pro 9.3. As long as Phase One is not willing to support the RAF files natively, the DNG conversion is the only way to get Capture One to work with the GFX RAW files. I have not update to version 10 of C1 yet, because with the latest version you have to fiddle the EXIF meta data. Phase One actively blocked this camera model in the latest version to protect their camera business.
Another problem with Capture One is that the DNG files do not have the correct color profile, resulting dark and dull images. To solve this I have used the GFX 50s ICC profile from Ken Dun Photography’s website. Additional adjustments were done on the final images: increased saturation, recovered highlights and shadows, added a bit of clarity. Using Capture One’s automatic buttons gives a good starting point for these adjustments.
Panoramic Head and GF 32-64 @63mm
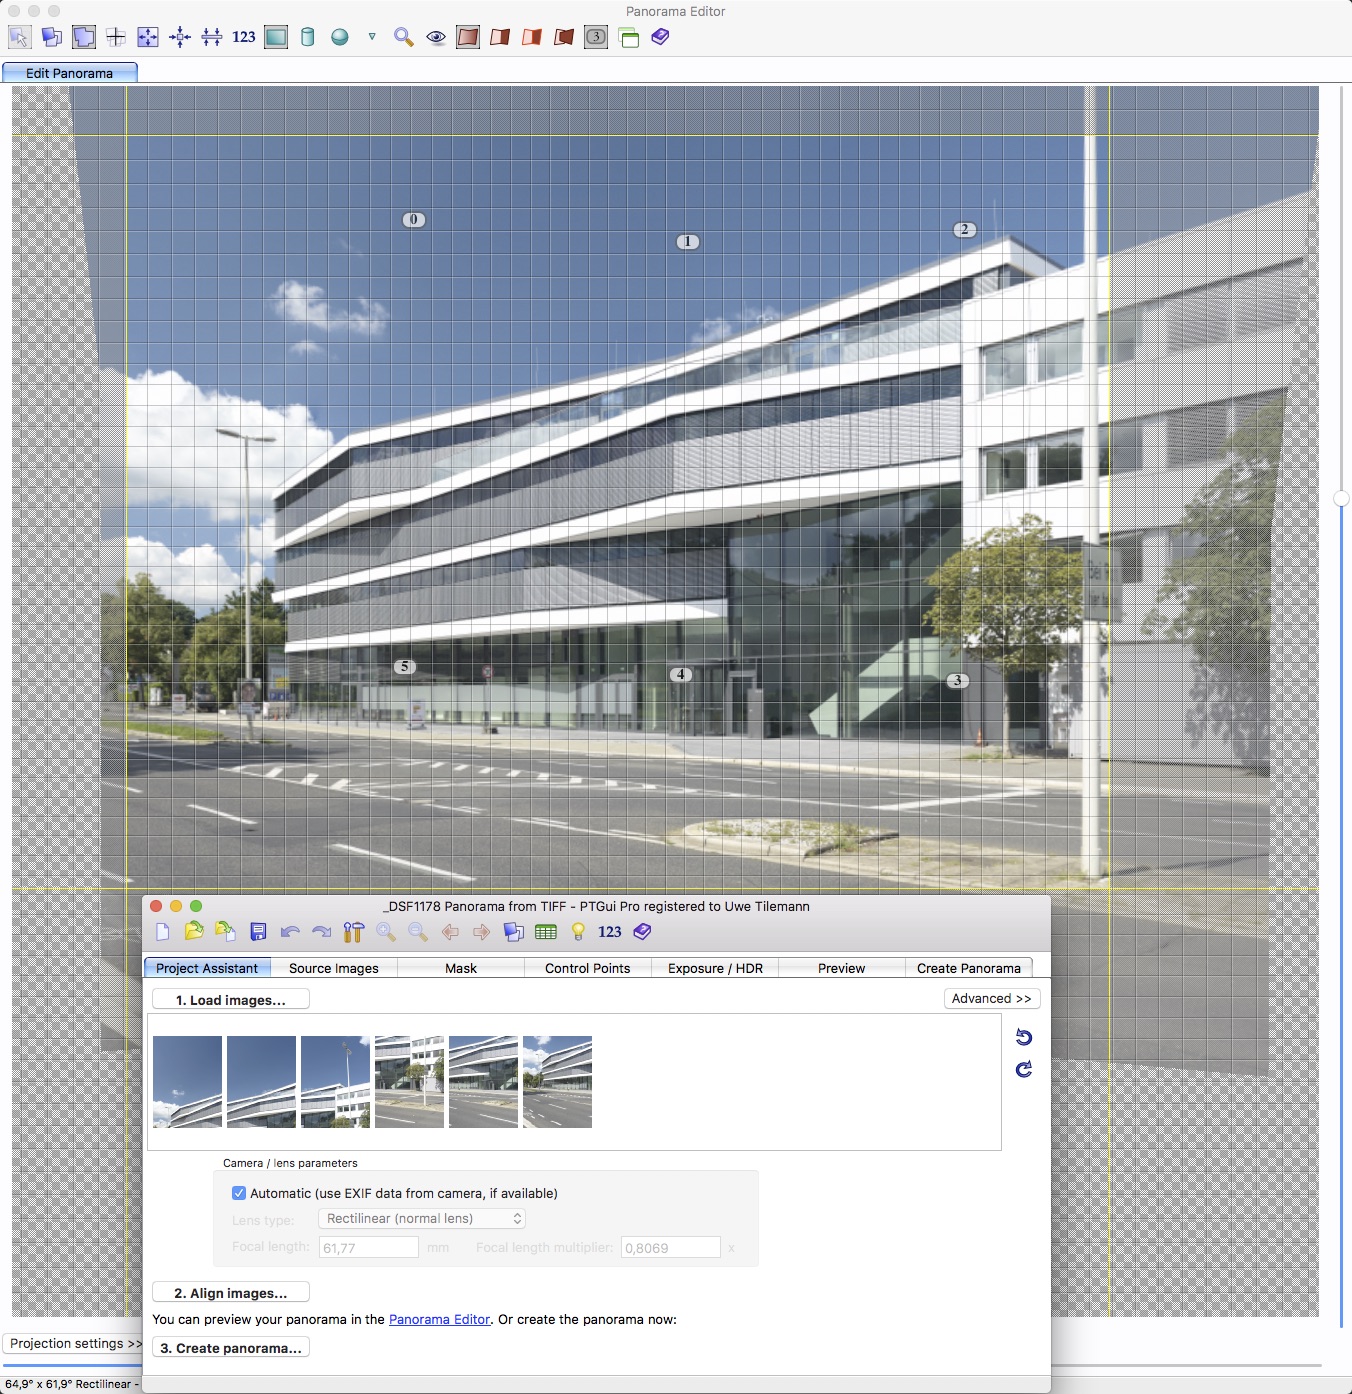
These six images were exported to 16bit TIFF files and loaded in a new PTGui Pro document. Clicking „Align Images“ let PTGui to analyse the images to search for matching control points for sticking the images together and displays a preview of the panorama. In the „Panorama Editor“ I have corrected the perspective and cropped the image. Clicking „Create panorama“ let you specify the file type and settings. The setting were 16bit TIFF file, with packed bits compression and no alpha channel. C1 can’t handle TIFF files containing an alpha channel.
The resulting image has a resolution of 11094 x 8501 pixel (94MP). This image were cropped in C1 to the desired size and some little more adjustment were done.
Pros
- High resolution result
- Very good Image quality
- Big field of view
- Works with all kind of lenses (primes and zooms)
Cons
- Additional gear needed
- Time consuming process
- Keystone correction downgrades possible image quality
- Tripod recommended
Mamiya Sekor Shift C 50mm lens
Using a shift lens is the classic way for architectural photography solving the problem of perspective correction. The problem with the new Fujifilm GFX 50s is, that there is no native shift lens yet.
I’ve got the Mamiya Sektor C 50mm shift lens from eBay for 550 Euro. With the Fotodiox Pro M645-GFX adapter this lens fits on the GFX 50s.
Pros
- State of the art perspective control
- Less time consuming process compared to panoramic head solution
Cons
- Poor image quality
- Tripod recommended
Keystone corrected single image @44mm
Pros
- Shooting handheld possible
- Most less time consuming process
Cons
- Keystone correction downgrades image quality
Image Quality
The following gallery shows 100% crops from the upper right corner of the building:
The image quality of the pano is the best one followed by the single shot at @44mm. The IQ of the Mamiya lens is worse and not acceptable for a modern medium format camera.
Conclusion
In the end I prefer the solution using a panoramic head. The image quality is the best of all. I can shoot exteriors with my preferred focal length of 63mm (50mm full frame equivalent) wich gives the most natural field of view. It’s the most time consuming process, but it’s worth the result.
The simple one shot and keystone corrected result is also acceptable. This solution is simple and the most less time consuming way. You can avoid problems with ghosting and shooting handheld is possible.
The Mamiya shift lens is only acceptable for low resolution images. The IQ especially in the corners is really bad. Maybe I’ll give an Contax 645 Zeiss 35mm lens in conjunction with a shift adapter a try, but this will be a quite expensive way. 1.000 Euro for a used lens from eBay and additional 450 Euro for a Mirex adapter is not a cheap experiment.
Based on the panorama created from six images, I have used this source for retouching. It was done completely in Affinity Photo. I prefer this software over Photoshop, because it’s more easy to use and the recovery brush works very well in most situations. I was able to remove the street light on the left side just by masking it out.
