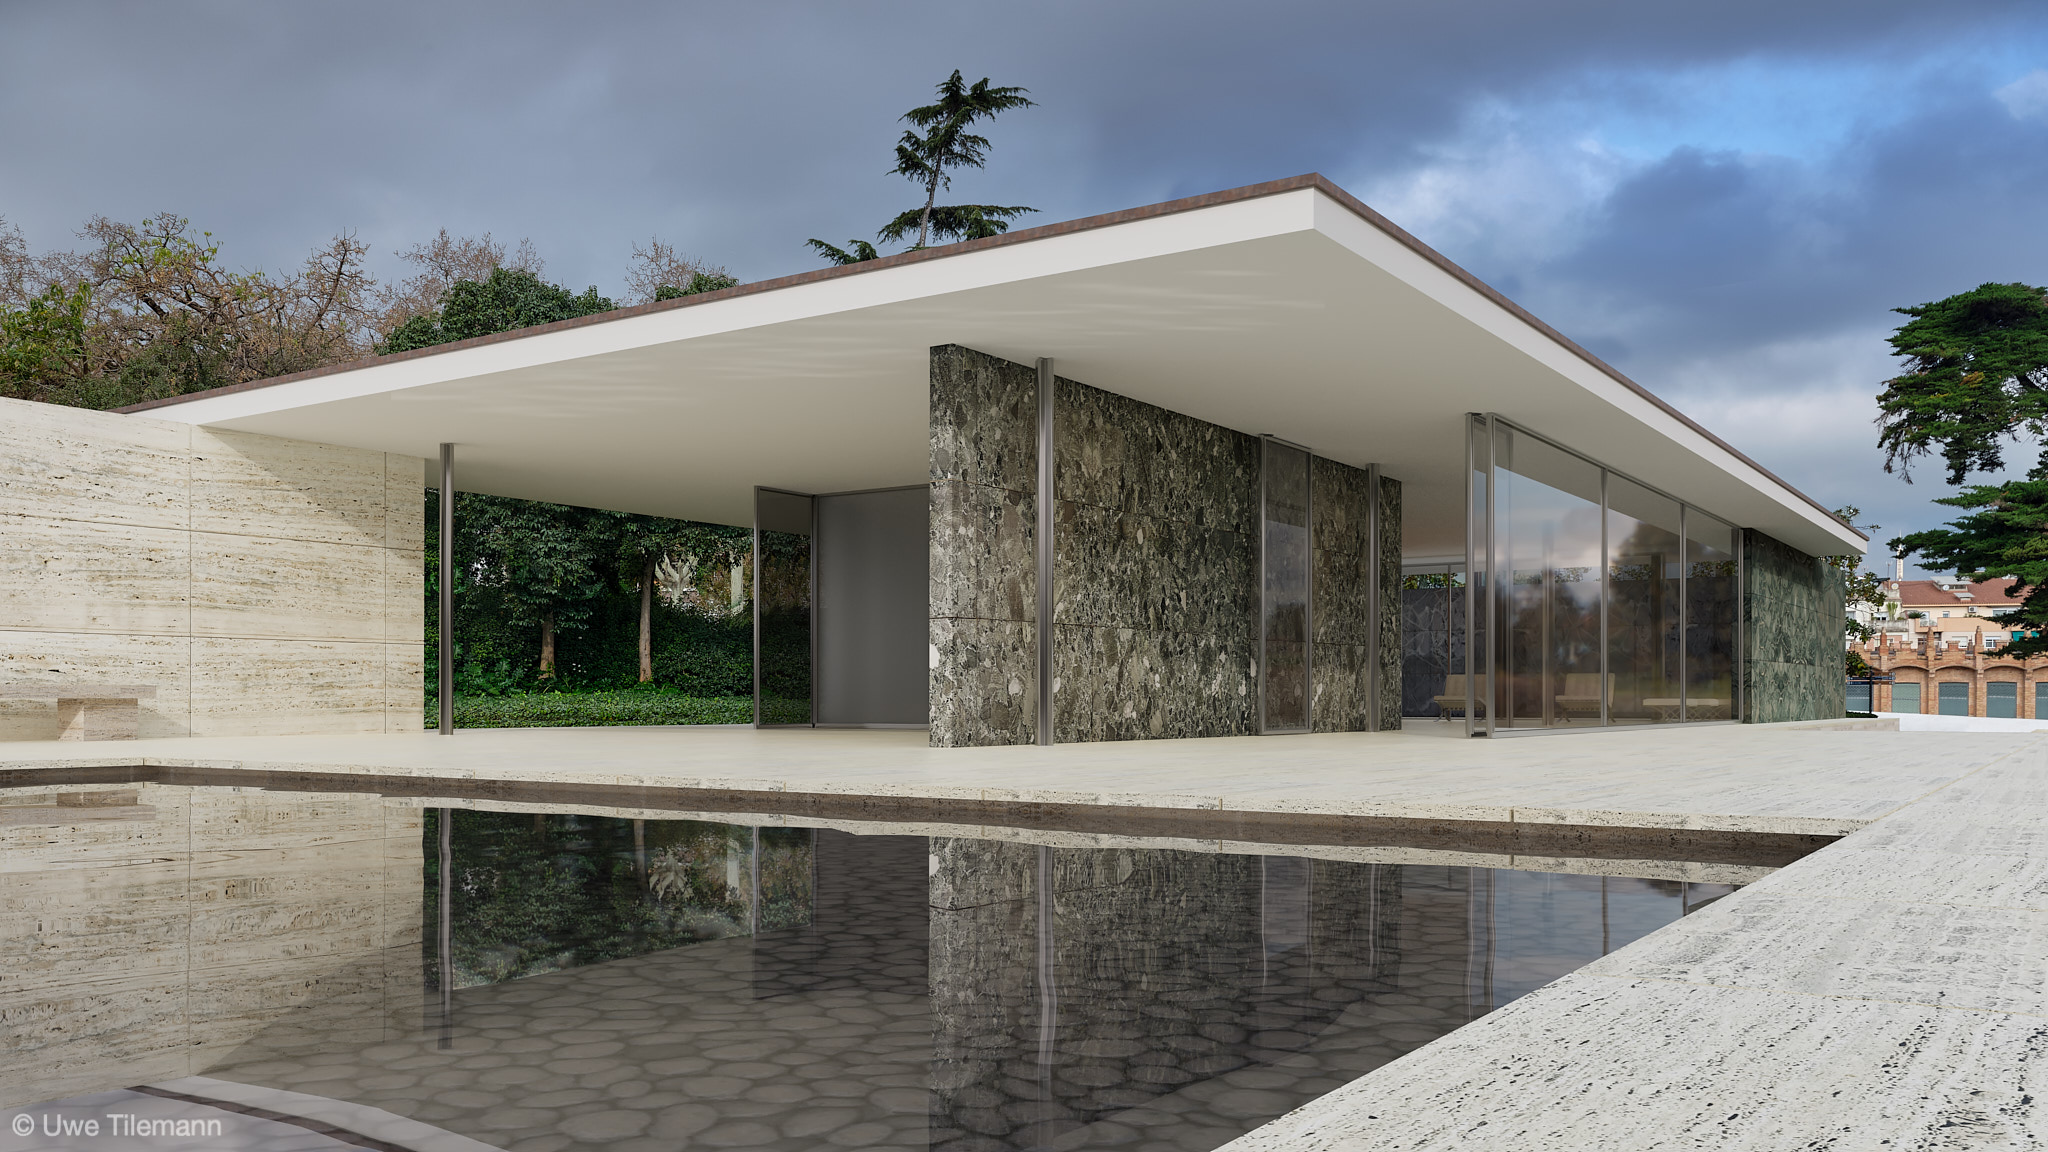
Rendering of Barcelona Pavillon
In March 2019 I was on a trip to Barcelona and took the opportunity to make some architectural photos of the great Barcelona Pavillon designed by Mies van der Rohe and Lilly Reich for the 1929 International Exposition in Barcelona.
Prior to that journey I’ve already created a 3D model of this piece of ground breaking modern architecture with the lack of good image sources of the used materials – marble, onyx and travertine. A great opportunity to make some nice architectural photos and also to get high quality image sources to create materials for my Physically Based Rendering (PBR) workflow.
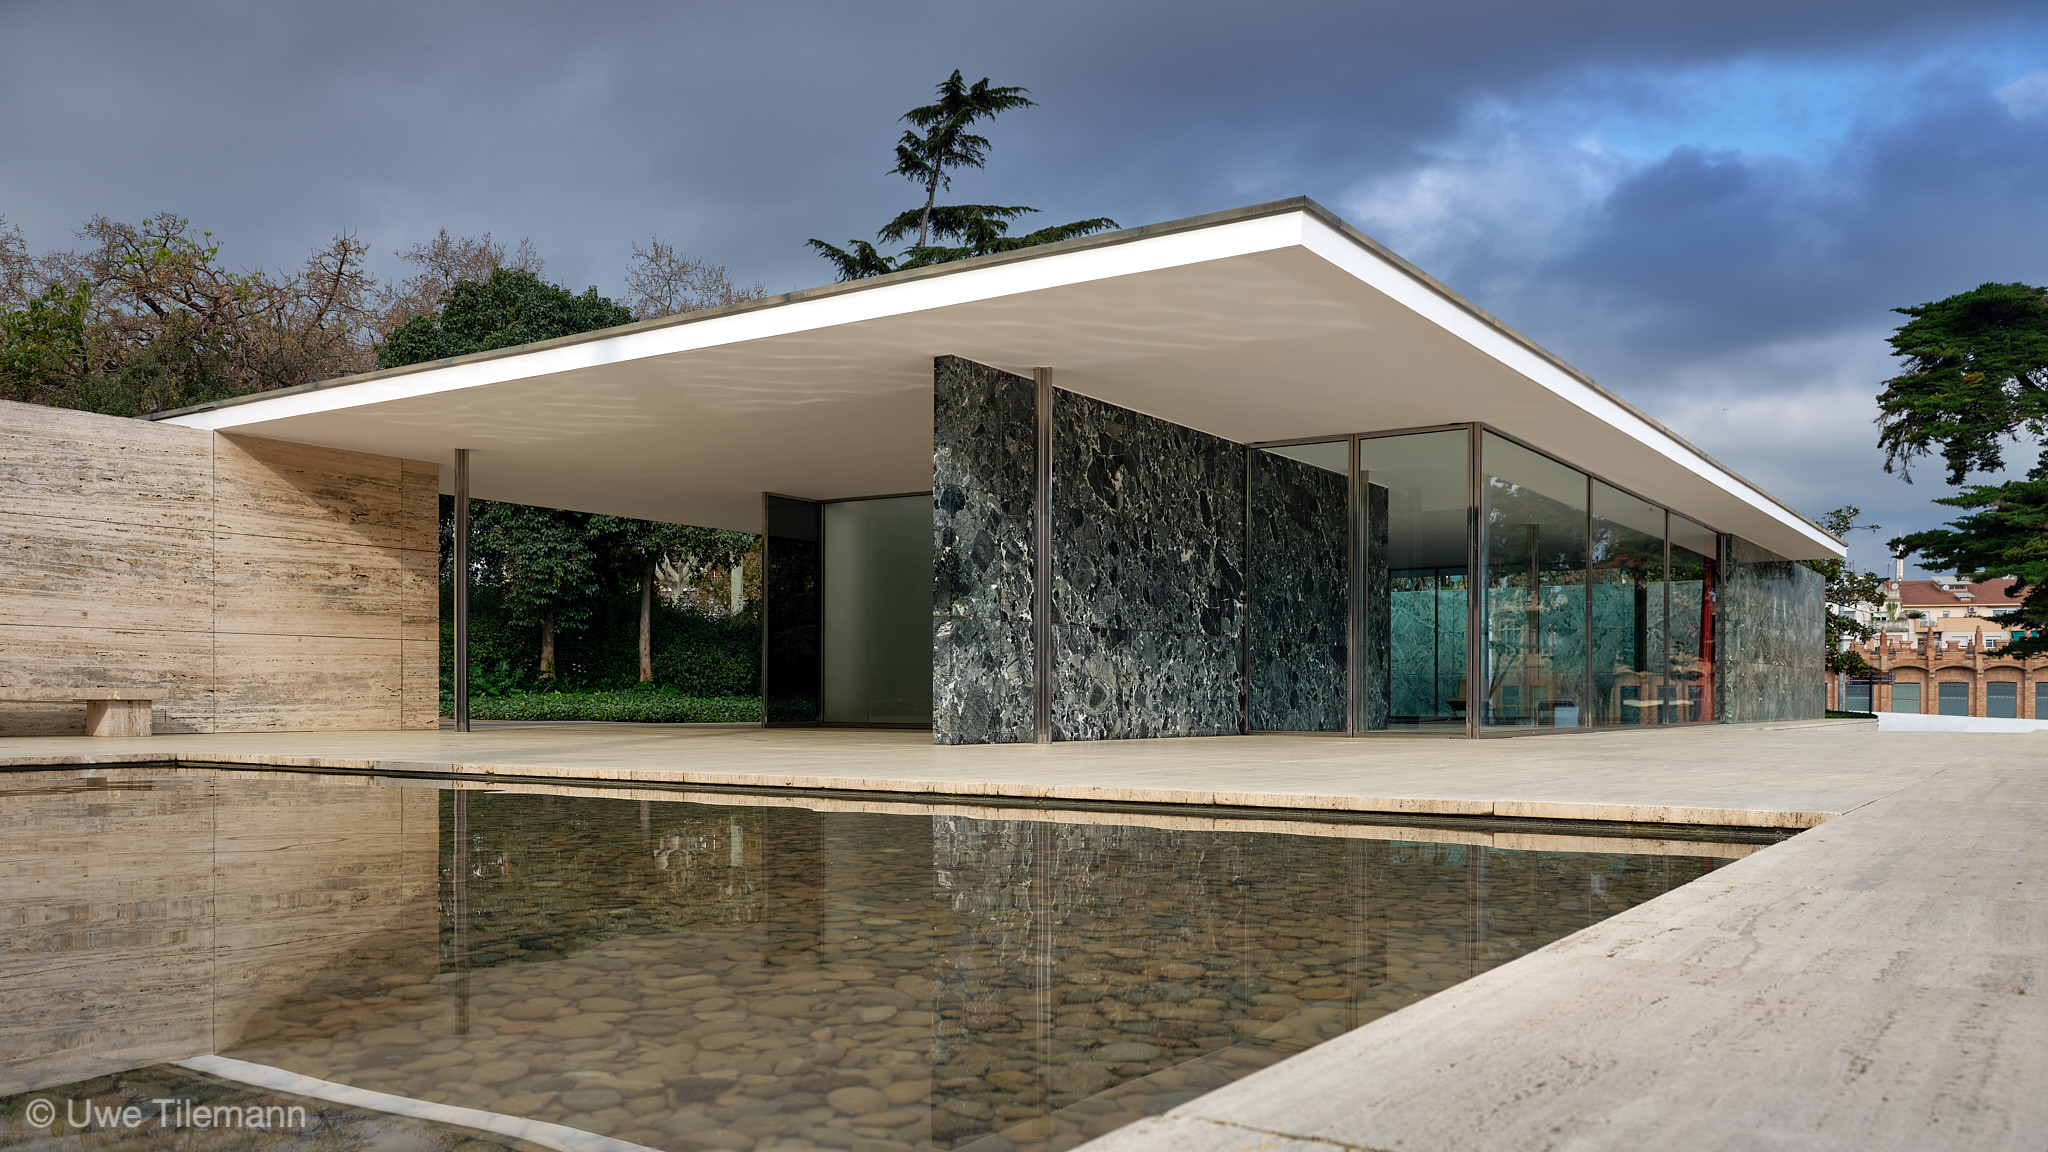
I arrived at the location half an hour before opening with enough time to make a reference photo without any people around. The sky and background from this photo is used as the background for the rendering above.
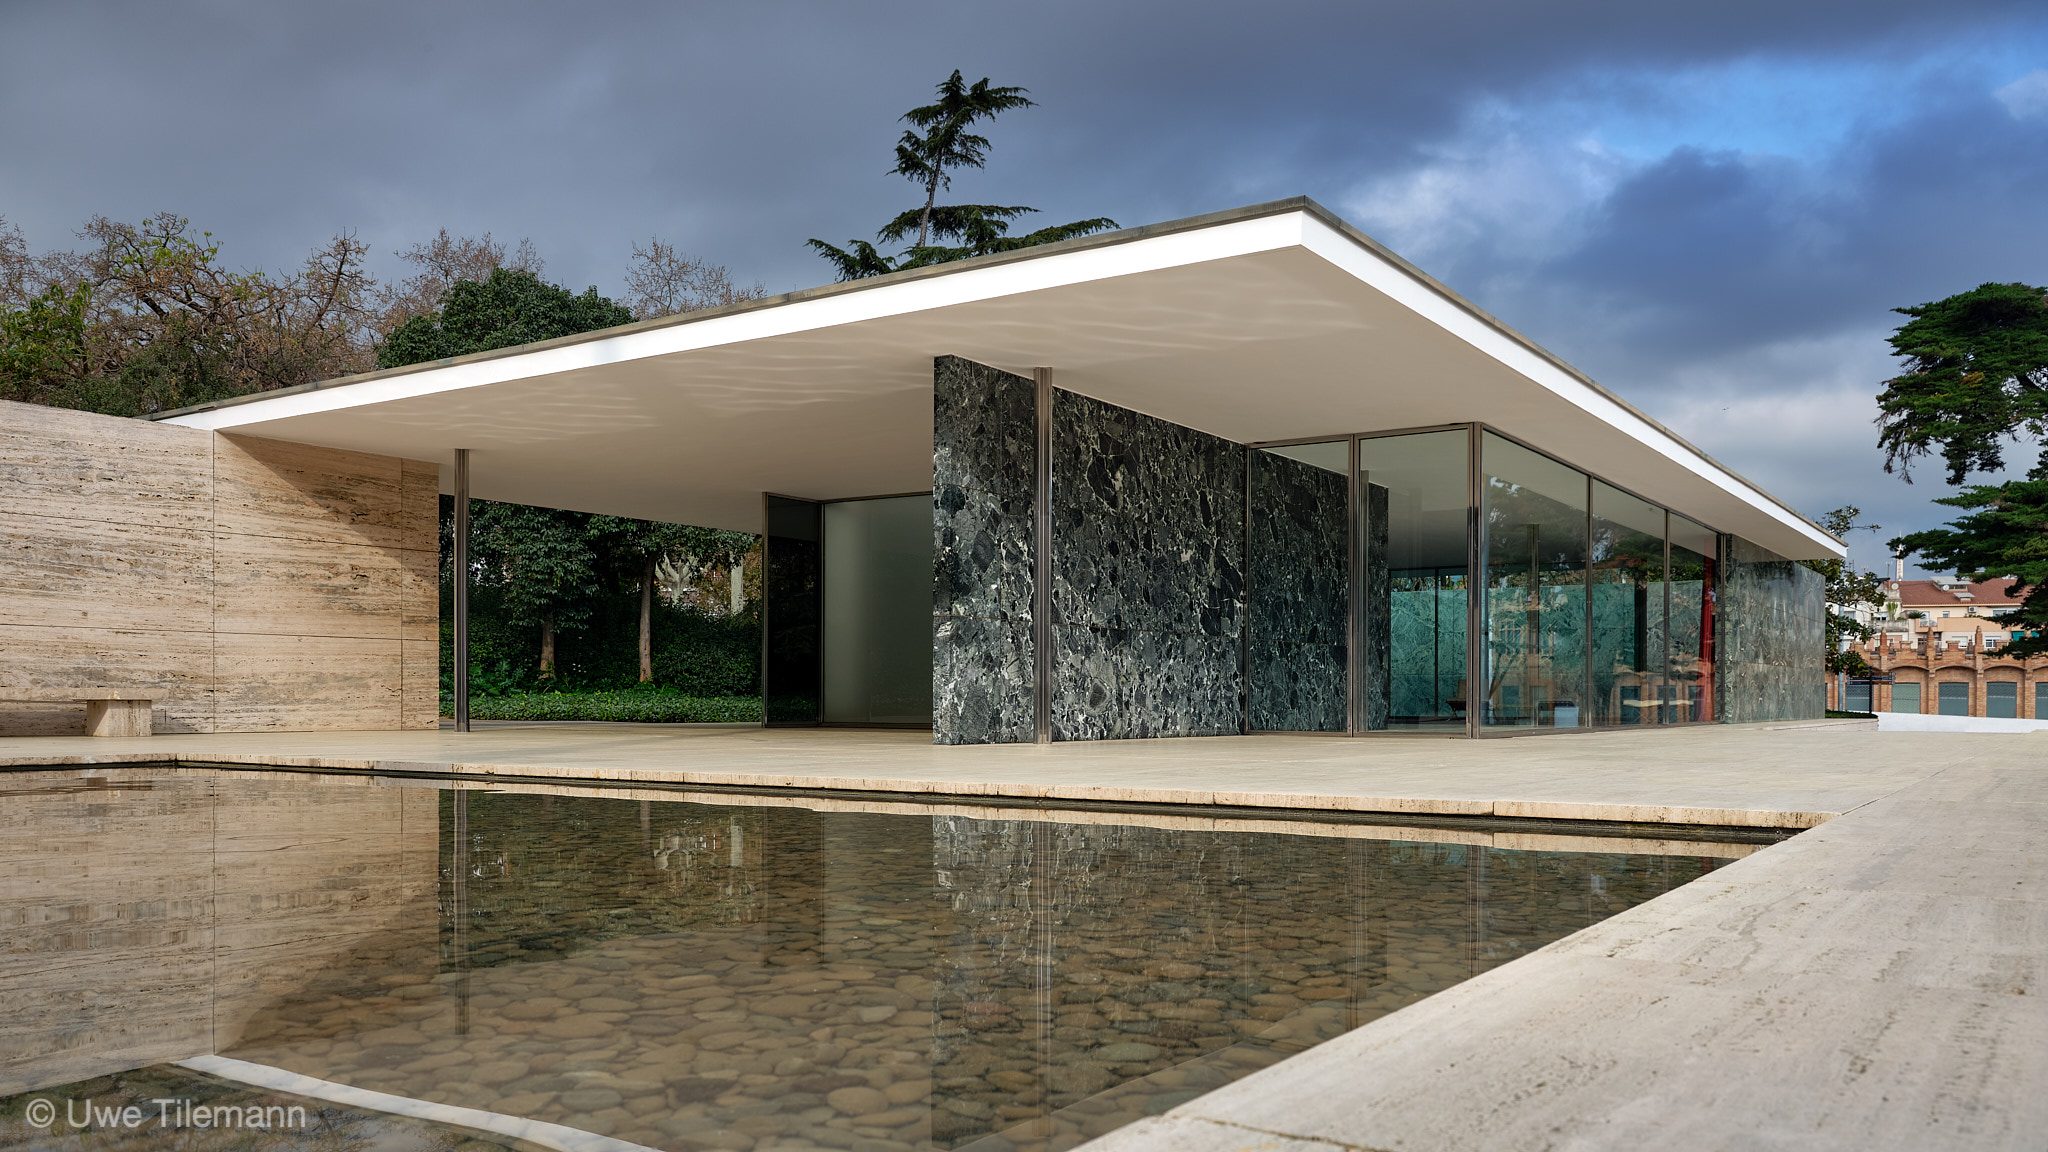
In the next hour I took 90 photos. Some architectural ones you can see here. The rest were details of the used materials and some construction details.
Back home I’ve used Capture One Pro to develop and prepare the images I like to use in my rendering.
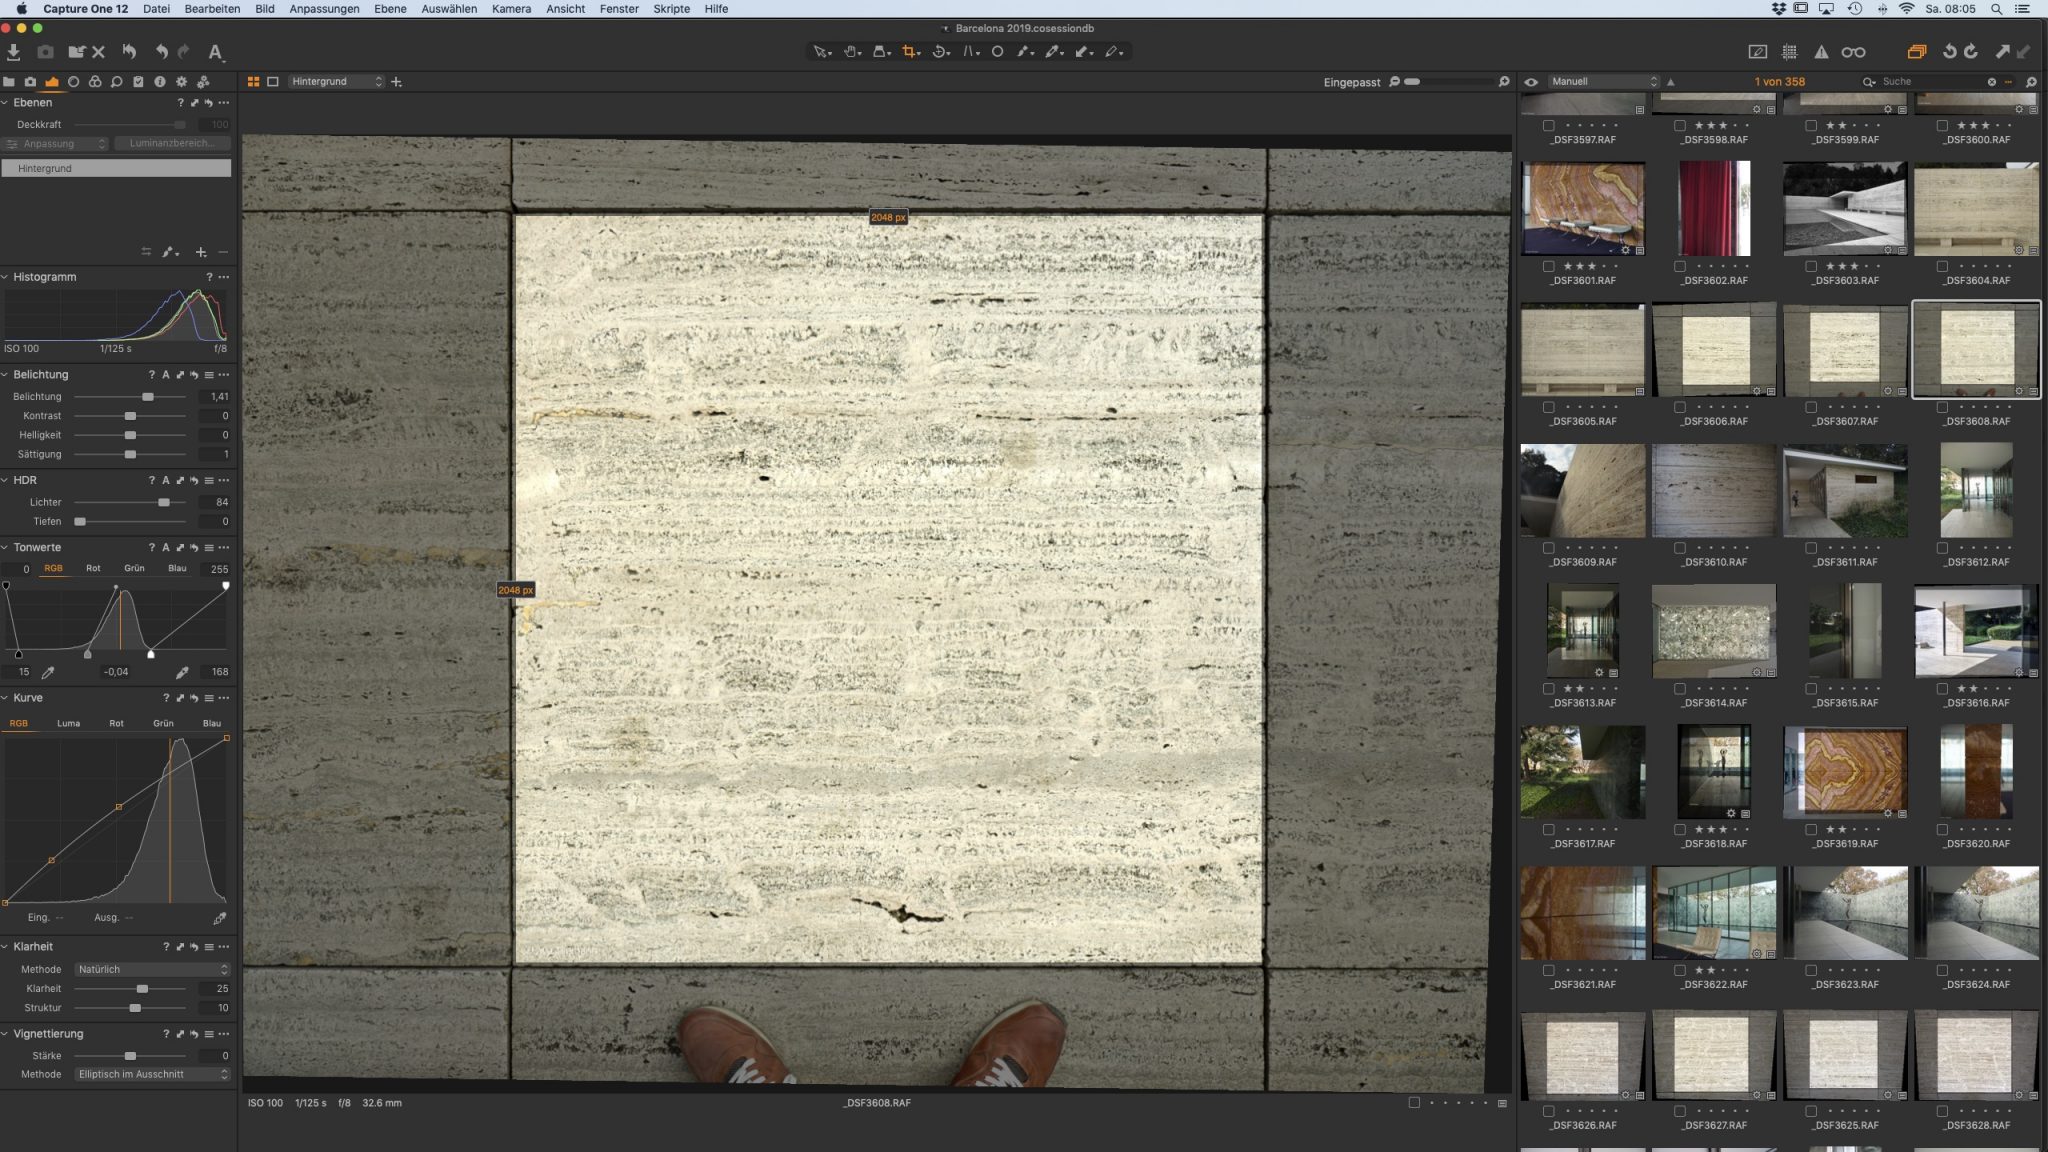
These images got some retouching using Affinity Photo and I drag and drop them into PBRtist to create a realistic 3D material.
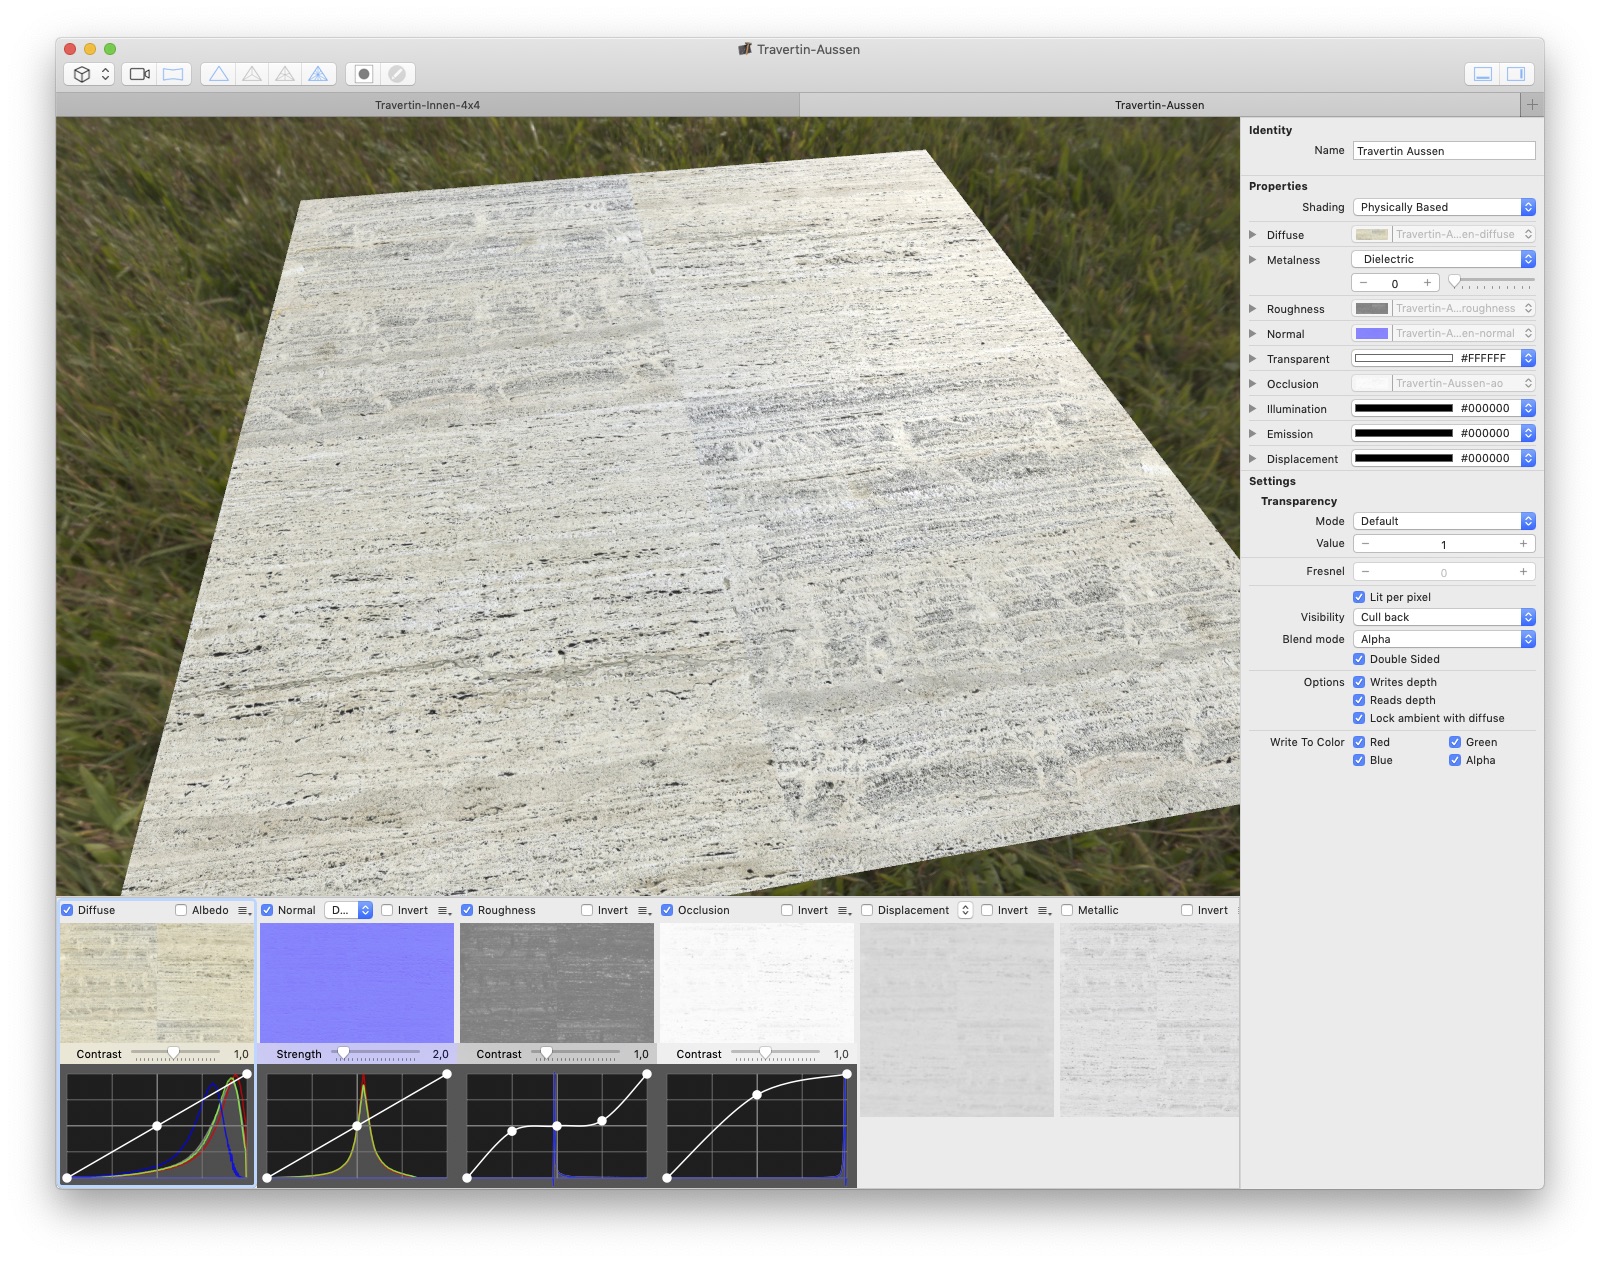
PBRtist is a tool to create all maps used in a Physically Based Rendering (PBR) workflow based on a single image. For this travertine material I’m using the Diffuse, Normal, Roughness and Occlusion map. PBRtist has a seamless integration for Cheetah 3D to export a material to Cheetah’s material format.
This was done for all materials used in my 3D model based on the images took on location – the big golden reddish marble wall inside the main house (which is not visible here), the greenish marble walls at the entrance and around the main building. Also the travertine used in the walls around the pool are based on separate image sources. With PBRtist this job was done in minutes.
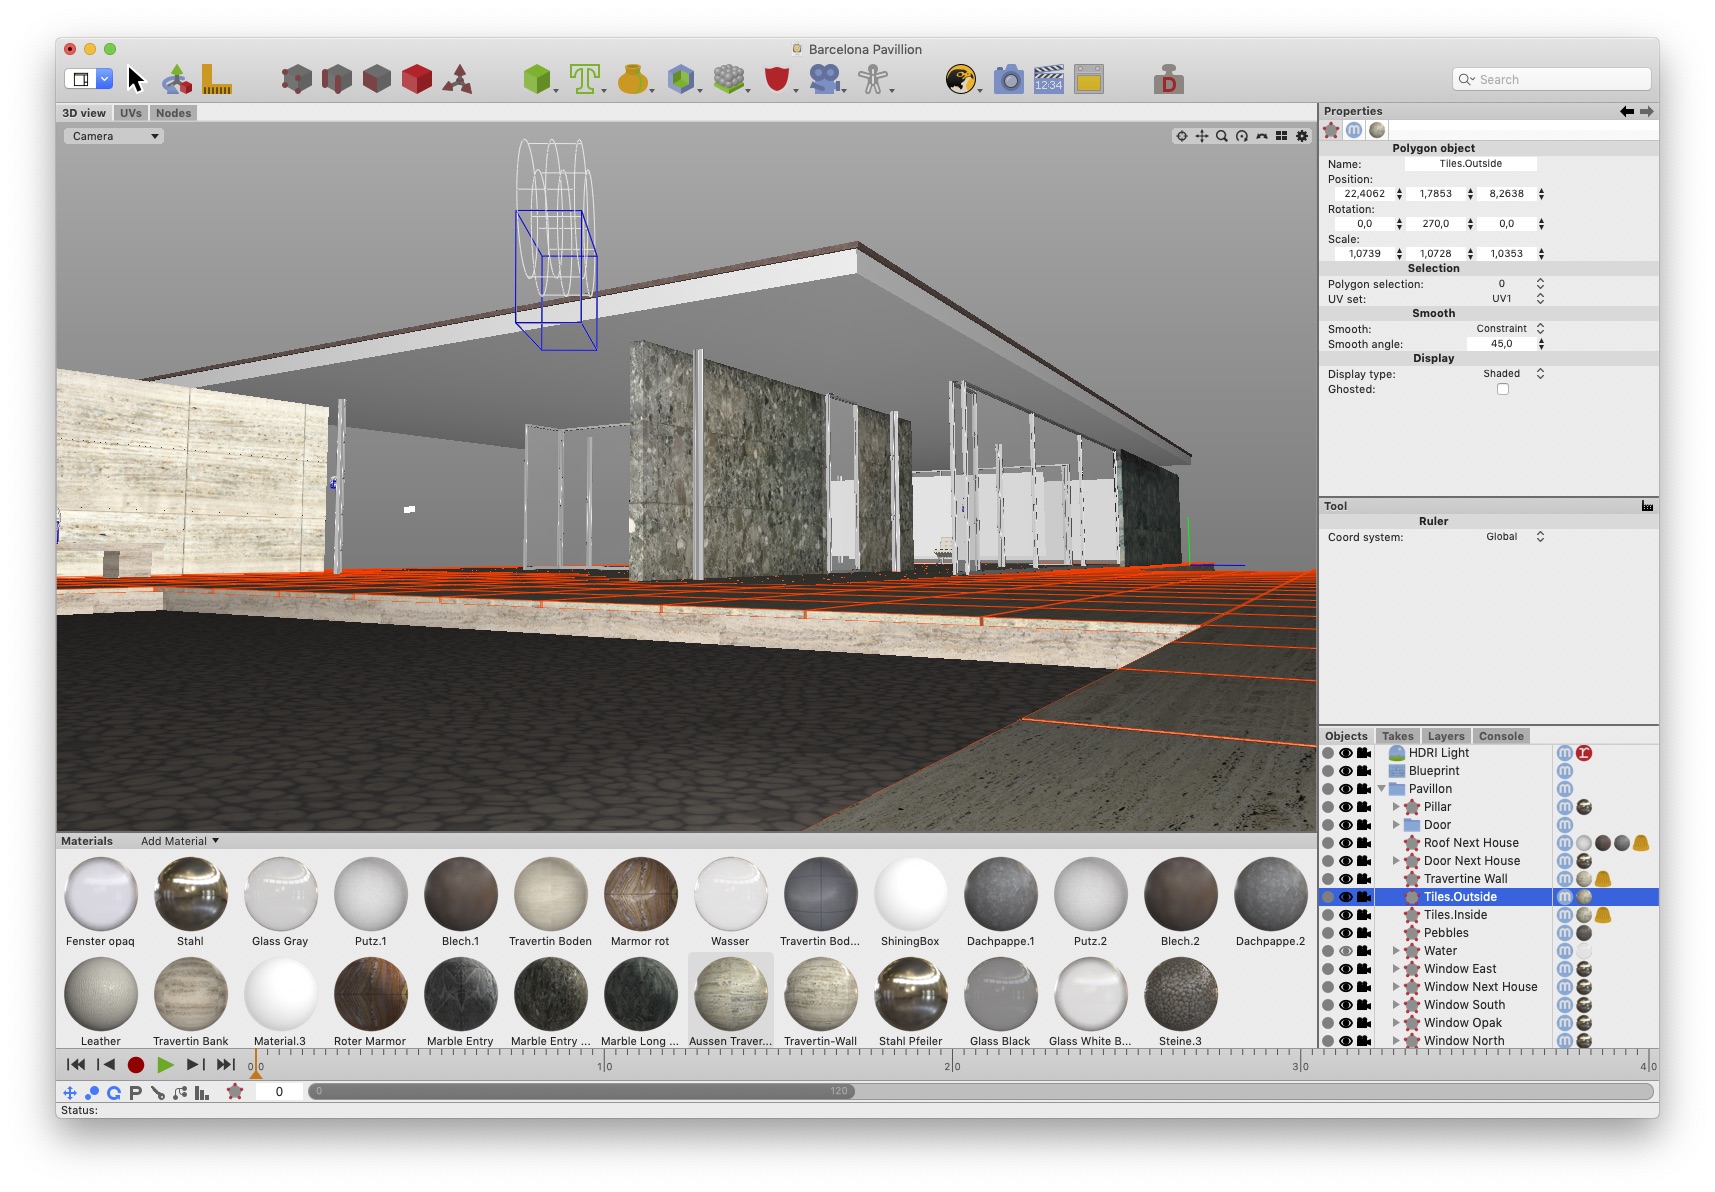
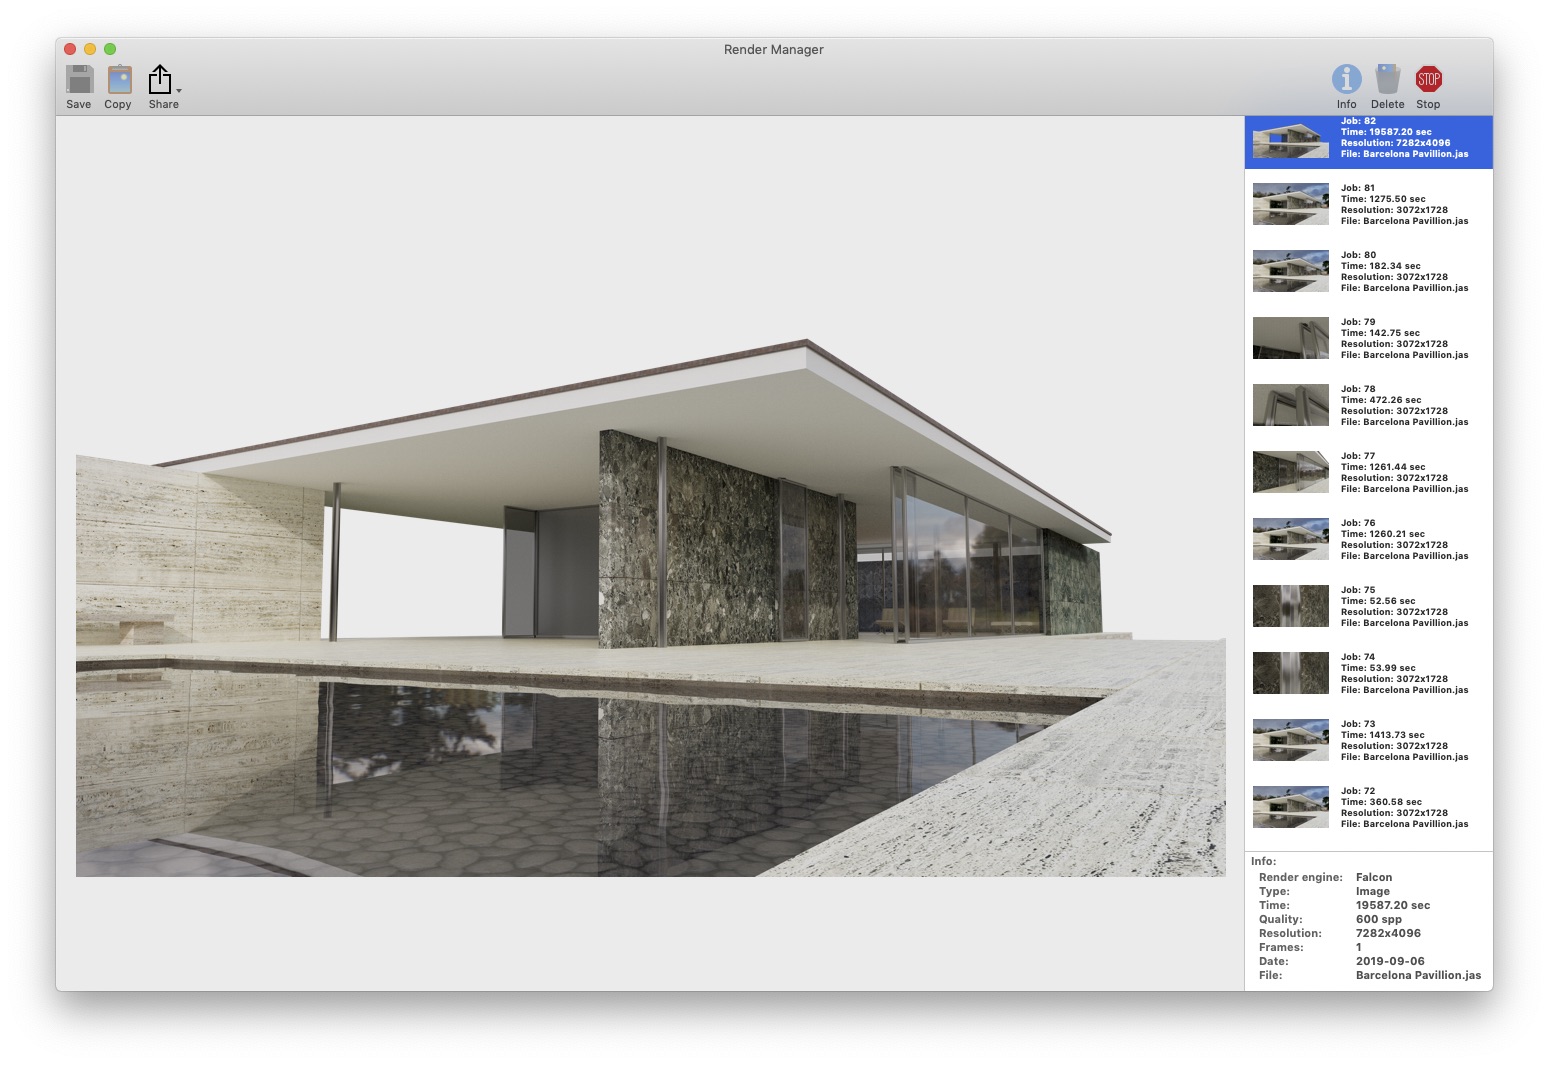
The final rendering was done in Cheetah with a resolution of 7282 x 4096 pixel, the size of reference photo you see above. The background of the rendering is transparent, because I want to do some keystone correction and compositing with Affinity Photo later.
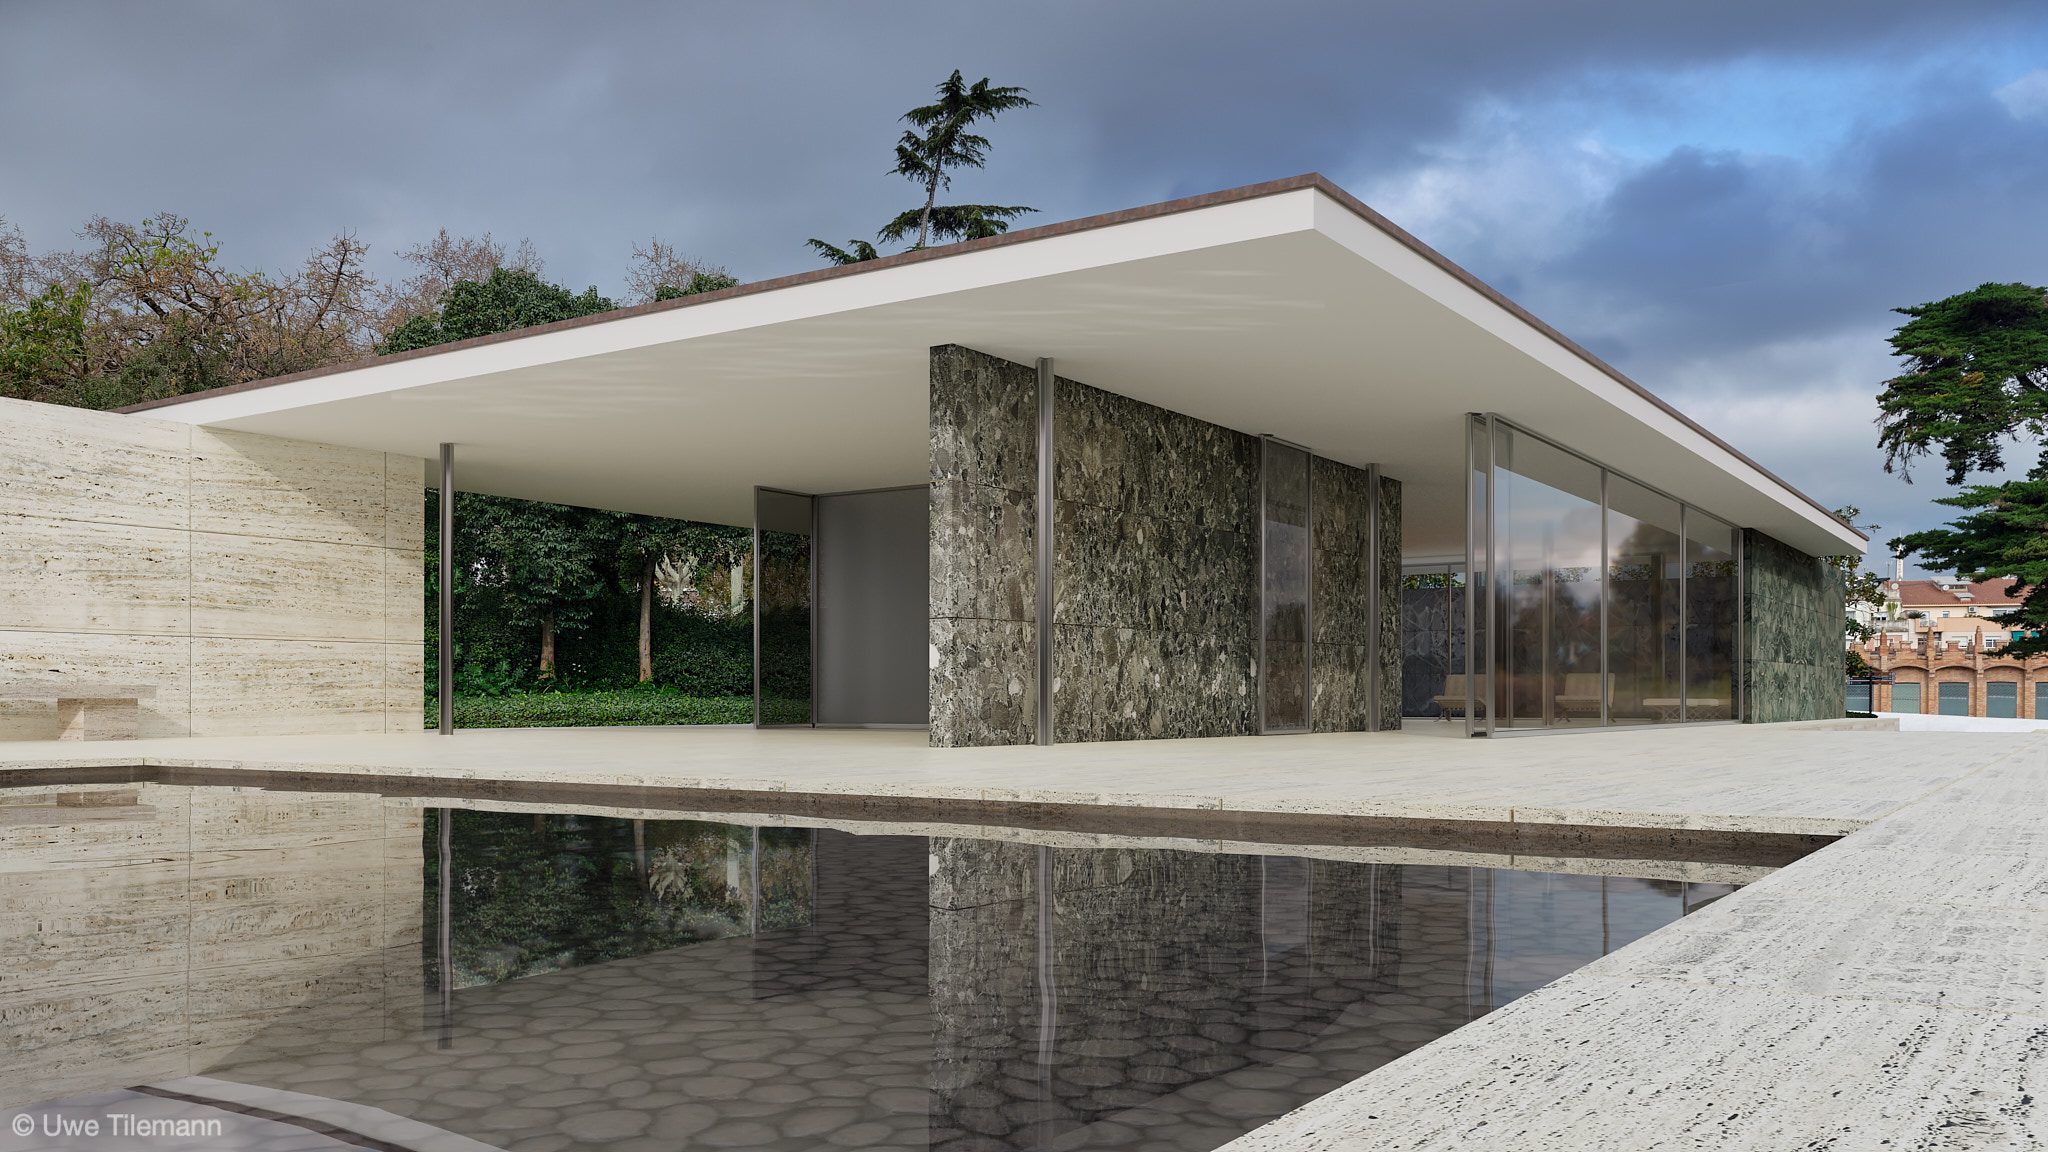
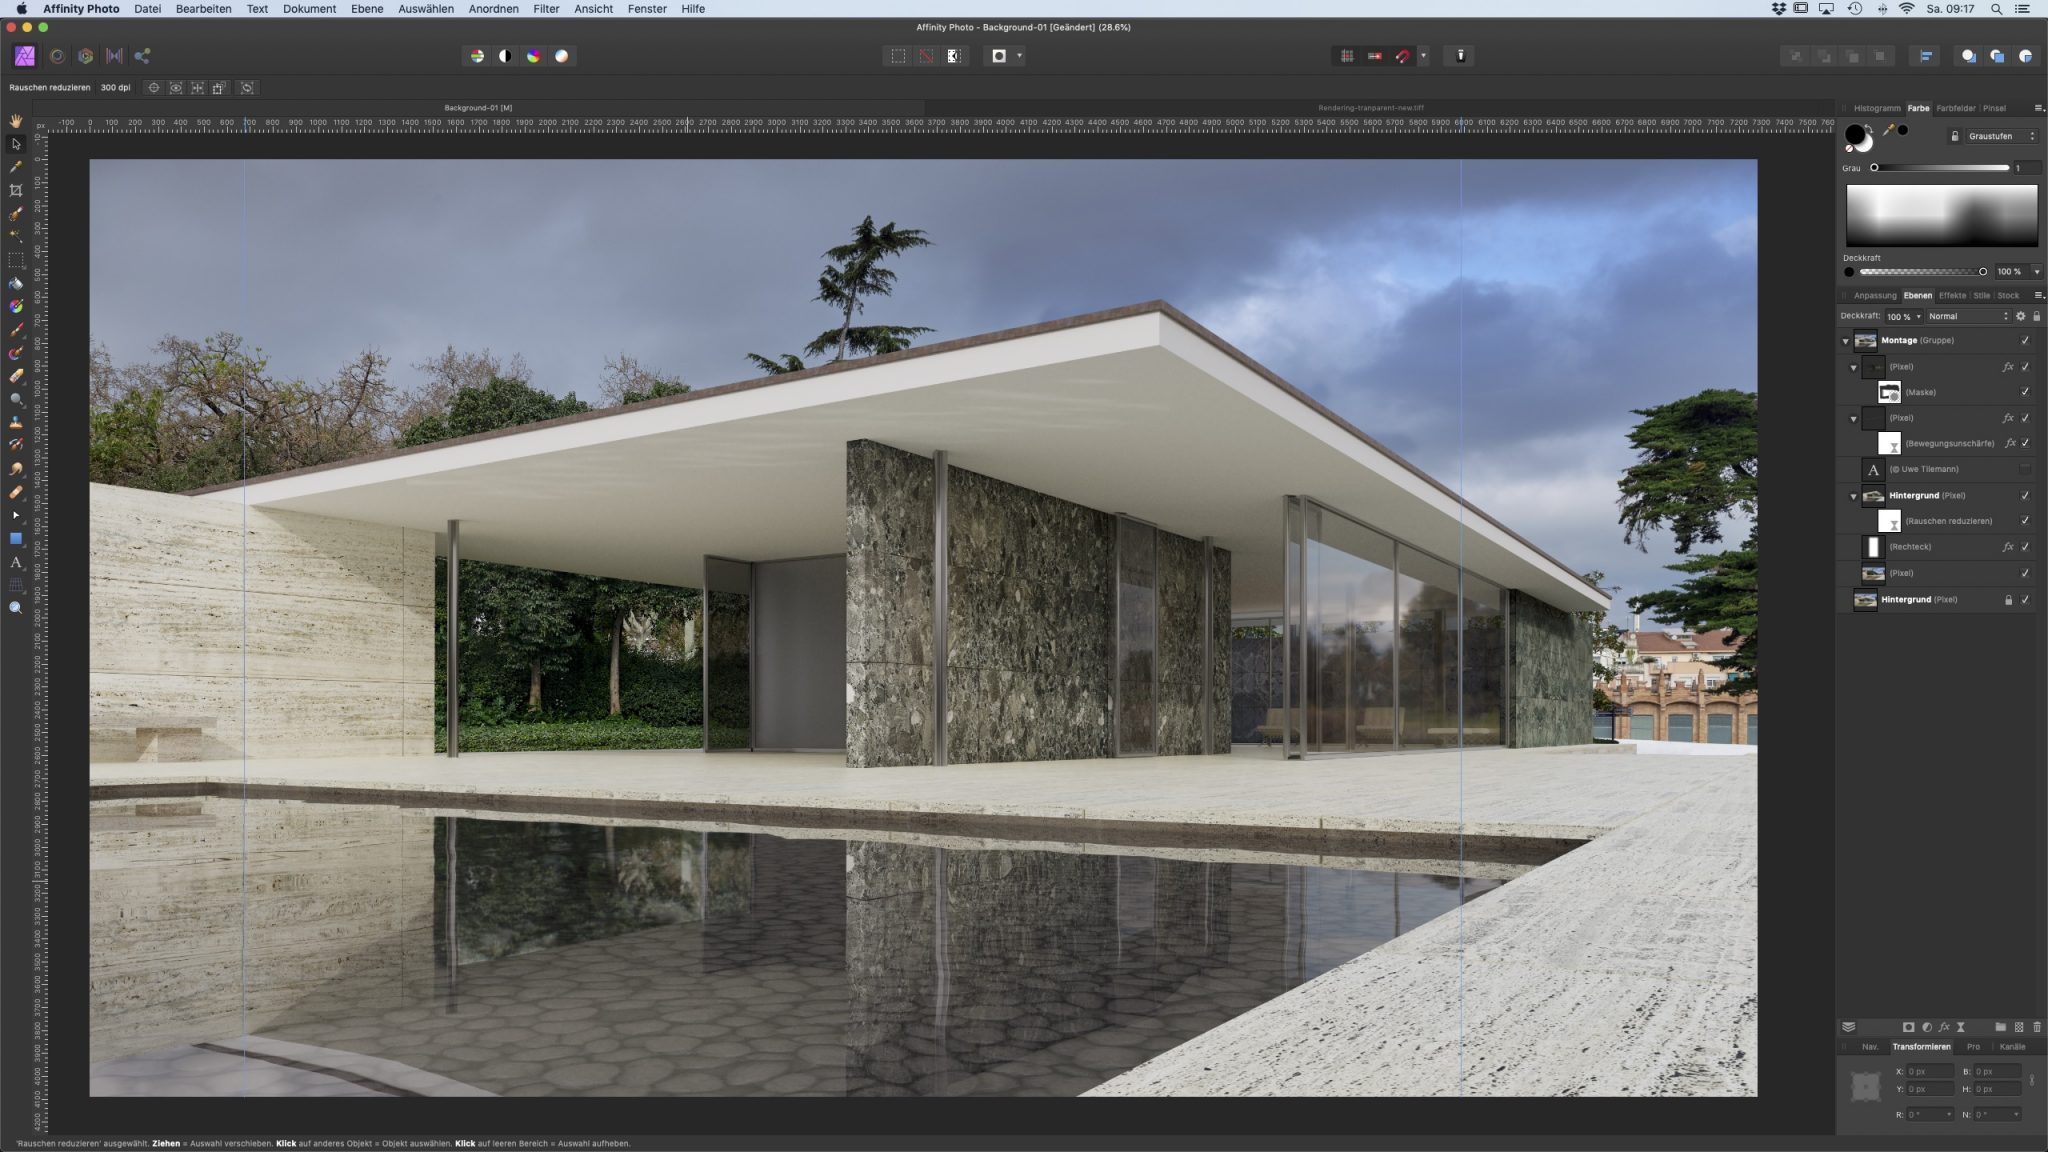
Here the final image keystone corrected and composited with the background from the reference photo above in Affinity Photo.
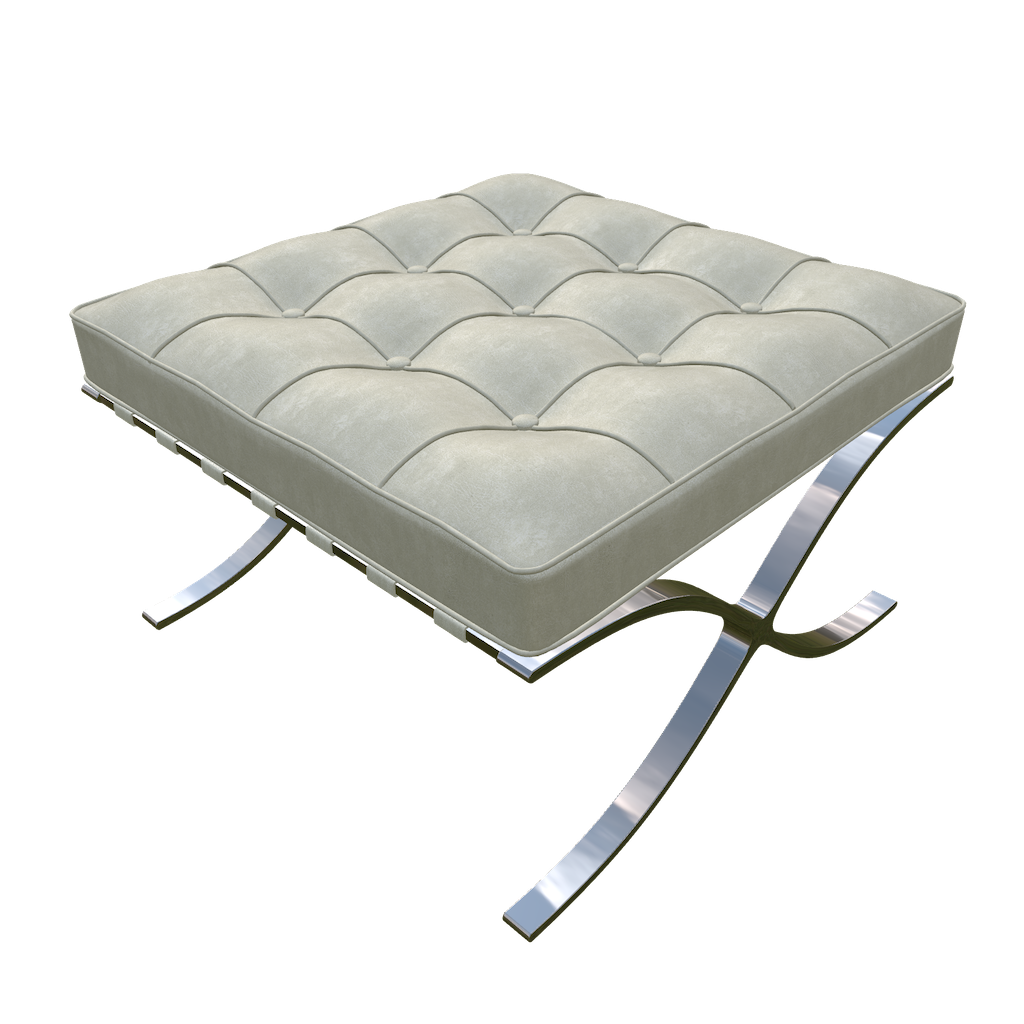
As a give-away here an USDZ file from the Barcelona Stool used in my model.
